Table of Contents
Advertisement
Quick Links
Download this manual
See also:
Instruction Manual
Advertisement
Table of Contents

Related Manuals for Syscom Video Full-HD IR Bullet Network Camera


Summary of Contents for Syscom Video Full-HD IR Bullet Network Camera
- Page 1 Quick Installation Guide Full-HD IR Bullet Network Camera Please read this manual thoroughly before use, and keep it handy for future reference.
-
Page 2: Installation Steps
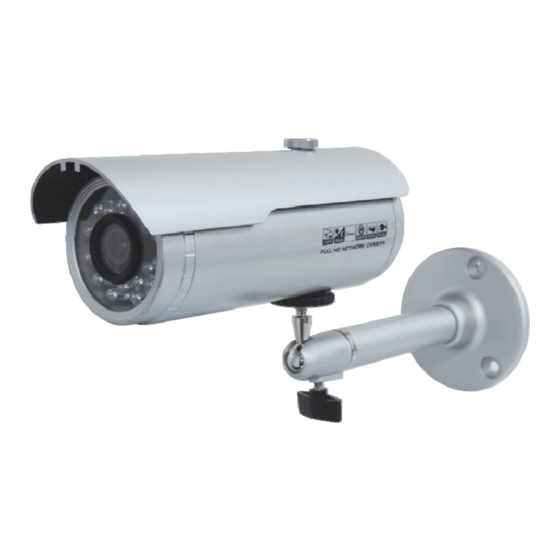
Quick Installation Guide 1. Description The Network Camera supports the network service for a sensor image with progressive scan, which can be monitored on a real-time screen regardless of distances and locations. By using its dedicated program, many users are able to have an access to the Network Camera at once or a single user can monitor various network cameras at the same time. - Page 3 Quick Installation Guide • Connection Cable Wire Color Description Black Service Monitor Port, Stereo Jack Ethernet, RJ-45 port compatible with 10/100Mbps having PoE Black Modular Jack functionality. Red: AC24V/DC12V Main Power, 2pin terminal, AC24V 370mA(5.8W) / DC12V 420mA(5.1W) White: AC24V/GND Pink: Alarm In Yellow: GND Alarm Input, Alarm Output: 4pin terminal.
- Page 4 Quick Installation Guide Base Installation(Cable through the wall or ceiling with the mount base) A. Remove the waterproof cap(①). B. Remove the back cover(②). C. Make the camera settings. D. Combine the back cover and waterproof cap(②→①). Note: If you do not remove or combine in the order, the camera will be damaged. Secure the camera to the wall or ceiling by the camera stand (individual purchase).
-
Page 5: Installation
Quick Installation Guide 2. Installation 2.1 Connection • Connecting to the RJ-45 Connect a standard RJ-45 cable to the network port of the network camera. Generally a cross-over cable is used for directly connection to PC, while a direct cable is used for connection to a hub. - Page 6 Quick Installation Guide Note: You can get the Optional ODS Controller from your installer. ▶ ID & IP assignment To make changes in the OSD menu, please the OSD controller provided optionally with your camera purchase. You can set Camera Title and IP Address. 1.
-
Page 7: Network Connection And Ip Assignment
Quick Installation Guide 2.2 Network Connection and IP assignment The Network Camera supports the operation through the network. When a camera is first connected to the network it has no IP address. So, it is necessary to allocate an IP address to the device with the “Smart Manager”... -
Page 8: Operation
Quick Installation Guide 3. Operation The Network Camera can be used with Windows operating system and browsers. The recommended browsers are Internet Explorer, Safari, Firefox, Opera and Google Chrome with Windows. 3.1 Access from a browser Start a browser (Internet Explorer). Enter the IP address or host name of the Network Camera in the Location/Address field of your browser. -
Page 9: Setting The Admin Password Over A Secure Connection
Quick Installation Guide 3.3 Setting the admin password over a secure connection To gain access to the product, the password for the default administrator user must be set. Thi s is done in the “Admin Password” dial og, which is displayed wh en the n etwork is acce ssed camera... -
Page 10: Control Toolbar
Quick Installation Guide 2) Control toolbar The live viewer toolbar is available in the web browser page only. It displays the following buttons: The Stop button stops the video stream being played. Pressing the key again toggles the start and stop. The Start button connects to the network camera or start playing a video stream. -
Page 11: Resetting To The Factory Default Settings
Quick Installation Guide 3.6 Resetting to the factory default settings To reset the Network Camera to the original factory settings, go to the Setup>System >Maintenance web page (described in “3.5.6 System>Maintenance” of the User’s Manual) or use the Reset button on the network camera, as described below: Follow the instructions below to reset the Network Camera to th e factory default settings using the Reset button. - Page 12 Quick Installation Guide Full-HD IR Bullet Network Camera...
Need help?
Do you have a question about the Full-HD IR Bullet Network Camera and is the answer not in the manual?
Questions and answers