Sign In
Upload
Download
Table of Contents
Contents
Add to my manuals
Delete from my manuals
Share
URL of this page:
HTML Link:
Bookmark this page
Add
Manual will be automatically added to "My Manuals"
Print this page
×
Bookmark added
×
Added to my manuals
Manuals
Brands
Extraflame Manuals
Pellet stove
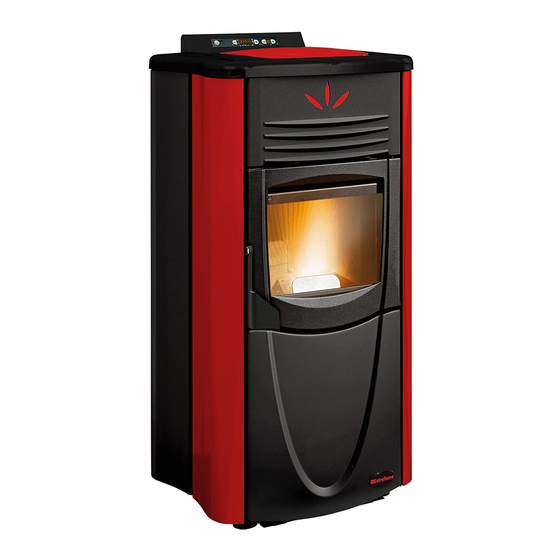
BABYFIAMMA
Instruction manual
Extraflame Babyfiamma Instruction Manual
Hide thumbs
Also See for Babyfiamma
:
User manual
(60 pages)
,
Use and maintenance manual
(52 pages)
1
2
Table Of Contents
3
4
5
6
7
8
9
10
11
12
13
14
15
16
17
18
19
20
21
22
23
24
25
26
27
28
29
30
31
32
33
34
35
36
37
38
39
40
41
42
43
44
45
46
47
48
49
50
51
52
53
54
55
56
57
58
59
60
page
of
60
Go
/
60
Contents
Table of Contents
Bookmarks
Table of Contents
Table of Contents
1 Precautions and Safety
2 Technical Specifications
3 What Are Pellets
Pellet Storage
4 Safety Devices
Warm Air Blower Breakdown
Fume Exhauster Breakdown
Pellet Feed Motor Breakdown
Lighting Failure
Temporary Power Failure
Electrical Safety
Exhaust System Safety
Pellet Overheating Safety
5 ASSEMBLY and INSTALLATION INSTRUCTIONS
Glossary
Installation
Connection to the Exhaust Venting System
Chimney or Single Flue
Connection to the Flue and Combustion Product Exhaust Venting
Chimney Cap
Connection to External Air Intakes
Insulation, Trims, Facings, and Safety Precautions
National, Regional, Provincial and Municipal Laws
Divina Plus Distributed Heating
6 Maxi Comfort Installation
7 Falò 1Xlp, Falò 1Cp and Falò 2Cp
8 Control Panel
Table of Display Messages
9 Current Time and Day Settings
10 Using the Stove
11 Lighting
12 Stove Operation
Normal Operation
DIVINA PLUS Operation
Shutdown
Remote Control
13 Room Thermostat
Digital Thermostat
Mechanical Thermostat (Optional)
Installing a Mechanical Thermostat (Optional)
Mechanical Thermostat Operation
Mechanical Thermostat with Energy Saving, Standby Function (Stby)
Mechanical Thermostat Operation for Heat Distribution Motor (DIVINA PLUS Only)
14 Wiring Diagram
15 User Parameters
Weekly Programmer
Day/Night Temperature Function
Pellet Feed Adjustment
Heat Distribution Parameters (DIVINA PLUS Only)
16 Stove Cleaning
Ecologica - Maxi Comfort Insert
Bella-Bella Lux - Contessa - Divina - Divina Plus -Duchessa
Babyfiamma - Preziosa - Karolina - Isabella
Falò 1XLP - Falò 1CP - Falò 2CP
Burn Pot Partition
Chimney Connection
17 Warranty
18 Quality Control
Advertisement
Quick Links
1
Technical Specifications
2
Control Panel
3
Table of Display Messages
4
Pellet Feed Adjustment
5
Babyfiamma - Preziosa - Karolina - Isabella
Download this manual
See also:
User Manual
,
Use and Maintenance Manual
PELLET STOVES
Instruction Manual
Inserto Comfort Maxi
Babyfiamma
Preziosa
Karolina
Isabella
Ecologica
Bella
Bella Lux
Contessa
Duchessa
Divina
Divina Plus
Falò 1 XLP
Falò 1 CP
Falò 2 CP
Table of
Contents
Previous
Page
Next
Page
1
2
3
4
5
Advertisement
Table of Contents
Need help?
Do you have a question about the Babyfiamma and is the answer not in the manual?
Ask a question
Questions and answers
Related Manuals for Extraflame Babyfiamma
Pellet stove Extraflame Babyfiamma User Manual
Ventilated stoves (60 pages)
Stove Extraflame EcoLogica Idro Use And Maintenance Manual
(52 pages)
Pellet stove Extraflame Pellet Stoves User Manual
Ventilated (56 pages)
Stove Extraflame FALO 1CP Manual
(24 pages)
Stove Extraflame DIVINA Assembly Instructions Manual
(12 pages)
Pellet stove Extraflame DUCHESSA IDRO User Manual
Pellet stoves (48 pages)
Pellet stove Extraflame DELIZIA User Manual
Pellet stove (44 pages)
Pellet stove Extraflame COMFORT IDRO User Manual
(56 pages)
Pellet stove Extraflame Viviana User Manual
(32 pages)
Pellet stove Extraflame INSERTO COMFORT MINI Instruction Manual
(44 pages)
Pellet stove Extraflame COMFORT IDRO User Manual
(44 pages)
Pellet stove Extraflame Pellet stove User Manual
(48 pages)
Pellet stove Extraflame Viviana User Manual
(36 pages)
Pellet stove Extraflame Comfort P70 User Manual
(40 pages)
Pellet stove Extraflame Comfort Mini User Manual
(48 pages)
Pellet stove Extraflame LUCREZIA IDRO Instruction Manual
(44 pages)
This manual is also suitable for:
Preziosa
Karolina
Isabella
Ecologica
Inserto comfort maxi
Bella
...
Show all
Bella lux
Contessa
Duchessa
Divina
Divina plus
Falò 1 xlp
Falò 1 cp
Falò 2 cp
Table of Contents
Save PDF
Print
Rename the bookmark
Delete bookmark?
Delete from my manuals?
Login
Sign In
OR
Sign in with Facebook
Sign in with Google
Upload manual
Upload from disk
Upload from URL


Need help?
Do you have a question about the Babyfiamma and is the answer not in the manual?
Questions and answers