Advertisement
Quick Links
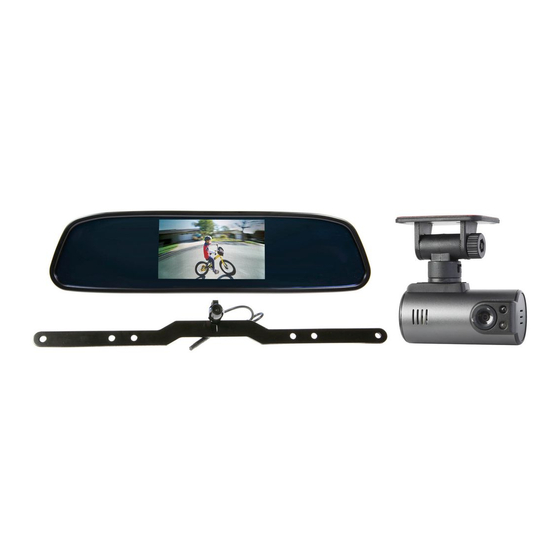
DVR50M Instruction Manual
The video signal is transferred from the camera to the monitor via an RCA cable that will need
to be run from the boot through the passenger compartment to the monitors wired loom run
under the dash. From there, the power and video signals are sent directly to the monitor . At the
rear of the car the camera is powered directly from the reversing tail light .
Wiring diagram below:
Advertisement

Subscribe to Our Youtube Channel
Related Manuals for Gator DVR50M


Summary of Contents for Gator DVR50M
- Page 1 DVR50M Instruction Manual The video signal is transferred from the camera to the monitor via an RCA cable that will need to be run from the boot through the passenger compartment to the monitors wired loom run under the dash. From there, the power and video signals are sent directly to the monitor . At the rear of the car the camera is powered directly from the reversing tail light .
-
Page 3: Installing The Camera
INSTALLING THE CAMERA In most instances, the camera is best mounted above the vehicles license plate as shown here . - Page 4 Rear Camera and monitor: 1. Connect the RED wire of the Cameras Power Harness to the wire that supplies power to the reversing light globe (the wire that is energised only when the car is put into reverse). Before making the electrical connection, temporarily disconnect the camera from the power plug whilst making the connection to the back up light.
- Page 5 DVR Information Structure details Button Diagram Button Instructions 1.Power button/fill light button :( two functions ) a:Power on/off function Hold down for 3 seconds to turn on the device,DVR will automatically enter the video recording mode and read the Micro SD card. Hold down for 3 seconds again to turn off the DVR.
- Page 6 3. Playback/Menu button a:Play back function With device switched on ,hold down the playback button for 3 seconds to enter the playback mode. Short press the emergency lock button or mute button to choose the file need to be play back. Press again to play the file. Hold down the playback button for 3 seconds to exit the mode.
- Page 7 LED Instructions: Indicator light type Indicator light introduction It flashes when it's recording,it stays on REC Button LED is REC indicator button while power on. It's off in the mute mode,It flashes MIC Button LED is MIC indicator light while recording audio. Emergency lock LED is G-SENSOR It flashes while it's on, stays constant indicator light...
- Page 8 5.Date And Time Setting Function In the standby mode, press the menu button entering into system setting menu. Short press page up/down button move cursor to date and time setting options. Short press OK button to enter into menu setting. 【Notes】In order to effectively record the date and time of the accident, please set the correct time before using this machine.
- Page 9 DVR Specification: Processor Type SQ680S Built-in Image Sensor 130W Lens Angle 120 Degrees VGA640X390 Resolution HD1280x720(720p 30f/s) Screen Non screen Night vision support GPS Trajectory support Loop video support G-SENSOR support Motion Detection support Video format Storage Temperature -30℃~70℃ Operating Temperature 0℃~50℃...
Need help?
Do you have a question about the DVR50M and is the answer not in the manual?
Questions and answers