Table of Contents
Advertisement
Quick Links
I N S T R U C T I O N
The Christie Vivid LX20 ceiling mount is designed to pro-
vide fast, simple and secure ceiling installation of your
Christie projector. Special roll, pitch and horizontal adjust-
ments simplify projection positioning for image alignment.
The ceiling mount also has positive registration lock, allow-
ing projector removal without losing projector mount regis-
tration. This mount can be attached using a standard NPT
1 1/2" pipe column or an adjustable column.
BEFORE YOU BEGIN
• CAUTION: To prevent damage to the mount, which could affect or void the Factory warranty, thoroughly
study all instructions and illustrations before you begin to install the mount.
• If you have any questions about this installation, see the back page of this manual for contact information.
M A N U A L
PART NO. 38-804723-01 (Rev. B)
2000 Christie Digital Systems
www.christiedigital.com
Printed in USA 03-02
Advertisement
Table of Contents

Related Manuals for Christie Vivid LX20


Summary of Contents for Christie Vivid LX20
-
Page 1: Before You Begin
I N S T R U C T I O N M A N U A L The Christie Vivid LX20 ceiling mount is designed to pro- vide fast, simple and secure ceiling installation of your Christie projector. Special roll, pitch and horizontal adjust- ments simplify projection positioning for image alignment. -
Page 2: Table Of Contents
Instruction Manual Vivid LX20 Mount IMPORTANT WARNINGS AND CAUTIONS! WARNING: A WARNING alerts you to the possibility of serious injury or death if you do not follow the instructions. CAUTION: A CAUTION alerts you to the possibility of damage or destruction of equipment if you do not follow the cor- responding instructions. -
Page 3: Projector Installation Procedures
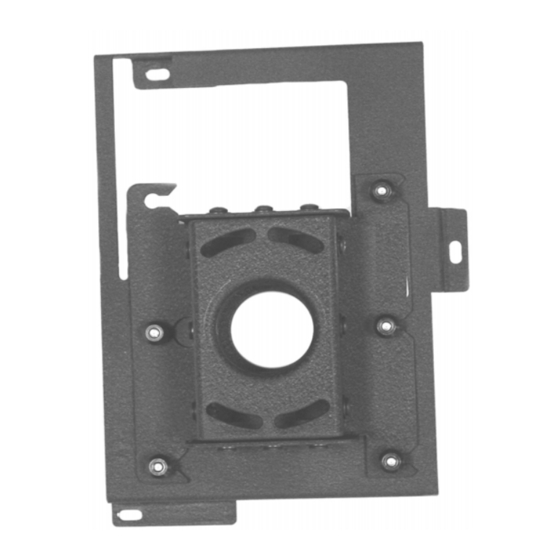
Instruction Manual Vivid LX20 Mount PROJECTOR INSTALLATION PROCEDURES Install the mount on the projector as follows: Install Here Turn the projector upside down. Place the bracket on the bottom of the projector, aligning all three holes in the bracket with the threaded inserts in the bot- tom of the projector. - Page 4 Instruction Manual Vivid LX20 Mount Surface Mount RPA Roll Adj. Screws Pivot Screw Install the RPA as follows: Disassemble the RPA: a. Remove four #10-24 X 3/8” long pan head roll adjustment screws (see Figure 6). b. Remove two #10-24 X 3/8” long pivot screws.
-
Page 5: Adjust Yaw, Pitch And Roll
Instruction Manual Vivid LX20 Mount ADJUST YAW, PITCH, AND ROLL Adjust Yaw Adjust Yaw as follows: Loosen the 1 1/2” jam nut and back it off a couple of turns. WARNING: When turning the mount in a counterclockwise direction, it may be completely unthreaded. The assembly could fall from the pipe. -
Page 6: Parts
Instruction Manual Vivid LX20 Mount PARTS Table 1: Parts Nomenclature Qty. Nomenclature Qty. Nut, jam, 1.5” Plate, Mounting Screw, M4 X 8mm Thumbscrew, Knurled, 10-24 5 Washer, flat, M-4... -
Page 7: Dealer Information
Instruction Manual Vivid LX20 Mount CHRISTIE Technical Support NORTH AMERICA CHRISTIE Digital Systems, Inc. CHRISTIE Digital Systems, Inc. 809 Wellington St. North 10550 Camden Drive Kitchener, Ontario, Canada N2G 4Y7 Cypress, CA 90630 USA Tel. 519-744-8005 (General) Tel. 714-236-8610 (General) -
Page 8: Dimensional Drawing
Instruction Manual Vivid LX20 Mount VIVID LX20 CEILING MOUNT LINE DRAWING... - Page 9 Instruction Manual Vivid LX20 Mount RPA LINE DRAWING...
Need help?
Do you have a question about the Vivid LX20 and is the answer not in the manual?
Questions and answers