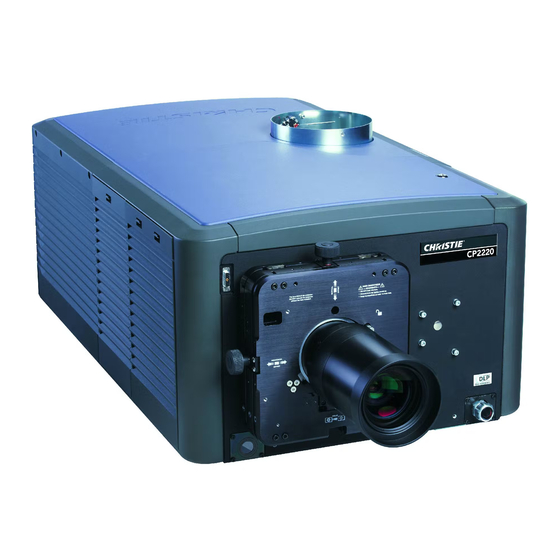
Christie CP2220 Installation And Setup Manual
Christie rack mount pedestal
Hide thumbs
Also See for CP2220:
- User manual (212 pages) ,
- Setup manual (70 pages) ,
- Instruction sheet (6 pages)
Table of Contents
Advertisement
Quick Links
Advertisement
Table of Contents

Summary of Contents for Christie CP2220
- Page 1 Installation and Setup Guide 020-100632-04 Christie Rack Mount Pedestal...
- Page 2 Christie's control such as maintenance of the product in proper working conditions. Performance specifications are based on information available at the time of printing. Christie makes no warranty of any kind with regard to this material, including, but not limited to, implied warranties of fitness for a particular purpose.
-
Page 3: Table Of Contents
Physical specifications..........18 Christie Rack Mount Pedestal Installation and Setup Guide 020-100632-04 Rev. 1 (08-2022) Copyright © 2022 Christie Digital Systems USA, Inc. All rights reserved. If printed, please recycle this document after use. -
Page 4: Introduction
Introduction The Christie Rack Mount Pedestal is designed to hold any Christie Solaria Series or DLP Cinema projector. This guide provides instructions for installing and adjusting the Christie Rack Mount Pedestal. Affected products The following products are affected: • CP2220 •... -
Page 5: Pedestal Components
Leveling foot (1 of 4) Caster (1 of 4) Christie Rack Mount Pedestal Installation and Setup Guide 020-100632-04 Rev. 1 (08-2022) Copyright © 2022 Christie Digital Systems USA, Inc. All rights reserved. If printed, please recycle this document after use. -
Page 6: Pedestal Component Mounting Options
Introduction Pedestal component mounting options Identify the Christie Rack Mount Pedestal component mounting options. Mounting option Back mounting Front-side mounting Back-side mounting Technical support Technical support for Christie Cinema products is available at: • Support.cinema@christiedigital.com • +1-877-334-4267 • Christie Professional Services: +1-800-550-3061 or NOC@christiedigital.com Christie Rack Mount Pedestal Installation and Setup Guide 020-100632-04 Rev. -
Page 7: Installation And Setup
As a first step, install the pedestal feet and casters. Warning! If not avoided, the following could result in death or serious injury. • Two or more people are required to safely lift and install the Christie product. 1. Position the pedestal upside down. 2. Pre-assemble the leveling feet: a) Thread one M16 lock nut onto each of the four leveling feet. -
Page 8: Adjusting The Pedestal Height
Warning! If not avoided, the following could result in death or serious injury. • Two or more people are required to safely lift and install the Christie product. 1. Remove the four screws from each of the four outside bottom corners of the pedestal. - Page 9 111.6 to 116.5 cm (44.4 to 46.8 inches) 116.6 to 121.5 cm (46.9 to 49.3 inches) Christie Rack Mount Pedestal Installation and Setup Guide 020-100632-04 Rev. 1 (08-2022) Copyright © 2022 Christie Digital Systems USA, Inc. All rights reserved. If printed, please recycle this document after use.
- Page 10 5. To hold the extended frame in position, install the four screws into each of the four outside bottom corners of the pedestal. 6. Turn the Christie Rack Mount Pedestal over so its feet or casters are on the floor. Christie Rack Mount Pedestal Installation and Setup Guide 020-100632-04 Rev.
-
Page 11: Positioning The Pedestal
Place the pedestal in front of the port window so the front of the stand (the side with the rubber grommets) faces the port window. Leveling the pedestal The Christie Rack Mount Pedestal feet provide a 5 cm (2.5 inches) range of leveling adjustment. Warning! If not avoided, the following could result in death or serious injury. •... - Page 12 3. Loosely install the four screws in each of the four foot brackets. 4. With two or more people, place the projector on top of the Christie Rack Mount Pedestal. If required, adjust the foot bracket location to accommodate the projector.
-
Page 13: Installing The Projector Foot Locks
2. Install one screw in each of the four projector foot locks to secure them in position. Configuring the rack for side-mounting By default, the Christie Rack Mount Pedestal is configured for back-mounting of components. Complete this procedure if side-mounting of components is required. - Page 14 Vertical support placement determines whether components are installed at the front or the back side-mounting location. Christie Rack Mount Pedestal Installation and Setup Guide 020-100632-04 Rev. 1 (08-2022) Copyright © 2022 Christie Digital Systems USA, Inc. All rights reserved. If printed, please recycle this document after use.
- Page 15 5. Replace the side panels removed in step 1. Christie Rack Mount Pedestal Installation and Setup Guide 020-100632-04 Rev. 1 (08-2022) Copyright © 2022 Christie Digital Systems USA, Inc. All rights reserved. If printed, please recycle this document after use.
-
Page 16: Troubleshooting
Troubleshooting This section provides information and procedures for resolving common pedestal issues. If an issue cannot be resolved or you cannot find the issue in this section, contact Christie Technical Support. Projector feet do not extend or contract The projector feet do not extend or contract. -
Page 17: Specifications
Caution! If not avoided, the following could result in minor or moderate injury. • The Christie Rack Mount Pedestal is intended for use with only the projector models listed below. Use with other equipment may result in instability causing injury. -
Page 18: Physical Specifications
103.4 cm (40.7 inches) Weight 70 kg (154 lbs) Christie Rack Mount Pedestal Installation and Setup Guide 020-100632-04 Rev. 1 (08-2022) Copyright © 2022 Christie Digital Systems USA, Inc. All rights reserved. If printed, please recycle this document after use.


Need help?
Do you have a question about the CP2220 and is the answer not in the manual?
Questions and answers