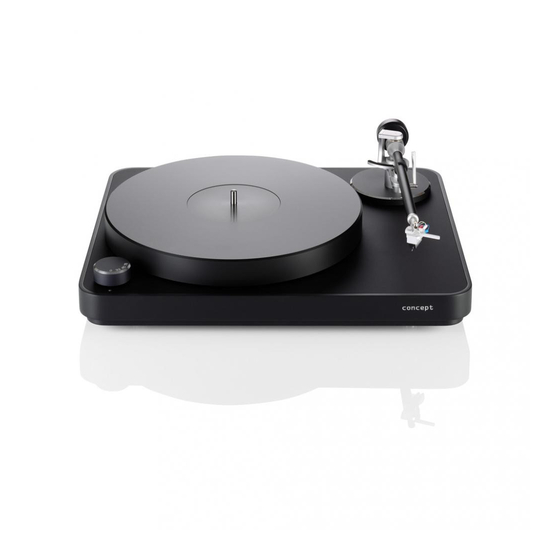
Clearaudio Concept User Manual
Hide thumbs
Also See for Concept:
- User manual (36 pages) ,
- User manual (18 pages) ,
- User manual (28 pages)
Advertisement
Quick Links
Advertisement

Summary of Contents for Clearaudio Concept
-
Page 1: User Manual
Concept User manual Made in Germany ® clearaudio electronic Hi-Fi Components GmbH Spardorfer Str. 150 ● D-91054 Erlangen ● Tel. +49(0)1805/059595 ● FAX +49(0)09131/51683 www.clearaudio.de●info@clearaudio.de●copyright clearaudio 2010 Version1_Musical Surroundings_E... - Page 2 This manual will help you for an easy set-up and guarantees the highest pleasure for a long time. We wish you a lot of listening pleasure with your new clearaudio Concept - turntable. clearaudio electronic GmbH This section must be read before any connection is made to the mains supply.
-
Page 3: Table Of Contents
Concept User manual Contents Page 1. Packing overview 2. Parts list 3. Set up 4. Cartridge mounting 5. Service 6. Technical data Warranty information Page 2 clearaudio electronic GmbH 2010... -
Page 4: Packing Overview
Concept User manual 1. Packing overview clearaudio has developed a special and secure packing for your Concept - turntable that ensures safe transportation. Please keep this original packing, if you need to ship the turntable. 1. First layer: Concept turntable chassis incl. -
Page 5: Set Up
User manual 3. Set up The set up of the Concept - turntable is easy as the turntable and tonearm are pre- assembled. If you chose the model with included cartridge, it has been mounted and all parameters have been already adjusted and tested at the clearaudio factory. If not, refer the section 4 on cartridge mounting and tonearm adjustment. - Page 6 You can achieve the perfect level position by adjusting the feet of your Concept – turntable. First loosen the lock screw and turn the feet clockwise or counter clockwise till you reach the level position. Please fix the ideal position of the spikes by using the lock screw again.
-
Page 7: Cartridge Mounting
Smart Stylus or Weight Watcher gauges. For more information on other Clearaudio setup tools, please contact your local dealer or Musical Surroundings directly. It is recommended to place your stylus gauge directly on the Concept platter to most accurately set the Vertical Tracking Force. 4.) VTA For the next step, place an LP (180 gram preferred) on the platter. - Page 8 This adjustment has been pre-set at the Clearaudio factory. Although it is rarely necessary, you can adjust the cartridge azimuth. Carefully loosen the small screw on the bottom side of the tonearm tube near the headshell (Caution: don’t unscrew the screw completely!).
-
Page 9: Service
Surroundings at 510 547-5006 or info@musicalsurroundings.com In case any repair is needed, the clearaudio Concept -turntable may need to be sent to your authorized dealer or directly to Musical Surroundings. Please contact your dealer to begin the process of obtaining assistance and, if needed, a Return Authorization (RA) number. -
Page 10: Technical Data
Warranty: 2 years clearaudio electronic is not responsible for typographical errors in descriptions. Technical specifications subject to change or improvement without prior notice.Availability as long as stock lasts. Copies and imprints- also only in extracts – require written conformation through clearaudio electronic GmbH; Germany... - Page 11 510 547-5006, fax 510 547-5009 www.musicalsurroundings.com info@musicalsurroundings.com Otherwise clearaudio provides the legal warranty of 1 year. In the case of return for service, only if the product is returned in it’s original packing can clearaudioprovide the warranty. WARRANTY TERMS AND CONDITIONS 1.


Need help?
Do you have a question about the Concept and is the answer not in the manual?
Questions and answers