NEC DSX User Manual
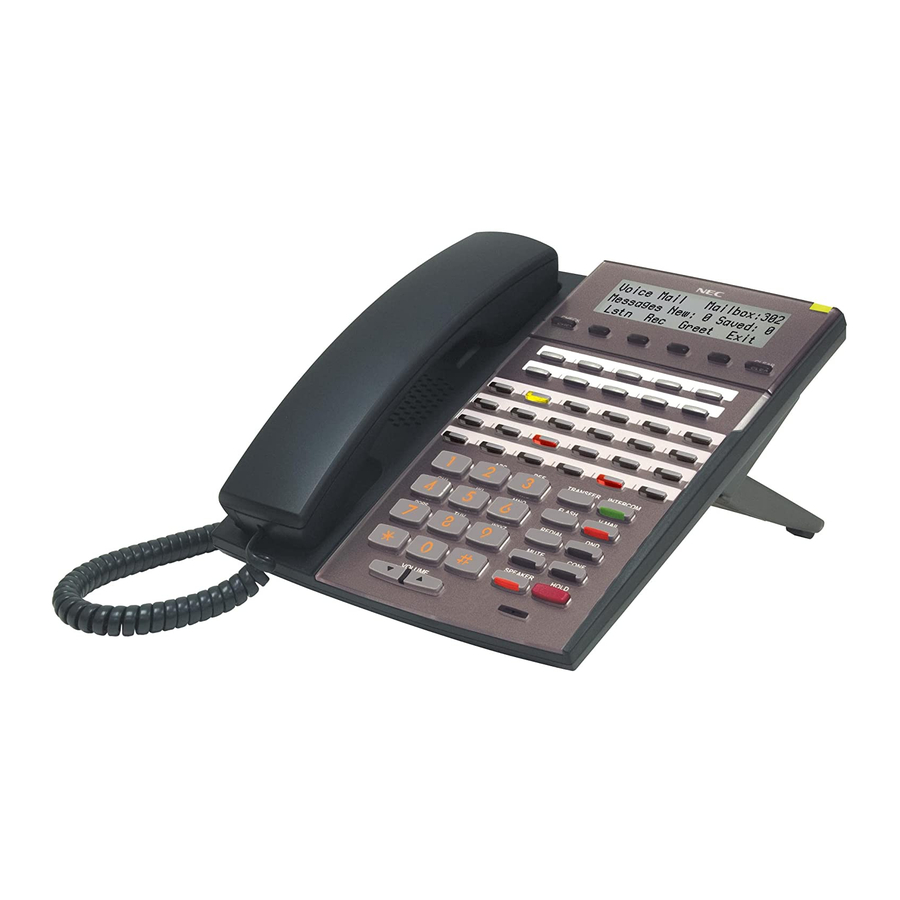
Multibutton telephone
Hide thumbs
Also See for DSX:
- Software manual (984 pages) ,
- Feature handbook (192 pages) ,
- Quick reference (32 pages)

Subscribe to Our Youtube Channel
Related Manuals for NEC DSX


Summary of Contents for NEC DSX
-
Page 1: User Guide
Empowered by Innovation Multibutton Telephone User Guide 1093057 A50-003177-002 Rev 1, July 31, 2009 Printed in Thailand This guide is for DSX Version 3 To show the software level on your display: Press + Dial #*#*. INTERCOM... - Page 2 Installing the Handset And Line Cord When installing the handset: 1. Plug the handset cord into the handset jack on the bottom of the telephone. The handset cord routes through the lower channel on the right side of the telephone base. 3.
-
Page 3: How To Use This Guide
Removing and Reinstalling the Faceplate To remove the faceplate (if installing a custom DESI label): Put your finger in the recessed area under the faceplate and lift off the faceplate. To reinstall the faceplate: Remove the old label, then insert the customized replacement DESI label. - Page 4 the Display and Soft Keys Alphanumeric Display While your phone is idle , the display shows: – The date and time, your name (see page 13), and your extension number. – The idle menu soft key functions. Menu Push to set up features on your phone (such as Call Forwarding). Push to call a co-worker on the Intercom by selecting their name.
- Page 5 Understanding the Ring/Message Lamp The Ring/Message Lamp – Two quick flashes (green): You have new (unreviewed) calls in your Caller ID log. – Slow flash (green): A call is ringing your phone. – Fast flash (red): There are new voice mail messages in your mailbox. Setting Up Your Speed Dial One -Touch Keys To store a Personal Speed Dial number in a Speed Dial One-Touch Key: Push...
-
Page 6: Outside Calls
Outside Calls To answer an outside call: Lift the handset. If you are not automatically connected, press flashing line key. – If you hear a call ringing a co-worker, dial ** and their extension number to pick it up. To place an outside call: Press a line key (normally located on your first two rows of Feature Keys). - Page 7 Intercom Calls To And From Co-Workers To answer an Intercom call from a co-worker: Do one of the following: – If you hear two beeps, speak toward your phone. – If you hear Intercom ringing, lift the handset. To dial a co-worker over the Intercom: Press INTERCOM Dial your co-worker’s extension number.
-
Page 8: Place A Call On Hold
Place A Call On Hold To place your call on System (Regular) Hold: (Your co-workers can pick up calls you place on System Hold.) Press HOLD – While your outside call is on Hold, the line key will flicker (green). –... - Page 9 Set Up A Conference (Telephone Meeting) To set up a telephone meeting: Place or answer your first call (Intercom or outside caller) + Press CONF Place or answer your next call (Intercom or outside caller) + Press CONF Press again to set up the Conference. CONF –...
- Page 10 Dialing By Name (Directory Dialing) To dial a co-worker or outside call by selecting from a group of names: Push Dir. Select a Directory Dialing type: – To call a co-worker, push Ext. – To call a Personal Speed Dial number, push Pers. –...
- Page 11 The DSX Wireless Headset Adapter allows you to connect a Plantronics Wireless Headset System directly to the headset jack on specific models of DSX telephones. The DSX Wireless Headset Adapter tightly integrates your headset system with the DSX to provide enhanced wireless mobility and call answering.
-
Page 12: Using A Dss Console
Using a DSS Console For more call handling power and flexibility, the DSS Console pro- vides 60 additional Feature Keys as well as three Speed Processing Keys along the bottom. (For more on setting up Feature Keys, see the Telephone Feature Handbook .) To use the Speed Processing Keys: The ANSWER Key Press... -
Page 13: Programming Extension Names
Programming Extension Names To program an extension’s name (if enabled in your extension’s Class of Service, normally at 301 only): Menu + Enter the name following the chart below + Save, then For your extension: Push + Dial Back Exit twice+ to exit. - Page 14 Save . For language, >> to select + Save Option Preferences 91: Headset Mode, 92: Headset Voice Announce, 93: Bluetooth (DSX IP Keysets Menu and select Super Display models only) For headset options, push (to enable) or (to disable). Admin...
- Page 15 Calling (Logging Into) Your Mailbox Voice Mail lets callers leave recorded messages for you and lets you leave recorded messages for co-workers. Messages get stored in each person’s mailbox. To listen to your messages or use other voice mail features, you call your mailbox and access the Main Menu.
- Page 16 Voice Mailbox Basics Review these basic features before using your mailbox for the first time. To record a greeting for your mailbox: (Callers hear your greeting before leaving you a message.) or push VM:xx. Press V-MAIL Push Greet. Push Gr1, to select which of the three available greetings you want to be active.
- Page 17 More Mailbox Features When you log onto your mailbox, you get your mailbox main menu of options. These additional features are avail- able from your main menu. To listen to your messages: VM:xx Press or push V-MAIL Push Lstn. While listening to your message, you can do one of the following: –...
-
Page 18: Cascading Message Notification
More Mailbox Features To record and send a message to a co-worker: or push VM:xx. Press V-MAIL Push Rec. Record your message and do one of the following: – Push Done. Pause Resume – Push to pause and resume your recording. Cncl –... - Page 19 Cascading Message Notification (The following steps apply if you have turned notification on for the first time or have pushed Dest.) Part B: Select the Destination Select the notification destination: 1 (Dest1), 2 (Dest2), 3 (Dest3), 4, or 5. – If your system does not allow Cascading Message Notification, you will only see 1 (Dest1). When you see Number on the second display line, do one of the following: Enbl –...
- Page 20 + MOH+ Push Lstnto Message on Hold: At extension 301 (Access Level 5 required), press V-MAIL listen, Recto record (120 seconds max.), or Eraseto erase. (1093057) NEC Unified Solutions, Inc. 4 Forest Parkway, Shelton, CT 06484 Empowered by Innovation 203 926-5400 A50-003177-002...
Need help?
Do you have a question about the DSX and is the answer not in the manual?
Questions and answers
looking to reorder infomation sheets to put under the faceplates
To reorder information sheets for the NEC DSX to place under the faceplates, follow these steps:
1. Remove the faceplate by placing your finger in the recessed area under it and lifting it off.
2. Take out the old label.
3. Insert the customized replacement DESI label.
4. Press down on the faceplate to secure it in place.
This answer is automatically generated