Table of Contents
Advertisement
Quick Links
CONSUMER:
CONSUMER:
CONSUMER: RETAIN
CONSUMER:
CERTIFIED UNDER CANADIAN AND AMERICAN NATIONAL STANDARDS: CSA C22.2 No.46 - M1988/UL 1278(3
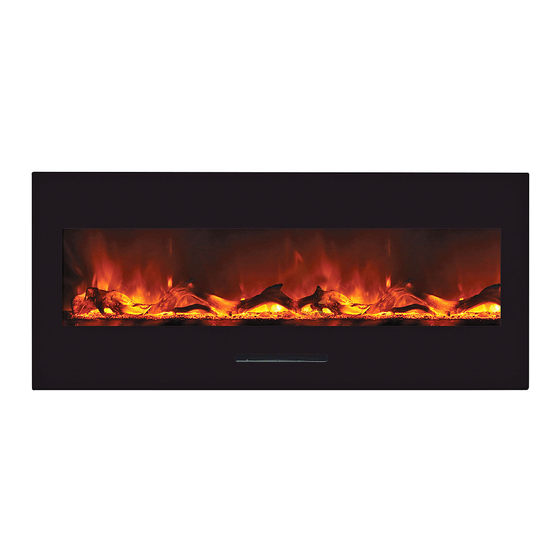
WM-50
ELECTRIC FIREPLACE
INSTALLER:
INSTALLER:
INSTALLER: LEAVE
INSTALLER:
LEAVE THIS
LEAVE
LEAVE
THIS
THIS
THIS MANUAL
RETAIN
RETAIN THIS
RETAIN
THIS
THIS
THIS MANUAL
MANUAL FOR
MANUAL
MANUAL
OPERATING
OPERATING
OPERATING
OPERATING INSTRUCTIONS
MANUAL
MANUAL
MANUAL WITH
WITH
WITH THE
WITH
THE
THE APPLIANCE.
THE
APPLIANCE.
APPLIANCE.
APPLIANCE.
FOR
FOR
FOR FUTURE
FUTURE REFERENCE.
FUTURE
FUTURE
REFERENCE.
REFERENCE.
REFERENCE.
INSTALLATION
INSTALLATION
INSTALLATION
INSTALLATION AND
INSTRUCTIONS
INSTRUCTIONS
INSTRUCTIONS
AND
AND
AND
rd
Edition)
Advertisement
Table of Contents

Related Manuals for Amantii WM-50


Summary of Contents for Amantii WM-50
- Page 1 MANUAL FOR FOR FUTURE FUTURE FUTURE FUTURE REFERENCE. REFERENCE. REFERENCE. REFERENCE. INSTALLATION INSTALLATION INSTALLATION INSTALLATION AND OPERATING OPERATING INSTRUCTIONS INSTRUCTIONS OPERATING OPERATING INSTRUCTIONS INSTRUCTIONS CERTIFIED UNDER CANADIAN AND AMERICAN NATIONAL STANDARDS: CSA C22.2 No.46 - M1988/UL 1278(3 Edition) WM-50 ELECTRIC FIREPLACE...
-
Page 2: Important Instructions
IMPORTANT: IMPORTANT: IMPORTANT: IMPORTANT: It is important to read these instructions carefully before using the appliance for the first time. Keep the instructions safe so that you can refer to them later if necessary. IMPORTANT IMPORTANT INSTRUCTIONS INSTRUCTIONS IMPORTANT IMPORTANT INSTRUCTIONS INSTRUCTIONS When using electrical appliances basic precautions should always be followed to reduce the risk of fire, electric shock and injury to persons, including the following:... -
Page 3: Unpacking And Testing Appliance
UNPACKING AND TESTING APPLIANCE Carefully remove the appliance from the box. Prior to installing the appliance, test to make sure the appliance operates properly by plugging the power supply cord into a conveniently located 120 Volt grounded outlet. 【Grounding Grounding Grounding Appliance Appliance... - Page 4 2) Focus the holes in the back bracket to the four holes A B C D, use the four Self-tapping screws to fix and tight the back bracket to the wall. (Caution: after finishing tighten the four holes, please drill the hole in the middle (E) of the bracket, use the bulged screw tube and the self-tapping screw to tighten it.
-
Page 5: Glass Front Installation
GLASS FRONT INSTALLATION It is recommended that two people install this glass front onto the appliance, Wear safety glasses and gloves when handling glass. A. A. A. A. Line up the brackets on the back of the glass with the 4 shoulder screws on the side of the appliance body. -
Page 6: Safety Instructions
【Safety Safety Safety Safety instructions instructions instructions instructions】 Only use the appliance in accordance with the instructions in this manual! It cannot be used for any other purpose. Never operate the appliance when the appliance itself or the main cable show any signs of damage. In order to avoid overheating, do not cover the heater. - Page 7 【To To switch switch switch switch on on】 Plug in the appliance into the socket. Turn on the Power switch The Touch Panel is in the right side of the fireplace DIAGRAM DIAGRAM DIAGRAM DIAGRAM OF OF THE THE REMOTE REMOTE REMOTE REMOTE CONTROLLER...
-
Page 8: Remote Control
In this case, consult the retailer where you have purchased the appliance. (Below some more instructions for the approved electro technician who carries out maintenance or repairs to your heater): Appliance comes with the following light bulbs: WM-50 WM-50 WM-50 WM-50 four 40W light bulbs (max. - Page 9 【Replacing Replacing Replacing Replacing the the bulbs bulbs bulbs bulbs】 WARNING: WARNING: WARNING: WARNING: UNPLUG UNPLUG UNPLUG UNPLUG FIRST! FIRST! FIRST! FIRST! THEN THEN THEN THEN CAN CAN REPLACE REPLACE REPLACE REPLACE BULB. BULB. BULB. BULB. 1. Lie down the machine, change the bulbs at the back covers 2.
-
Page 10: Warranty
Products covered by this limited warranty have been tested and inspected prior to shipment and, subject to the provisions of this warranty, Amantii warrants such products to be free from defects in material and workmanship for a period of one (1) year from the date of the first purchase of such products. - Page 11 Amantii, including without limitation any of its directors, officers, shareholders, employees, consultants, agents, heirs, executors, administrators and assigns, have been advised of the possibility of such losses, costs or damages, or if such losses, costs or damages are foreseeable.
Need help?
Do you have a question about the WM-50 and is the answer not in the manual?
Questions and answers