Table of Contents
Advertisement
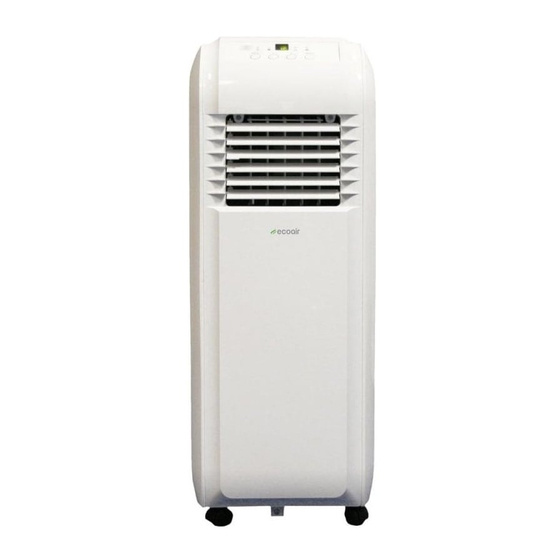
Room Air Conditioners
Portable Range
ECO8P
Register your air conditioner
Model information can be found on the CE
label.
Please register your product online at
www.ecoair.org. For your future
convenience, record the model information
below.
____________________________________
MODEL NUMBER
____________________________________
SERIAL NUMBER
____________________________________
PURCHASE DATE
Advertisement
Table of Contents

Related Manuals for Ecoair ECO8P


Summary of Contents for Ecoair ECO8P
- Page 1 Room Air Conditioners Portable Range ECO8P Register your air conditioner Model information can be found on the CE label. Please register your product online at www.ecoair.org. For your future convenience, record the model information below. ____________________________________ MODEL NUMBER ____________________________________ SERIAL NUMBER...
-
Page 2: Table Of Contents
Many features have been built into your EcoAir air conditioner to assure quiet operation, the best circulation of cool, dry air, functional controls, and the most economical operation. -
Page 3: Bs Plug Wiring
BS Plug Wiring Wiring Instructions: Should it be necessary to change the plug please note the wires in the mains lead are coloured in accordance with the following code: BLUE - NEUTRAL BROWN – LIVE GREEN AND YELLOW - EARTH As the colours of the wires in the mains lead of this appliance may not correspond with the coloured markings identifying the terminals in your plug, proceed as follows:... -
Page 4: Specification
SPECIFICATION Model no. ECO 8P 8000 BTU/hr Cooling capacity 2344watts Power/Ampere consumption for cooling 1100 W/ 5.1A Air volume (H/M/L) 350X300X250 m Humidity removal capacity 0.75L/hour Power supply 220-240V~. 50Hz Compressor rotary Noise Level 56 dB Refrigerant R410A (390g) Fan speed Timer 1 24 hours Working temperature... -
Page 5: Working Principle
Under function of fan motor, indoor airflow changed into cooled air through evaporator then blew out, while the indoor airflow changed into heated air though condenser then blew out. There are 2 flues designed on structure of this unit: heated air is discharged from rear air outlet vent on back air conditio- ner while cooled air from front air outlet vent of the unit.After guide louver, gentle and steady cooled ai- rflow is produced to reach needed cooling effect. - Page 6 When only used as dehumidifier, remember to take off heat discharge pipe from unit and install it onto unit when the unit is used as air conditioner . Since partial indoor air will be heated as heat air and discharged to outside by discharge pipe after cycling then outdoor air will enter to maintain balance air pressure, thus the air conditioner will only lower...
-
Page 7: Structure
Front Rear... -
Page 8: Operating Methods
Apply range The temp. range of this unit is 16 - 35 COOL and DRY Disposal requirement Place the unit on horizontal floor when using and maintain a distance for above 50cm from walls,surface of flammable objects or other obstructions. Power Check before connecting power: The normal running fluctuation range of voltage of the unit is... -
Page 9: Functions And Operation Methods Of Control Panel
Functions and operation methods of control panel Panel Control When pressing key is valid,buzzer makes a sound,indicated light indicates relevant state,system will last for 2 seconds. l. ON/OFF Turn on or turn off the unit (press once to turn on unit and repress to turn off). 2. -
Page 10: Environmental Temperature
Environmental temperature Usage environmental temperature of this unit is 16°C - 35 °C . Cool 1 Install heat discharge pipe well, select a location near door and window, connect the heat discharge pipe to outside and note to leave an air return vent such as a window or door to guarantee the indoor air return normal. -
Page 11: Operation Of Wireless Remote Control
Operation of wireless remote control Names and functions of wireless remote control Note: Be sure that there are no obstructions between receiver and remote controller; Don't drop or throw the remote control; Don't let any liquid in the remote control and put the remote control directly under the sunlight or any place where is very hot. -
Page 12: Timer Button
Notice: This is a general use remote controller, it could be used for the air conditioners with multifunction; For some function, which the model dosen't have, if press the corresponding button on the remote controller that the unit will keep the original running status. Timer TIMER button By pressing this key under switch-off state, you may set... -
Page 13: Guide For Operation- General Operation
Guide for operation- General operation 1. After powered on, press ON/OFF button, the unit will start to run.(Note: When it is powered off, the guide louver of main unit will close automatically.) 2. Press MODE button, select desired running mode, or press COOL or HEAT mode to enter into the corresponding operation directly. -
Page 14: Drainage Methods
When COOL or DRY is running,condensate will drain to water tank.When water tank is filled buz- zer will sound 8 timers for warn, water tank green indicated light on panel on with H8 displayed on display window and whole unit stop running.Plug out plug on drainage hose and take off the hose from fixing clamp, then drain out water in tank.After that,plug the pipe plug onto pipe to prevent leaka- ge of condensate and fix drainage pipe fixing clamp as shown in following figure.The unit will resume running when water filled protect released and... - Page 15 Drain Hose Clip 5. Snap the free end of the drain hose into the drain hose clip. - Install Exhaust Hose and Adapter 1. Roll air conditioner to its selected location. See “Location Requirements.” 2. Insert one end of the flexible exhaust hose into the exhaust adapter. 3.
-
Page 16: Accessories And Installation Of Heat Exaust Hose
Length range of exhaust pipe should be 500mm-1500mm. It is recommended to use it with shortest length. When installing, exhaust pipe should be as flat as possible. Don't prolong the pipe or connect it with other exhaust pipe, or Correct installation is as shown in figure (When installing it on wall, height of hall should be about 40cm-130cm from floor). - Page 17 If the pipe are to be bent, please install it by considering following dimension. Wrong installation is shown in following figure (If the pipe is bent too much, it would easily cause malfunction.)
- Page 18 There are wheels at bottom of mobile air conditioner that enable the unit moves among Mobile AC rooms conveniently according to need. Plug off power plug from socket and cut off power before any maintenance to prevent Warning creepage occurs. If too much duct deposed on filter, performance of air conditioner will reduce, thus it is Clean air filter better to clean filter at least once 2 weeks.
-
Page 19: Maintenance
If malfunction occur, please check the following before maintenance: Troubles Possible Causes Solutions The air conditioner doesn't The power supply is not 1. Insert the power plug start. tightly. connected well. The power plug is 2. Replace the power plug or not inserted tightly. -
Page 20: Safe Note And Notice
Location - Don't place the unit in narrow location. Guarantee better ventilation for unit to prevent malfunction occurs. - Don't place the unit in where there is direct sunburn to prevent fade and re- duce of effect. - The unit should be at least 50cm away from surface of flammable thing. - Page 21 For disposal there are several possibilities: a) The municipality has established collection systems, where electronic waste can be disposed of at least free of charge to the user. b) When buying a new product, the retailer will take back the old product at least free of charge.00 c) The manufacturer will take back the old appliance for disposal at least free of charge to the user.
-
Page 22: Faulty Check List
Is the air conditioner plugged in? Is there a power failure? Is the ‘WATER FULL’ indicator flashing? Is the room temperature below the set temperature? Is there direct sunshine? (Please put down the curtain.) Are too many windows or doors open? Are there too many people in the room? Is there something in the room producing lots of heat? -
Page 23: Order Form
ONE (1) YEAR LIMITED WARRANTY SAVE THIS WARRANTY INFORMATION EcoAir guarantees this product free from defects in materials and workmanship for a period of one (1) year from the date of purchase, limited to parts only. Faults arising from a faulty installation is specifically excluded.
Need help?
Do you have a question about the ECO8P and is the answer not in the manual?
Questions and answers