Advertisement
Quick Links
ECO+ Systems
Split Heat Pump Installation & Owners Manual
This instruction supersedes
any other instructions found
inside this unit.
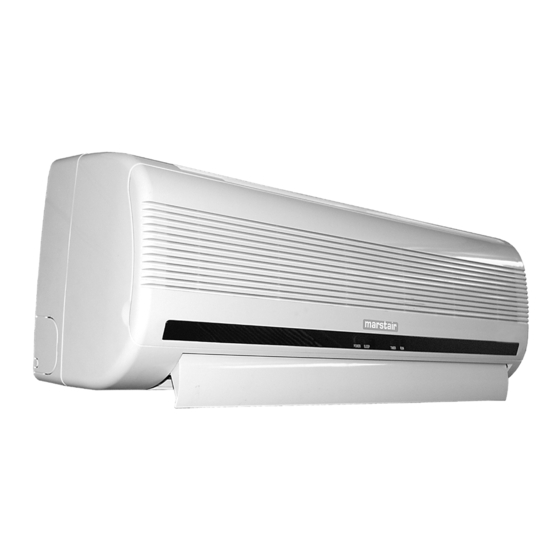
Thank you for selecting an ECO+ heat pump split system.
To ensure many years satisfactory operation, this owner's manual should be read carefully before
using the heat pump. After reading, store the manual in a safe place and refer to it for questions on
use.
The ECO+ heat pump is designed for domestic and light commercial applications.
56208004-01
Advertisement

Summary of Contents for Marstair ECO+
- Page 1 ECO+ Systems Split Heat Pump Installation & Owners Manual This instruction supersedes any other instructions found inside this unit. Thank you for selecting an ECO+ heat pump split system. To ensure many years satisfactory operation, this owner’s manual should be read carefully before using the heat pump.
-
Page 2: Table Of Contents
Contents Filters Safety Precautions Remote Controller Operating instructions Maintenance Protection Troubleshooting Installation Instructions Signal Receives Sleep Indicator Receive signal from It lights up during the the remote controller. set sleep function. Yellow Timer Indicator It lights up during the set time Red Power Indicator It lights up when power supply is on. -
Page 3: Safety Precautions
Safety Precautions Power supply must be in accordance Keep the power supply MCB or fuse Don’t use the power supply circuit with the rating plate requirement. clean. Ensure connections to the MCB breaker to turn the unit off. Do not pull Failure to comply may result in serious or fuse are secure;... -
Page 4: Remote Controller
Remote Controller How to insert batteries (1) Remove the battery cover by sliding in the direction of the arrow. (2) Insert new batteries (2 x AAA) none rechargeable making sure the polarity is correct The remote controller will default to Heat Pump mode if no buttons are pressed for 10 seconds, at which point the ‘Heat’/’Cool’... - Page 5 Remote Controller (Picture shown maybe different from remote controller enclosed but all functions are the same) 5 /20 56208004-01...
-
Page 6: Operating Instructions
Operating Instructions FEEL mode operation procedure With the remote controller pointing towards the air conditioner: Note: There will be a delay when changing mode during unit operation. The fan may stop during the changeover • If you don’t like FEEL mode, try changing to HEATING, DRY or COOLING instead. 6 /20 56208004-01... - Page 7 Operating Instructions TIMER mode The timer may be set to start the system operation during your absence, to create comfortable conditions on your return. It can also be set to turn the system off after a programmed delay, eg when you go to bed. Note: After setting the timer, check that the YELLOW TIMER INDICATION light is visible on the indoor unit.
-
Page 8: Maintenance
Maintenance 8 /20 56208004-01... -
Page 9: Protection
Protection 9 /20 56208004-01... -
Page 10: Troubleshooting
Troubleshooting The following examples may not always be due to a malfunction; please check before calling an engineer. 10 /20 56208004-01... -
Page 11: Installation Instructions
Installation instructions Typical installation: 11 /20 56208004-01... - Page 12 Indoor Installation instructions Brown Terminal L Blue Terminal N White Terminal 1 G/Yellow Earth Screw Connecting the cable The indoor unit is supplied with mains power cables pre- connected. Remove cover to access the terminal block. Route interconnecting cable through the rear of the unit and connect to the terminal block as per table.
- Page 13 Installation instructions Indoor unit installation 1. Installing the mounting plate • Determine the location for the indoor unit. • Place the mounting plate against the wall ensuring it is level. • Mark the wall and drill holes to suit rawl plugs and screws to be used. •...
- Page 14 Installation instructions NOTE • Pipework joints - thermal Insulation: Insulate the interconnecting pipework with thermal insulation and tape any joints. • Pipework - Thermal Insulation: a. Run the drain hose under the pipework. Insulate with at least 6mm thick insulation material. Note: The drain hose is supplied by the installer •...
- Page 15 Installation instructions 4. Connecting the cable • Indoor unit All cables are connected to the indoor unit by the installer. • Outdoor unit 1. Remove the access panel. Connect the cables to the terminals as shown below. Outdoor • Brown Terminal L •...
- Page 16 Installation instructions Outdoor unit installation Install the drain port and drain hose. Condensate will drain from the outdoor unit when it operates in heating mode. In order to protect the environment and prevent hazardous conditions, install a drain port and hose to direct the condensate to a suitable drain.
- Page 17 Installation instructions How to evacuate the system:- Unscrew and remove caps from 2 and 3 – way valves. Unscrew and remove cap from service port on the suction valve. Connect low pressure hose of refrigeration gauge set, to the service port. Connect between refrigeration gauge set and vacuum pump Start vacuum pump and run until a vacuum of 10mm Hg absolute is reached.
- Page 18 Technical Specifications(R410A-DC Inverter) Model No. Eco+26 Eco+35 Eco+50 Type heating pump heating pump heating pump Control type remote remote remote Class in Cooling Class in Heating Btu/h 9000(3800~10500) 12000(5200~13500) 18000(5500~20000) Rated cooling capacity 2.6(1.1~3.1) 3.5(1.5~4.0) 5.2(1.6~5.8) Btu/h 10250(4200~13000) 13800(5500~16500) 20000(4500~24000) Rated heating capacity 3.0(1.2~3.8)
- Page 19 19 /20 56208004-01...
- Page 20 TEV LTD, ARMYTAGE ROAD, BRIGHOUSE, WEST YORKSHIRE, HD6 1QF. TEL: + 44 (0) 1484 405600 FAX: +44 (0) 1484 405620 EMAIL: sales@marstair.com WEB: www.marstair.com 20 /20 56208004-01...


Need help?
Do you have a question about the ECO+ and is the answer not in the manual?
Questions and answers