Elite Screens Evanesce Tension Series User Manual
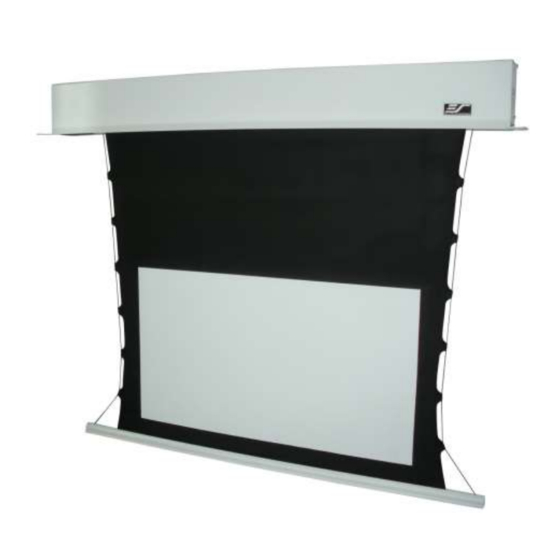
In-ceiling front projection screen
Hide thumbs
Also See for Evanesce Tension Series:
- User manual (12 pages) ,
- Adjustment instructions (4 pages) ,
- User manual (13 pages)

Related Manuals for Elite Screens Evanesce Tension Series


Summary of Contents for Elite Screens Evanesce Tension Series
- Page 1 In-Ceiling Front Projection Screen Evanesce Tension Series User’s Guide www.elitescreens.com.eu info@elitescreens.com.eu...
- Page 2 Important Safety and Warning Precautions Be sure to read this user guide before use and follow the procedures below. Please retain this manual for future reference. To avoid any damage, do not use in conjunction with any accessories not recommended by the manufacturer.
- Page 3 Please be aware of this as it will void the limitation of your warranty. Changes or modifications (except cutting the power cord for hardwire installation) to this unit not expressly approved by Elite Screens is prohibited and will void the warranty. NOTE: This equipment has been tested and found to comply with the limits for a Class B digital device, pursuant to Part 15 of the FCC Rules.
-
Page 4: Control System
Control System RJ-45 input for 5-12 v trigger 1. 5-12V Trigger: The built-in 5-12V trigger input for your new Evanesce Tension allows your screen to synchronize its drop and rise with the projector's power cycle. The screen drops when the projector powers up and 5-12V RJ-45 cable retracts when the projector powers down. -
Page 5: Parts List
Parts List Parts A. M8 Top Expanding Bolt B. M8 Threaded Rod C. M8 Screw Nut D. M8 Hexagonal Screw E. M8 Screw Washer F. Installation Bracket G. Socket Wrench H. White Cover Panel... -
Page 6: Installation
Installation: 1. Measure and cut the ceiling installation space. The width should not exceed 120mm. Please refer to the length on the screen size table (C3). Note: The length of the installation space is not greater than the screen size table (C3), and the width is not less than the screen size table (A5). - Page 7 The expanding bolts (A) mount into thick wood beams, stone or concrete and will support the screen. Use the Socket wrench (G) to attach the hexagonal screws (D). The expanding bolts should be firmly tightened and tested to make sure that they will hold the weight of the screen. C) and (E) Ceiling 5.
-
Page 8: Power Cable
6. Install plastic cover panel (I) to complete the installation. Power Cable The Evanesce Tension series screen includes a power cord for using in a non-concealed power outlet. If your installation however will be entirely concealed including the power outlet, we strongly recommend a hardwire connection. - Page 9 Screen size table Unit:mm Weight Overall Housing View View Diagonal Size black Model Length Length Width Height / Aspect Ratio masking Length (A4) (A1) (B1) (A2) (A3) ITE84VW2-E30 84"(4:3) 2082 2022 2047 1706 2012 1280 2142 2260 ITE100VW2-E20 100"(4:3) 2407 2347 2372 2032...
- Page 10 FAQ’S 1. Q: What are the differences between the IR and RF remotes? A: An IR (Infra-Red)remote is designed for short distance use, like your typical television remove. IR requires direct aim at the IR receiver inside your 3-way wall box.
Need help?
Do you have a question about the Evanesce Tension Series and is the answer not in the manual?
Questions and answers