Advertisement
Quick Links
VNM Enterprise Controller • Setup Guide
The Extron VNM Enterprise Controller is a dedicated control device used to manage
large VN-Matrix systems. The VNM Enterprise Controller allows users to view, manage,
and dynamically control multiple VN-Matrix systems and networked VN-Matrix
domains from a single user interface.
This guide provides basic instructions for an experienced installer to configure and operate a single VNM Enterprise
Controller using a basic VN-Matrix system.
NOTE:
See the VNM Enterprise Controller User Guide, VN-Matrix 200 Series User Guide, VN-Matrix 225 Series User Guide,
VN-Matrix 300 User Guide, and the VN-Matrix 325 User Guide for complete installation, network configuration,
and mounting information. User guides are available at www.extron.com.
Initial Installation and Configuration of Devices
Step 1 — Determine the Default Network Settings
Before any device is connected
to a network, the default
network settings of each
device must be changed. On an
existing network, check with
the network administrator for a
range of available IP addresses.
On a closed network that is
used exclusively for VN-Matrix
devices, it is recommended
to use addresses within the
range of 192.168.254.1 through
192.168.254.254 with a subnet
mask of 255.255.255.0.
Figure 1 shows an example
addressing scheme for a
simple system that contains a VNM Enterprise Controller, an encoder, and a decoder.
Step 2 — Install and Configure the VN-Matrix 200 / 225 / 300 / 325 Devices
Connect these devices as necessary and power them on. Configure the network settings of these devices using a PC running
HyperTerminal. For installation and configuration instructions, see the setup guides included with these devices. Figure 1
can also be used as a guide for configuring network settings.
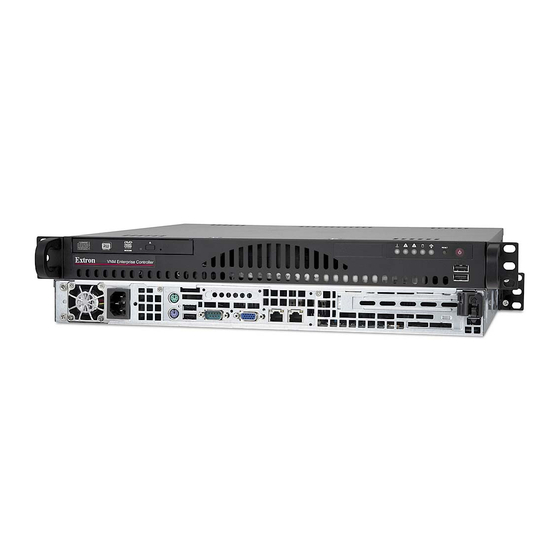
Step 3 — Connect the VNM Enterprise Controller to the VN-Matrix Network
While directly looking at the rear panel of the VNM Enterprise Controller, connect the VN-Matrix network
to the left Ethernet connector of the controller using Category (CAT) 6 twisted pair cable.
NOTE:
The right Ethernet connector should be used only if a secondary VNM Enterprise Controller
is installed. For information on how to set up a secondary VNM Enterprise Controller, see the
VNM Enterprise Controller User Guide.
Step 4 — Power on the VNM Enterprise Controller
Plug a standard IEC power cord into the controller and connect it to a 100 to 240 VAC, 50 Hz or 60 Hz power source.
Step 5 — Configure the Network Settings of the VNM Enterprise Controller
The VNM Enterprise Controller is preconfigured with the following network settings:
IP address:
192.168.254.254
Subnet mask:
255.255.255.0
NOTE:
With these settings, the VN-Matrix 200 / 225 / 300 / 325 devices must use IP addresses within the range of
192.168.254.1 through 192.168.254.253 and use the same subnet mask. The example in figure 1 uses the default
settings of the VNM Enterprise Controller.
Use the following procedure to change the network settings of the VNM Enterprise Controller, if necessary.
RS-232
RGB
or
DVI
LAN -1
LAN -2
STATUS
VNM 200 (Encoder)
PC (Source)
Local IP Address: 192.168.254.101
Controller IP Address: 192.168.254.254
Example VN-Matrix Network Configuration
Figure 1.
Browser User
Ethernet
Control
Ethernet
Ethernet
LAN -1
LAN -2
STATUS
VN-MATRIX 200 SERIES
Local Network
RGB/DVI OVER IP
VNM 225 (Decoder)
Switch
Ethernet
VNM Enterprise Controller (System Controller)
Local IP Address: 192.168.254.254
Controller IP Address: 192.168.254.254
RS-232
DVI
VN-MATRIX 200 SERIES
RGB/DVI OVER IP
Display
Local IP Address: 192.168.254.102
Controller IP Address: 192.168.254.254
Left Connector
Right Connector
1
Advertisement

Subscribe to Our Youtube Channel
Related Manuals for Extron electronics VNM Enterprise


Summary of Contents for Extron electronics VNM Enterprise
- Page 1 VN-Matrix systems. The VNM Enterprise Controller allows users to view, manage, and dynamically control multiple VN-Matrix systems and networked VN-Matrix domains from a single user interface. This guide provides basic instructions for an experienced installer to configure and operate a single VNM Enterprise Controller using a basic VN-Matrix system. NOTE:...
- Page 2 Network Configuration Page Figure 4. Step 6 — Set Up the VNM Enterprise Controller as the System Controller Click the Configuration tab. The Configuration page appears (if login is required, follow steps 5b through 5e). From the Configuration page, click the System config link (see figure 5).
- Page 3 Once the VN-Matrix 200 / 225 / 300 / 325 devices have been assigned as encoders and decoders, no further configuration is required. However, the devices on a VN-Matrix network can be further configured using the VNM Enterprise Controller web-based user interface.
-
Page 4: Logging Out
This keeps the audio and video data together when creating connections. Updating the VNM Enterprise Controller License Updating the license of the VNM Enterprise Controller is sometimes necessary to enable certain features of the system. Use the following procedure to update the license.
Need help?
Do you have a question about the VNM Enterprise and is the answer not in the manual?
Questions and answers