Table of Contents
Advertisement
Quick Links
Download this manual
See also:
Instruction Manual
User's Manual
Model No. CVQ1000
WIRED COLOR CAMERA WITH QUAD
PROCESSOR & REMOTE CONTROL
PLEASE READ CAREFULLY AND SAVE
This manual contains important information about this product's operation. If you
are installing this product for use by others you must leave this manual -or a
copy-with the end user.
Advertisement
Table of Contents

Related Manuals for SVAT CVQ1000


Summary of Contents for SVAT CVQ1000
- Page 1 User's Manual Model No. CVQ1000 WIRED COLOR CAMERA WITH QUAD PROCESSOR & REMOTE CONTROL PLEASE READ CAREFULLY AND SAVE This manual contains important information about this product's operation. If you are installing this product for use by others you must leave this manual -or a...
- Page 2 Important! Please read this booklet carefully before installing or using these units. WARNING-These units should ONLY be opened by an authorized technician if service is required. Safety Precautions For correct and safe operation of this system, it is essential that installers, end-users and service technicians should follow all safety procedures outlined in this manual.
-
Page 3: Parts Included With This System
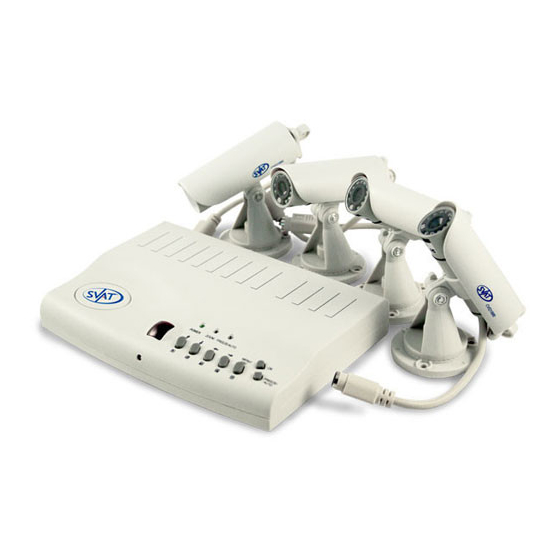
Parts Included with This System 1. 4 Channel Switcher Box x 1 set 2. Remote Control x 1 pc 3. Color Camera With Mounting bracket x 4 pcs 4. 60ft Cable x 4 pcs 5. Video Cable x 1 pc 6. -
Page 4: System Features
B. SWITCHER Installation 1. Connect the adaptor to the adaptor jack [DC IN] and plug it to a wall outlet. 2. Connect the DIN plug to the output jack, connect the other end to your TV or monitor. 3. Connect the DIN jack to the camera DIN plug. 4. -
Page 5: Description Of Control
1 PIP Screen Mode 2 PIP Screen Mode Auto Sequence Mode D. High Performance Freeze Function Flicker Free Image Captured E. High Performance Zoom Function Selectable Zoom Area F. Various Overlay Information Camera Title Real Time and Date Alarm/Loss/Motion Message G. -
Page 6: Remote Control
Functions of Control Buttons When each button is pressed, the corresponding LED above the button will be ON. 1. Press button FREEZE / AUTO for 3 second to get the sequential displays of channel 1, channel 2, channel 3, channel 4, and Quad respectively and proceed in cycle. Or press the button less than 1 second to freeze the picture on the display, press again to unfreeze. -
Page 7: Remote Control Functions
Remote Control Functions: 1. MENU button: Please see menu setup section. 2. FREEZE button: Press any channel to get full screen display, and then press FREEZE to freeze the picture. Press FREEZE again to unfreeze. 3. ZOOM button: Press ZOOM button to achieve zoom in display. Press buttons to choose zoom area. - Page 8 A. System setup: Date / Time: Press to move the cursor to the desired section wish to adjust. Press adjust the section. System Format: Choose PAL / NTSC Key lock: To enable / disable button on the system box. Factory reset: To reset to factory default setting. To exit, press MENU button again.
- Page 9 E. Motion setup: Camera 1: Choose desired camera. Detection Time: To enable / disable detection of the cameras. Masking area: To disable some area you wish not to detect. To exit, press MENU button again. F. Event setup & Event report: Loss: If any camera loss its signal, the report will go to Event report.
-
Page 10: Product Specification
Product Specification Camera Remote Control/Switcher Frequency 310/434 MHz (switcher) Channel Scan Period 1-99sec (adjustable) IR LED Video Format NTSC/PAL NTSC/PAL H Resolution 330 TV Lines Operation Temp -10~50oC Power Consumption 0.22W 100mA Power Supply From Switcher DC 12V /1A Adapter Video Input DIN x 4 Video Output...
Need help?
Do you have a question about the CVQ1000 and is the answer not in the manual?
Questions and answers