
Related Manuals for SNBC BTP-R990


Summary of Contents for SNBC BTP-R990
-
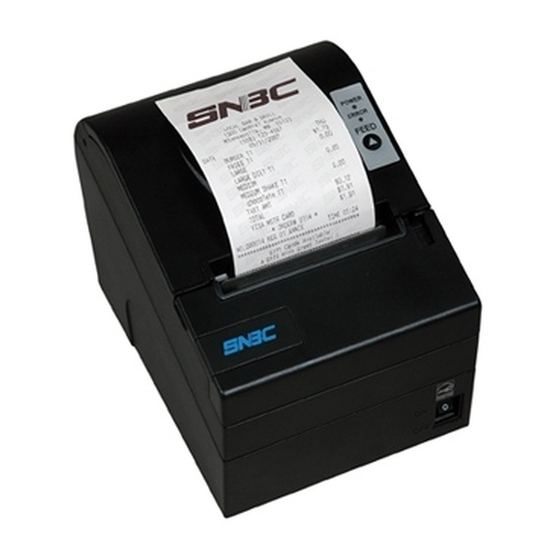
Page 1: Receipt Printer
USER’S MANUAL Receipt Printer BTP-R990 Shandong New Beiyang Information Technology Co., Ltd... - Page 2 Declaration Information in this document is subject to change without notice. SHANDONG NEW BEIYANG INFORMATION TECHNOLOGY CO., LTD. (hereinafter referred to as “SNBC”) reserves the right to improve products as new technology, components, software, and firmware become available. If users need further data about this product or have any doubt about safety issues that might arise from using it, please feel free to contact your local dealer.
-
Page 3: General Safety Information
BTP-R990 User’s Manual General Safety Information Before installing and using the printer, please read the following items carefully. 1. Safety instructions Warning: Do not touch the cutter of the printer. Warning: The print head is a thermal element and it is at a high temperature during printing or just after operation, therefore do not touch it or its peripherals for reasons of safety. -
Page 4: Table Of Contents
BTP-R990 User’s Manual Content 1 Introduction............................1 1.1 O ............................1 UTLINE 1.2 F .............................1 EATURES 2 Specifications ............................2 2.1 M ........................2 AIN SPECIFICATION 2.2 C ........................2 UTTER PECIFICATION 2.3 P ........................3 APER PECIFICATION 2.3.1 2ST paper ..........................3 2.3.2 Marked paper........................3 2.4 P ......................4... - Page 5 BTP-R990 User’s Manual 4.9.1 Power on printer ......................11 4.9.2 Print self-test page ......................11 4.10 G ..................11 UIDE FOR HEXADECIMAL DUMPING MODE 4.10.1 Hexadecimal dumping function..................11 4.10.2 Running hexadecimal dumping..................11 5 Routine maintenance ........................13 5.1 P ....................13 RINT HEAD AND ROLLER CLEANING 5.2 M...
-
Page 6: Introduction
1 Introduction 1.1 Outline BTP-R990 is a 2-side thermal receipt printer developed for high-end thermal receipt printing market. It can be widely applied in many real-time printing fields, such as retail, restaurant, finance, telecommunications, logistics, transportation, lottery, entertainment and parking, etc. -
Page 7: Specifications
BTP-R990 User’s Manual 2 Specifications 2.1 Main specification Item Specification Print Method Direct thermal line printing Print resolution 203×203dpi Max. 1ST print speed: >310mm/s; Print speed Max. 2ST print speed: >175mm/s Print width Max.80mm Paper type 2ST paper One-dimensional barcode: CODE128,ITF, UPC-A, UPC-E,... -
Page 8: Paper Specification
2.3.2 Marked paper BTP-R990 can support marked paper printing and set the cutting and initial printing position accurately. Marked paper not only should meet the parameters of thermal paper roll, but also should meet the following requirements: L1 mark height:3mm≤... -
Page 9: Print And Tear Off Position
BTP-R990 User’s Manual 2.4 Print and tear off position 2.4.1 Print position L1: Paper holder width: 83.5+0/-0.5mm L2:Max Print width: 80mm L3: Distance between left end of print-head and left side of paper house (Fixed) 1.75±1mm L4:Distance between right end of print-head and right side of paper house(Fixed) 1.75±1mm L5: Left margin (default:8mm) L6: Print area width. -
Page 10: Appearance And Components
BTP-R990 User’s Manual 3 Appearance and components 3.1 Appearance and components 1—tear off bar 2—top cover 3—cover open lever 4—feed button 5—error LED 6—power LED 7—power switch 8—bottom cover 9—middle cover 10—power interface 11—cash drawer interface 12—USB interface 13—interface board 14—roller on top cover 15—thermal print head... -
Page 11: Led And Buzzers
BTP-R990 User’s Manual Press down FEED button while turn on the power, the printer will print out the self-test page, including print width, print speed and so on. Enter button configuration mode: Pressing down FEED button while turning on the printer, the printer will print out configuration sample, then cut paper and enter waiting status (ERROR LED flashes). -
Page 12: Installation
4.2 Printer installation 1) BTP-R990 can be installed in two methods: horizontally on table, and vertically on wall. a) Horizontally on table: incline installation angle should not exceed ±15°; b) Vertically on wall: please refer to Chapter 8.4. -
Page 13: Connecting Communication Cable
BTP-R990 User’s Manual Caution: When the printer is not in use for a long period of time, disconnect the power cord from the printer. 4.4 Connecting communication cable 1) Ensure the power switch is turned off; 2) Insert the interface cable into suitable interface, and fix the cable connector with screw and chip spring. -
Page 14: Load/Replace Paper Roll
BTP-R990 User’s Manual 4.7.2 Load/replace paper roll Turn off the printer; Open the printer top cover;. Place a paper roll in the paper cabinet; Pull out the paper end of paper roll, close top cover, and tear off the surplus portion of the paper. -
Page 15: Paper Near End Adjustment
4.8 Paper near end adjustment 4.8.1 Paper near end position adjustment BTP-R990 supports printing in horizontal and vertical positions. Users can realize the detection of remaining paper in horizontal and vertical by adjusting the position of paper near end sensor. The default printer setting is horizontal printing and the paper near end sensor is at the bottom of the paper cabinet. -
Page 16: Power On Printer And Print Self - Test Page
BTP-R990 User’s Manual 4.9 Power on printer and print self-test page 4.9.1 Power on printer 1) Confirm that the printer is connected to power; 2) Turn on the power switch to power on the printer. 4.9.2 Print self-test page 1) Confirm that the printer is connected to power, and load paper roll;... - Page 17 BTP-R990 User’s Manual b. Press the Feed button three times. Caution: If no characters correspond to the data received, the printer prints "." During hexadecimal dumping, any commands other than DLE EOT, DLE ENQ, or DLE DC4 do not function.
-
Page 18: Routine Maintenance
BTP-R990 User’s Manual 5 Routine maintenance Caution: Before starting routine maintenance, confirm that the printer power is turned off. Do not use solvents like gasoline or acetone. When cleaning sensors, the printer should not be switched on until the pure alcohol has totally evaporated. -
Page 19: Interface Signal
BTP-R990 User’s Manual 6 Interface signal 6.1 Parallel interface Parallel interface can work in IEEE 1284 compatible mode or nibble byte mode. The interface is 36PIN socket. The Interface is defined as below: Signal Signal definition source nStrobe Data 0 (Least Significant Bit) -
Page 20: Serial Interface
BTP-R990 User’s Manual 6.2 Serial interface The serial interface of the printer is compatible with RS-232, its connector is 25PIN female D type. PIN No. Signal definition PIN1 Frame Ground PIN2 PIN 3 PIN 4 PIN 5 Not connected PIN6... -
Page 21: Wlan Interface
BTP-R990 User’s Manual Supports printer status query and interface module maintenance based on HTTP(only JK-E02 interface supports, while JK-E04 interface does not support) Interface signal definition Interface adopts 10BASE-T standard in accordance with IEEE802.3. The interface signal is defined as... -
Page 22: Power Interface Definition
BTP-R990 User’s Manual 6.6 Power interface definition AC power interface signal definition: Signal Name AC Power socket DC 24V power interface signal definition Signal Name +24V DC 24V Power socket 6.7 Cash drawer interface signal definition Electrical features Driving voltage: DC 24 V Driving current: Max. -
Page 23: Troubleshooting
BTP-R990 User’s Manual 7 Troubleshooting In case of printer fault, consult this section for solutions and advice. If you do not find a solution in this section, please contact your local dealer for assistance. 7.1 Printer doesn’t work Problems Possible causes... -
Page 24: Optional Accessories
BTP-R990 User’s Manual 8 Optional accessories 8.1 Waterproof cover 8.2 LCD module 8.3 Power supply box 8.4 Wall mounting The printer can be mounted on the wall according to below instructions: Drill two holes (OD: 6mm; depth: 50mm, space of two hole: 75mm) on the wall:... -
Page 25: Powerusb Cable
BTP-R990 User’s Manual Adjust the paper near end sensor (please refer to 4.8.1) and mount the printer as following figure: 8.5 PowerUSB cable - 20 -... -
Page 26: Power Management
Relating Parameters of power management are as below: Maximum Default Delay Times < 5minutes; Because the Maximum Default Delay Times is less than 5 minutes, BTP-R990 does not open this port for user to change the time. - 21 -... -
Page 27: Appendix: Button Configuration Menu
BTP-R990 User’s Manual Appendix: Button configuration menu Refer to BTP-R990 Printer's Parameter Setting Menu by Feed Button. - 22 -...
Need help?
Do you have a question about the BTP-R990 and is the answer not in the manual?
Questions and answers