Table of Contents
Advertisement
Quick Links
Introduction of printer
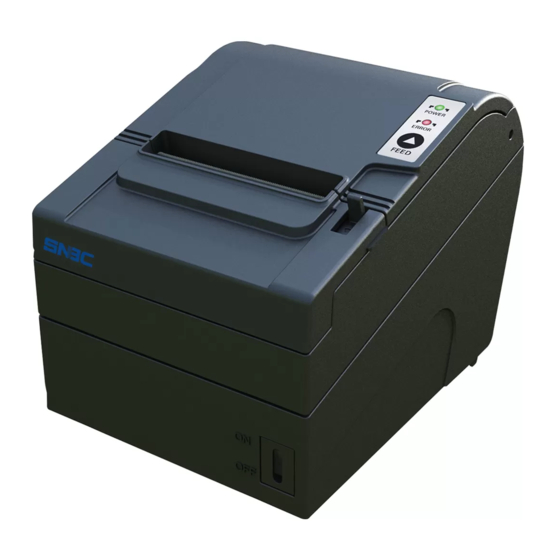
1. Main parts
1—Power LED
2—Error LED
3—Feed button
6—Front cover
7—Middle cover
8—Power switch
11—Top cover open alarm
12—Paper end sensor 13—Paper guide 14—Platen roller
15—Power interface 16—Cash drawer interface 17—Ethernet interface 18—Serial interface
19—USB interface
2. Specifications
Print mode:
Direct thermal line printing
Print speed:
Max 200mm/s
Resolution:
180×180dpi
Print width:
Max 72mm
Power supply: Direct current24V 1.5A
Paper type:
Thermal continuous paper
Paper diameter: Max 83mm
Installing the Printer
1. Connecting the printer
Check to make sure that the power switch of the printer is in the OFF position,then connect the
printer (see figure3.1).
4—Tear-off bar
5—Release Lever
9—Bottom cover 10—Top cover
3.1
2
2. Paper loading
1.
Turn off the printer;
2.
Press the release lever of the top cover and open it, see figure 3.2;
3.
Drop the paper roll in the paper holder, see figure 3.3—3.4;
4.
Pull the beginning of the paper roll out up to the end of the top cover, close the printer
cover, and tear off the surplus portion of paper by using the tear bar, see figure 3.5.
3.2
3.3
Printing self-test pages and enter into button configuration mode
Printing self-test pages is used to check whether the printer is under normal mode.
1.
Ensure paper roll has been loaded and that the top cover has been closed;
2.
Press down the FEED button while turning on the printer power. The configuration page.
At the end of the configuration page the followings text will appear: "Press and Release
FEED to continue SELF-TEST printing" and "Press and Hold FEED to configure the
printer" The printer is holding and waiting for the input while the PAPER LED is
flashing;
3.
Press the FEED button for a short time, the printer will print a second page with a pattern
using the built-in character sets and cut paper;
4.
Press the FEED button for a long time, the printer will enter into button configuration mode
FEED Button, LEDs and Buzzer
FEED button
Press the FEED button for a short time, the printer will feed paper one line at a time. Hold the
FEED button, the printer will feed paper constantly.
LEDs
POWER LED: green, indicating power status (on/off).
PAPER LED:red, indicating paper end , opening top cover conditions or self-test
standby status.
Buzzer
Buzzer beeps under one of the following conditions:
1.
Under error conditions like paper end or top cover up;
2.
Start or stop printing(relevant to choosing drive control).
3.4
3.5
3
.
Advertisement
Table of Contents

Subscribe to Our Youtube Channel
Related Manuals for SNBC BTP-R180II


Summary of Contents for SNBC BTP-R180II
- Page 1 Introduction of printer 2. Paper loading Turn off the printer; 1. Main parts Press the release lever of the top cover and open it, see figure 3.2; 1—Power LED 2—Error LED 3—Feed button 4—Tear-off bar 5—Release Lever Drop the paper roll in the paper holder, see figure 3.3—3.4; 6—Front cover 7—Middle cover 8—Power switch...
- Page 2 Functions of LEDs and buzzer RECEIPT PRINTER User’s Quick Reference Name status Explanation Always on Printer is in standby status Power LED (Green) Printer power is in off status. Paper LED Flash Printer is in error status (Red) Printer is in normal status Buzzer Beep Printer is in error status...
Need help?
Do you have a question about the BTP-R180II and is the answer not in the manual?
Questions and answers