
Related Manuals for SNBC BTP-M280


Summary of Contents for SNBC BTP-M280
- Page 1 USER’S MANUAL Impact Receipt Printer BTP-M280 Shandong New Beiyang Information Technology Co., Ltd.
-
Page 2: Table Of Contents
...10 NPACKING 4.2 M OUNTING THE RINTER 4.2.1 Horizontal mounting ...10 4.2.2 Wall-mounting (optional) ...11 4.3 C ONNECTING TO A GROUND LINE 4.4 C ONNECTING THE OWER Contents ...7 ...10 ...11 ...12 DAPTER - 1 - BTP-M280 User’s Manual 错误!未定义书签。... - Page 3 6.3 S ...31 ERIAL INTERFACE 6.4 E ...31 THERNET 6.5 WLAN I NTERFACE OARD 6.6 P OWER INTERFACE DEFINITION 6.7 C ASHDRAWER DEFINITION ...12 ...12 ...12 RAWER ...15 RIVER ...21 ...28 ...32 ...33 ...33 - 2 - BTP-M280 User’s Manual...
- Page 4 7 TROUBLESHOOTING...34 7.1 C UTTER ERROR TROUBLESHOOTING 7.2 P ’ RINTER DOESN 7.3 E RROR UZZER 7.4 P ROBLEMS DURING RINTING 7.5 P ROBLEMS DURING SING ...34 ...34 ...34 ...34 ...35 RIVER - 3 - BTP-M280 User’s Manual...
-
Page 5: Warning And Caution
Warning and Caution Warning: Items should be strictly followed to avoid damages to body and equipment. Caution: Items with important information and prompts for operating the printer. The quality control system of SNBC has been approved of the following certification. -
Page 6: General Safety Instruction
3) Keep the printer away from water source, direct sunlight, strong light and heat. 4) Do not use or store the printer in a place exposed to heat or fire, moisture or other pollution. 5) Do not place the printer on a place exposed to vibration or impact. -
Page 7: Overview
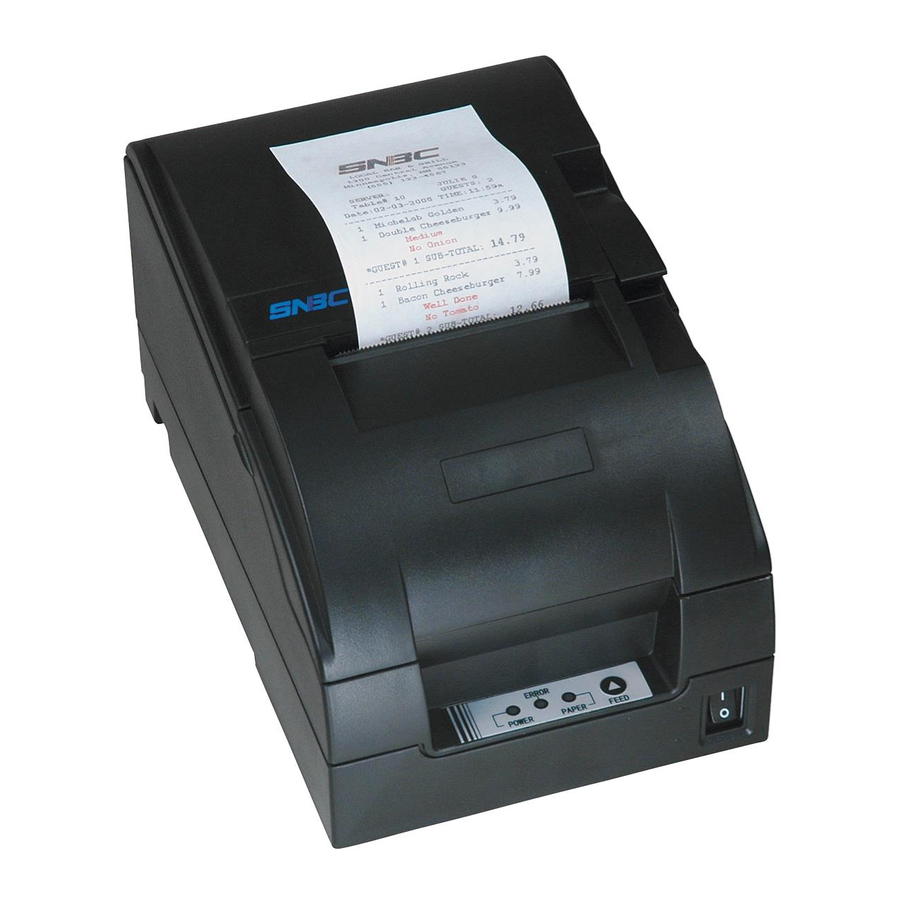
1 Overview 1.1 Outline The BTP-M280 is a 9-pin serial impact dot matrix receipt printer offering high quality, high speed, and stable performance. It is widely used in real-time printing on-site, such as POS system, kitchen and finance applications. The BTP-M280 can be connected with other devices via USB, parallel, serial, Ethernet and WLAN interface. -
Page 8: Specifications
DC 24V±5% average current 1.5 A 10,000,000 lines 150,000,000 characters 1,000,000 times 5~45℃,20~90%RH (40℃) -40~60℃,20%~93%RH (40℃) 160mm(W)×245mm(D)×145mm(H) 2.9kg - 4 - BTP-M280 User’s Manual 69.5mm 57.5mm 30 CPL 25 CPL 36 CPL 30 CPL 20 CPL 16 CPL Chinese: 8.9CPI... -
Page 9: Cutter Specification
Besides the requirements of the continuous paper, marked paper should follow the following requirements: 1) Mark place BTP-M280 printer reserves 8 positions for mark sensor, which can detect marks on either the front side or the reverse side of the paper. Position of the sensor is as shown in the figure. -
Page 10: Ribbon Specification
2.4.1 Ribbon model 2.4.2 Demensions Caution: Please use the recommended EPSON original ribbon to ensure the printing quality and lifetime of the printer transmission part. Model Color ERC-38(P) Purple ERC-38(B) Black ERC-38(B/R) Black / Red - 6 - BTP-M280 User’s Manual Unit:mm... -
Page 11: Print And Tear-Off Position
L2: Print width L3: Print left margin L4: Print right margin Print width (L2) Left margin (L3) 63.4mm 57mm 47.5mm - 7 - BTP-M280 User’s Manual Right margin (L4) 6.8mm 5.8mm 6.8mm 5.7mm 6.8mm 3.2mm L1: About 21.5mm L2: About 34mm... -
Page 12: Outline And Parts
Press the button while turning on the printer, a self-test page will be printed. In the normal status, press the FEED button for a short time, the printer will feed paper one line at a time. Under continuous paper mode, hold the FEED button, the printer will feed paper constantly. -
Page 13: Led And Buzzer
5) Power switch(8) Turn on/off the printer. “O” is to turn off the printer; “—” is to turn on the printer. 6) Back cover latch(9) Catch back cover latch and pull it out to open the back cover. 7) Paper near end sensor(19)... -
Page 14: Installing
BTP-M280 has two mounting modes: horizontal mounting and wall-mount. 4.2.1 Horizontal mounting The printer should be mounted on a flat and stable surface. For operation and maintenance, we suggest you reserve space below the printer to ensure its reliability and easy operation. -
Page 15: Wall-Mounting (Optional)
Caution: In case of wall-mount, the printer must be oriented upwards. The hook on the wall should be firmly positioned to avoid printer damage or risk of falling. 4.3 Connecting to a ground line Printer housing should be grounded. Please ensure the material is AWG18 or equivalent. -
Page 16: Connecting The Power Adapter
Do not place the power adapter cord near a heating device, otherwise, the cover of the cord may melt, causing a risk of fire or electric shock. When the printer is not used for a long period of time, disconnect the power adapter from the wall outlet for safety. -
Page 17: Loading Paper Roll
When using 80mm width paper roll the paper guide doesn’t need to be placed into the printer, but please keep it safely in case of using in the future. -
Page 18: Printer Self-Test
The PAPER LED flashes. 4) Press the FEED button for a short time, the printer will print a second page with a pattern using the built-in character sets; press the FEED button for a long time, the printer will enter into button configuration mode. -
Page 19: Installing The Printer Driver
If you accept it, please click “I Accept”, then click “Next” button. 2) Select the model and the name of the printer to be installed. If you want to set it as default printer, please select “Set As Default Printer”, then click “Next” button. - Page 20 Select the current system type and click “Next” button. 4) Set printer port. The default port is “LPT1”. User can install it based on actual port. Under Windows NT4.0 or above, please select “BYCOMx” for serial driver (x equals to 1,2,3,4,5,6,7 or 8). Click “Finish”...
-
Page 21: Advanced Setup
If you accept it, please click “I Accept”, then click “Next” button. 2) Select the model and the name of the printer to be installed. If you want to set it as default printer, please select “Set As Default Printer”, then click “Next” button. - Page 22 4) Select the current system type and click “Next” button. 5) Set driver mode and printer port of the printer. Default settings are: port is "LPT1" as default port and supporting Multi USB printers. Click "Finish" to end the installation.
-
Page 23: Installing The Usb Device Driver
4.11.3 Installing the USB device driver If printer is using a USB interface to communicate, before installing the printer driver, the user needs to install the USB device driver first. The steps for installing the USB device driver are as follows: (Take XP... - Page 24 Click on "Finish" to end the installation. Windows 98/Me system Connect USB interface of the printer with idle USB interface of the PC Using USB cable. System will recognize USB device automatically and popup "Add New Hardware Wizard", then click "Next".
-
Page 25: How To Use The Driver
Click “Printers and faxes” in “Settings” item; or first click “Control panel” button, then click “Printers and other hardware” in “Control panel”, next click “Printers and faxes” button. After selecting BTP-M280, click “File” menus, then click “Service Properties” submenus In “Forms” item, select “Create a new form”. -
Page 26: Parameter Explanation
Click “Apply” button to finish paper self-definition Caution: Before setting user defined page, please ensure that the printer driver has been installed properly. In application, you can select the page in varieties of official software such as WORD, EXCEL and so 4.12.2 Parameter explanation... - Page 27 Setting resolution parameter BTP-M280 driver supports three kinds of resolutions: 160 x 144 dpi, 160 x 72 dpi, 80 x 72 dpi. Users can select it according to their own need. High resolution has clear printing while lower print speed; low resolution has higher print speed while less clear printing.
- Page 28 Single/ Bi-directional print setting Set single/bi-directional print settings via this option. Operation option User can set different setting of page via this option: start of document, start of page, end of page, end of document. - 24 - BTP-M280 User’s Manual...
- Page 29 Cash drawer pulse width;Buzzer (Buzz 200ms, 600ms, 1s, 2s, 4s); paper feed;paper cut (paper cut by hand, partial cut, full cut), print Logo bitmap. Utility User can set control font and print self test page via this option, at the same time user can set user-defined page size. - 25 - BTP-M280 User’s Manual...
- Page 30 Download User can download firmware and Logo via this option. Font User can select driver supported font and font size via this option. - 26 - BTP-M280 User’s Manual...
- Page 31 BTP-M280 User’s Manual Version information User can see the printer driver version information via this option. - 27 -...
-
Page 32: Maintenance
For daily maintenance be sure the printer is turned off. Do not use gasoline, acetone or other organic liquids to clean any parts of the printer. When cleaning the sensor, please leave the printer off until the alcohol completely dried. - Page 33 Turn off the printer Pull the latch to open the back cover of the printer Check if there is any paper in the paper path, if necessary, clear the jammed paper. Close the back cover and finish clearing paper jam.
-
Page 34: Interface Signal
6 Interface Signal The BTP-M280 can be connected with other devices via USB, parallel, serial, Ethernet and WLAN interface, USB interface is a fixed interface of the printer and other interfaces are optional. 6.1 USB interface The printer USB interface supports USB1.1 protocol, of which the outlet is USB A type. -
Page 35: Serial Interface
6.3 Serial interface The printer serial interface is compatible with RS-232 standard, of which the outlet is 25PIN female D type. 8~19 21~25 User can query interface settings status via a printing configuration sample. The default setting is as follows:... -
Page 36: Wlan Interface Board
Supports HTTP protocol Protocols supported ICMP DHCP TFTP HTTP For detailed specification, please refer to User Manual Of WLAN Interface Module. Signal name - 32 - BTP-M280 User’s Manual Instruction Data transmission+ Data transmission- Data receiving+ Reserve Reserve Data receiving- Reserve... -
Page 37: Power Interface Definition
Interface signal definition Items Caution: Do not connect or disconnect signal cable when printer power is on. Signal cable should be far away strong current. Signal cable should be far away from strong current sources. Unetop DC-002 or equivalent product. -
Page 38: C Utter Error Troubleshooting
2)Pull the latch to open the back cover of the printer. 3)Power on the printer, the cutter will be reset automatically. Caution: To avoid injury, please do not touch the sliding blade of the cutter when printer is power on. 7.2 Printer doesn’t Work Problems... -
Page 39: P Roblems During U Sing D River
Used one color ribbon Page settings are not correct Overtime setting is too short Current port is occupied. - 35 - BTP-M280 User’s Manual Solution Refer to 4.11.3 Installing the USB device driver. Print a self-test page to confirm serial configuration of the current printer and configure it correctly.
Need help?
Do you have a question about the BTP-M280 and is the answer not in the manual?
Questions and answers