Advertisement
Quick Links
Advertisement

Related Manuals for Crystal Mountain Summit


Summary of Contents for Crystal Mountain Summit
- Page 1 SUMMIT Bottled Water Dispenser User Manual...
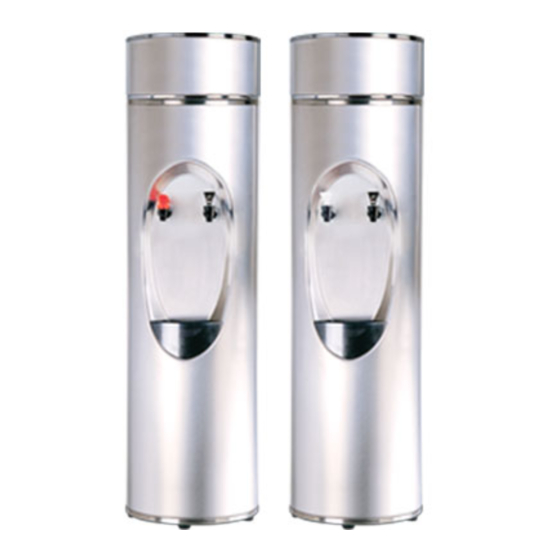
- Page 2 1. Hot Water Faucet (with Child Safety Feature) 2. Cold Water Faucet 3. Cook Water Faucet (Room Temperature Water) 4. Drip Tray Parts may not appear exactly as shown...
-
Page 3: Operation
THANK YOU FOR BUYING A CRYSTAL MOUNTAIN WATER COOLER! RECEIVING Inspect the cooler box immediately and carefully for any evidence of shipping or handing damage before signing to receive goods. In case of shipping damage, claims should be filed immediately with the carrier. Please note that the carrier will not accept claims for any damage discovered after the signing for UNINSPECTED GOODS. - Page 4 5. Ensure the following when cooler is to be serviced: 5.1 Turn off Hot Tank Switch (Figure 7) (Hot & Cold models only) and disconnect power supply cord (Figure 8). 5.2 Remove bottle from reservoir. (Figure 9) Figure 7 Figure 8 Figure 9 5.3 Use a bucket to drain water from the cold water reservoir through faucets (Figure 10).
- Page 5 (Figure 18 and Figure 19) then remove the DryGuard (Figure 20). Note: the DryGuard lid is standard on the Summit cooler. See the DryGuard section for installation and removal instructions. Figure 18 Figure 19 Figure 20 4.
- Page 6 3. Use the fingertips of both hands to press downward on the Cone and turn counter clockwise till it is free from the cooler opening. (Figure 32 and Figure 33) then remove the DryGuard (Figure 34). Note: The DryGuard lid is standard on the Summit cooler. See the DryGuard section for installation and removal instructions.
- Page 7 5. Approach the cooler from the rear and open the latch provided on the evaporator band (Figure 38). 6. Remove the faucets from the reservoir elbows by turning them counter clockwise (Figure 39). 7. Using both hands, loosen the reservoir from the evaporator band and lift it straight through the cooler opening (Figure 40).
- Page 8 CLEANING Do Not Immerse the Unit in Water for Cleaning Remove any dust or contaminants from the cooler by rinsing the cold water reservoir and faucets with clean water prior to use. IMPORTANT: Stainless steel surfaces require special cleaning products and treatment. Use only products specially formulated for use (Figure 49 and Figure 50) on stainless steel (Crystal Brite ) DO NOT USE abrasive cleaners or cloths when polishing Figure 49...
-
Page 9: Installation
Standup Series Bracket Installation Instructions INSTALLATION 1. Remove the two mounting screws that secure the Bottom Plate to the outer enclosure. 2. While holding the "S" shaped bracket against the cooler (refer to diagram) reinstall and tighten the bottom plate/outer enclosure screws securely. 3. - Page 10 WARNING: The warranty and Underwriters’ Laboratory and CE listings for the coolers are invalidated if any alteration, modification, or use or misuse in combination with any other machine or devices is deemed to be the source of any claim. The manufacturer accepts no liability (including for bodily injury) resulting from any alteration, misuse, neglect, accidents, improper installations or repairs.
Need help?
Do you have a question about the Summit and is the answer not in the manual?
Questions and answers