Advertisement
Quick Links
Advertisement

Related Manuals for Crystal Mountain Storm Café


Summary of Contents for Crystal Mountain Storm Café
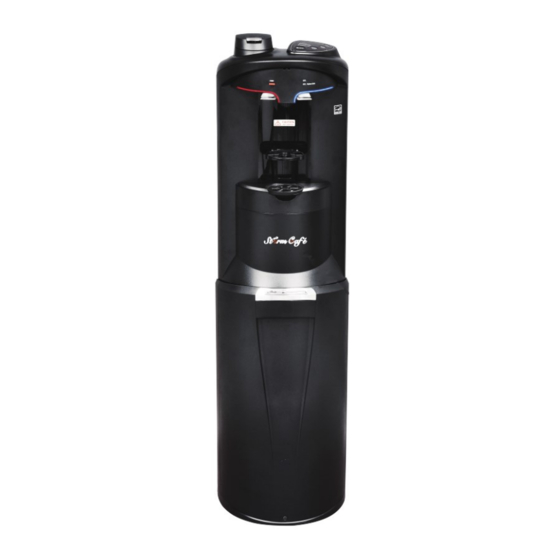
- Page 1 Storm Café Cleaning and Sanitization...
- Page 2 Notice The information and/or procedures presented in the following demonstration(s) should be performed by a trained water cooler service technician only (except daily cleaning of coffee pod holder and monthly cleaning with detergent pod). Never attempt to service or repair a water cooler while it is plugged into any power supply. Prior to any service or repair of the water cooler, ensure that the water has been completely drained from the system.
- Page 3 CAUTION: DO NOT IMMERSE THE UNIT IN WATER OR CLEAN USING PRESSURE WASHER. The daily cleaning of coffee pod holder and monthly cleaning with detergent pod maybe performed by the end user. Cleaning tips to help maintain the Storm Café in clean and hygienic state l Wash hands thoroughly with soap and water for at least 20 seconds and/or use an alcohol- based hand sanitizer containing a minimum 60% alcohol prior to cleaning and sanitizing.
- Page 4 2. Open the coffee pod holder lid (Figure 4). Remove the coffee cup holder (brown) (Figure 5) and discard or machine wash (top rack only). Turn the red twist locks on each side to release and take out the bottom part of coffee pod holder (Figure 6, 7, 8).
- Page 5 4. Install the cleaned top coffee pod holder components in the cooler (Figure 13), closing the catch on each side (Figure 14). Slide the bottom part of coffee pod holder into place (Figure 15), turning both red twist locks to secure (Figure 16). Place a clean cup holder (brown) in the pod holder (Figure 17) and push down to close the lid (Figure 18).
- Page 6 Monthly cleaning with detergent pod (not supplied) 1. With the coffee machine turned on and at temperature, open the coffee pod holder (Figure 19), insert the detergent pod and close lid (Figure 20). Figure 19 Figure 20 2. Place a 12 oz or larger glass or similar container under the water outlet (Figure 21). Select the 12 oz option and press the “Brew”...
- Page 7 Basic cleaning 1. Use sterile nitrile gloves or wash hands with soap and water for 20 seconds before and after handling water contact parts. 2. Remove raised drip tray assembly and disassemble it for cleaning (Figure 23). 3. Using clean cloth wipe raised drip tray support, and wash the drip tray grill and base using mild dish detergent (Figure 24, 25, 26).
- Page 8 6. Using the top cover key (Figure 32), insert into the two holes (on the front, approximately 2 inches above and to the right of hot water safety button). Push key inward to open top cover (Figure 33 & 34). Figure 32 Figure 33 Figure 34...
- Page 9 8. To drain the hot tank, use a #2 Phillips screwdriver, remove the drain cap cover on the rear of the cooler. Using a flat blade screw driver or 1/2" socket, remove the drain cap and plug (Figure 41 & 42). Drain water into a pail or container (at least 0.5 gal.) (Figure 43) and discard.
- Page 10 11. Use a stiff, non-metallic brush or vacuum attachment to clean the condenser and all accessible areas to remove dirt, lint and debris. Use a clean damp cloth to wipe down condenser (Figure 47). CAUTION: DO NOT CLEAN USING PRESSURE WASHER OR ANY DIRECT WATER CONTACT. Figure 47 12.
- Page 11 14. Close and lock the latch arm (Figure 55). Figure 55 15. Remove the red plug from the blue tube of the Smartflo™ Water Cartridge and install onto the bottle adaptor assembly (Figure 56). Save the red plug for future use. Figure 56 Close the top cover and lower the door to close.
- Page 12 DOC-C100188 Rev0720 Copyright © 2020 by Crystal Mountain Manufactured under U.S. Patent No. 10,781,093 and other patents pending...
Need help?
Do you have a question about the Storm Café and is the answer not in the manual?
Questions and answers