Crystal Mountain Crystal Pro Installation Operation & Maintenance
Water appliance
Hide thumbs
Also See for Crystal Pro:
- Installation, operation & maintenance manual (24 pages) ,
- Installation, operation & maintenance manual (24 pages)
Table of Contents
Advertisement
Quick Links
Advertisement
Table of Contents

Related Manuals for Crystal Mountain Crystal Pro


Summary of Contents for Crystal Mountain Crystal Pro
- Page 1 Crystal Pro Water Appliance Installation, Operation & Maintenance...
-
Page 2: Table Of Contents
Table of Contents Crystal Pro Water Appliance Enjoy clean drinking water that also tastes great Introduction.................1 with this Crystal Mountain Crystal Pro Water Notice and Safety Information..........2 Appliance series. This product was designed to Crystal Pro Water Appliance Overview......3-4 bring safe drinking water to your facility and Assembly Drawing............5... -
Page 3: Notice And Safety Information
Regularly inspect the filter, filter housing and plumbing fittings for water leaks. Water leaks can cause damage to your office or facility. • Only connect the power cord to a properly grounded outlet and do not use an extension cord with the Crystal Pro Water Appliance. •... -
Page 4: Crystal Pro Water Appliance Overview
UV Light System Thank you for purchasing the tastes, odors & other Crystal Mountain Crystal Pro All models of the Crystal Pro contaminants. The lters are Water Appliance. The Crystal Water Appliance are fitted with designed for easy replacement. -
Page 5: Crystal Pro Water Appliance Overview
Crystal Pro Water Appliance Overview Unique features This manual includes information on the following: Crystal Pro Water Appliances for Office & In –Plant. No. of Temperature Description Body color Voltage Reservoir Lid color Option Type of lid Options Faucets 1=1pcs... -
Page 6: Assembly Drawing
Assembly Drawing Figure 1. Assembly Drawing 1. Top Service Panel 10. Cold Water Pushbutton 19. Adjustment Feet 2. Side Panel Right 11. Status Indicator - Power 20. ON/OFF Switch (COLD) 3. Front Top Panel 12. Side Panel Left 21. Fuse 4. -
Page 7: Installation
Installation Sanitize Appliance Flush Filters Turn ON HOT &COLD switches Establish Water & Electrical Connections Record installation date Install Filtration Position & Level Figure 2. Quick Start Guide Position & Level Locate the appliance as close to the water supply and the electrical connections as possible. Level the appliance using the adjustable leveling feet and built-in bubble indicator. - Page 8 Figure 3. Appliance Leveling Feet and Installing the Expansion Bolt 5. Your Crystal Pro Water Appliances comes complete with a built-in cup holder under the water dispenser section. This holder is designed to hold up to 20 standard size cups with a top diameter of between 2.8"and 3.0"...
- Page 9 Establish Water & Electrical Connections The appliance contains push-to-connect type fittings on the appliance rear for the water supply and RO drain. These fittings accept ¼"polypropylene plastic tubing. If copper tubing is to be used, then these fittings must be replaced with a metal design. In addition, two drain ports are provided for the HOT and COLD tanks.
- Page 10 10. Wearing gloves and using a clean, lint-free cloth, thoroughly wipe down the inside of the main storage tank. 11. Let stand for ten minutes. 12. Slowly turn ON the water supply. 13. Depress the appliance buttons (alternate between HOT and COLD sides) to allow the solution to run through the spigot and associated lines.
-
Page 11: Operating Crystal Pro Water Appliance
Operating Crystal Pro Water Appliance Series Water Appliance Your Crystal Pro Water Appliance contains a simple, intuitive user interface for operation and status. All buttons are backlit and a nightlight is provided in the dispenser area. AMBIENT button UV simulator light... -
Page 12: Service And Maintenance
Service and Maintenance Once assembled, installed, and flushed properly, your Crystal Pro Water Appliance will provide years of trouble-free operation. Normal service should only be carried out by a trained service professional. Depending on usage, the filtration cartridges should be replaced every six (6) months or as directed by the manufacturer. -
Page 13: Drain Tanks
Install the sanitization cartridges Place a sanitization cartridge (this can be an empty filter cartridge or one supplied by your filter supplier) inline before the water inlet in the back of the unit. Using a small eyedropper, prepare the sanitization cartridge by adding one teaspoon of unscented, liquid chlorine bleach. -
Page 14: Uv System Bulb Replacement
Reset Leak Detection System All models of Crystal Pro water appliance are fitted with a leak detect system. This system will generate an audible and visual warning upon detecting water at the base of the unit due to failed tubing or connections. -
Page 15: Troubleshooting
Troubleshooting Symptom Solution Possible Cause Check outlet and plug for proper connection No electric current flowing No Power / Power Check external circuit breaker External circuit breaker has tripped status indicator OFF Check fuse at rear of appliance and replace Blown fuse as necessary Check external water supply valve for... -
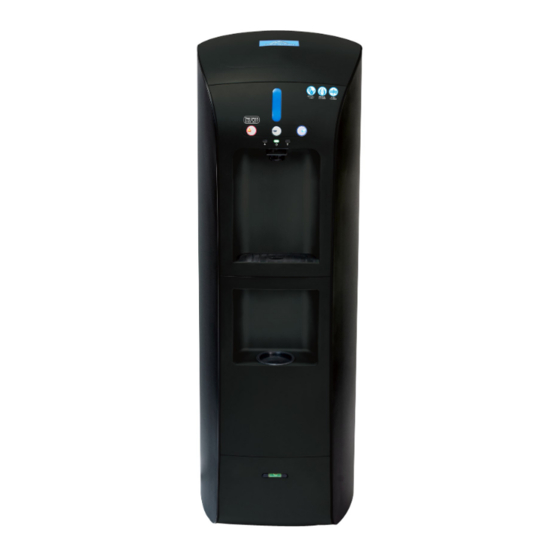
Page 16: Technical Specifications
Technical Specifications Cabinet Black/ Charcoal Color Metal side panels, ABS front panels Material 15.4" X 14.8 " X 46.3"(391X 375 X 1175mm) Dimensions Empty Weight 61 Lbs (22.8 Kg) 1/4" push to fit style Water Connections Water Appliance Ambient, Hot & Cold standard Selections Storage Tank Material Stainless Steel (plastic for 3 gallon internal storage tank) -
Page 17: Flow Diagram
Flow Diagrams Hot tank Inlet Pipe Ambient Water Outlet Solenoid Valve Outlet Solenoid Valve Figure9. Flow Diagram (HOT, AMBIENT, and COLD models) -
Page 18: Electrical Diagram
Electrical Diagram DC24V DC24V SOL3 SOL2 UV BULK SOL1 DC24V MAIN PCB Transformer AC120V LED Hot LED Power LED Cooler AC18V AC230V Figure 10. Electrical Diagram (All models) MC: motor compressor SW1: HOT switch H: Heater SW2: COLD switch SOL1: Inlet valve LD: Water leak detector SOL2: HOT inlet valve WLD: Water level detector... -
Page 19: Warranty
God. In the event of a claim for warranty, the defective part must be returned to Crystal Mountain, together with proof of purchase, installation date, failure date and supporting installation date. Any defective part returned to Crystal Mountain must be sent freight prepaid. - Page 20 Crystal Mountain Products Inc. North American Sales / Warehouse 915 Taylor Rd, Unit 3 Gahanna OH 43230 Tel: (614) 454 1618 Fax:(614) 866 7765 E-mail: sales@crystalcoolers.com Crystal Mountain Products Limited Canada Sales Office 11925 -145 Street Edmonton, Alberta Canada T5L 2H4...
Need help?
Do you have a question about the Crystal Pro and is the answer not in the manual?
Questions and answers