Crystal Mountain Crystal Pro Installation, Operation & Maintenance Manual
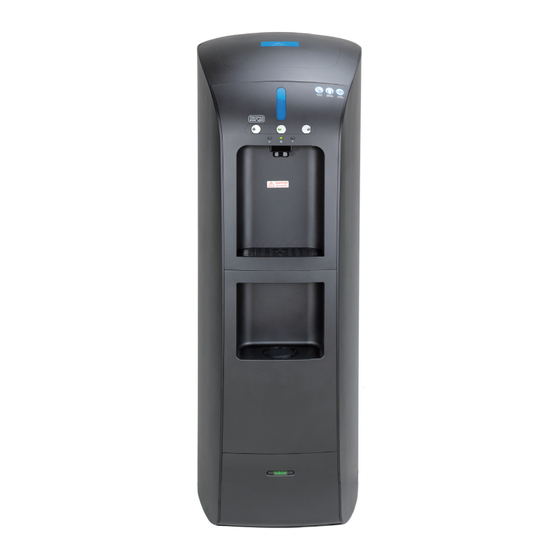
Water dispenser
Hide thumbs
Also See for Crystal Pro:
- Installation operation & maintenance (20 pages) ,
- Installation, operation & maintenance manual (24 pages)

Related Manuals for Crystal Mountain Crystal Pro


Summary of Contents for Crystal Mountain Crystal Pro
- Page 1 Installation, Operation & Maintenance Manual Crystal Pro Water Dispenser www.crystalcoolers.com © 2023 Crystal Mountain Products Inc...
-
Page 4: Notices And Safety Information
To ensure proper and e cient operation of the Crystal Pro Water Dispenser to your full satisfaction, carefully fol-low the instructions in this manual. Do not use with water that is microbiologically unsafe or of unknown quality without adequate disinfection be-fore the system. - Page 5 Features & Bene ts Thank you for purchasing the Crystal Mountain Crystal Pro Water Dispenser. The Crystal Pro rings a fresh approach and a new look to point-of-use water dispensers. The system's contemporary color scheme complements every o ce environment. There are no ottles to change and the supply is virtu- ally unlimited.
- Page 6 Steel Reservoir L=Grey The Crystal Pro Water Dispensers come completely assem led and ready for set up and operation either with, or without, installation of reverse osmosis or ltration cartridges. Remove the dispenser from the ox, saving the ox and the packaging materials. The carton con-...
-
Page 7: Parts Diagram
Parts Diagram... - Page 8 Parts Diagram Detail...
- Page 9 DESCRIPTION Part Number Side Panel, Left SMT-C400002 Side Panel, Right SMT-C400003 Top Cover SUB-C400007(G) / SUB-C400032(B) Lamp, Logo ELE-C100419 Cover, Back SMT-C400005 Solenoid, Low Pressure 24V DC (3 in unit) POU-C400001 Support Bracket, Rear Upper (2 in unit) SMT-C400008 Support Bracket, Front (2 in unit) SMT-C400007 Water Outlet...
-
Page 10: Installation
Using a wrench, secure the unit to the expansion olt. Reinstall the tration service panel. Your Crystal Pro Water Dispenser comes complete with a uilt-in cup holder under the water dis- penser section. This holder is designed to hold up to twenty standard size cups with a diameter e-... - Page 11 If the unit was placed on its side, it must stand upright for a minimum of twenty-four hours before op- eration to allow the compressor to stabilize. Install Filtration (if applica le) The Crystal Pro is shipped from the factory with no internal ration installed. Consult with your ter supplier on the est ration solutions for the local water conditions and follow the manufacturer's instructions on their installation, use and servicing.
- Page 12 Installation Sanitize the Dispenser You must sanitize your system efore using it for the rst time. Failure to do so may result in poor water taste and water quality. This is est accomplished as outlined elow. Ensure oth water connections – supply and R/O drain (if applica le) are made at the rear of the unit. Open top service panel to gain access to the main storage tank.
- Page 13 Installation Turn on “Hot” & “Cold” Power Switches. 1) With all tanks completel d with water, oth the hot and cold switches at the rear of the dispenser should e turned “on.” It will take approximately twenty minutes for the hot water and two hours for the cold water to reach their temperature presets.
- Page 14 Operating the Crystal Pro Your Crystal Pro Water Dispenser contains a simple, intuitive user interface for operation and sta- tus. Hot and Cold uttons are acklit and a nightlight is provided in the dispensing area. Button/LED Flashing Power Indicator Dispenser Powered...
-
Page 15: Service And Maintenance
Service & Maintenance Once assem led, installed and ushed properly, your Crystal Pro Water Dispenser will provide years of trou le-free operation. Installation and service should only e carried out y a trained service professional. If applica le, ltration cartridges should e replaced every six months or as directed y the manufacturer. - Page 16 Service & Maintenance Caution: Take care to prevent burns when draining the hot tank. Remove the existing ltration cartridges Open the front panel to gain access to the tration compartment. Remove all cartridges from t ter compartment. For R/O systems, ensure that the drain line with ow restrictor etween the R/O cartridge and drain port is removed Install the Sanitization Cartridges Place a sanitization cartridge (this can e an empty ter cartridge or one supplied y you...
- Page 17 UV. Install the new UV LED (Crystal Mountain part num er ELE-C100401) y pushing into the outlet t or, if replacing the LED in the reservoir lid, y securing it in place with the locknut.
- Page 18 Reset Leak Detection System All models of Crystal Pro Water Dispensers are equipped with a leak detection system. This system will generate an audi le and visual warning upon detecting water in the ase of the unit. In addition, the sys- tem will automatically shut o the incoming water supply valve to prevent further damage.
-
Page 19: Troubleshooting
Troubleshooting Symptom Solution Possi le Cause Check outlet and plug for proper connection No power to unit No Power / Power status indica- Check external circuit reaker/GFCI Circuit reaker or GFCI is tripped tor o Check fuse at rear of unit and replace if needed Blown fuse Check external water supply valve Tanks not lling during initial... - Page 20 Black/Black or Black/Grey Water Dispenser Min.1.05Gal/hr(4L/hr) 1Gallons(3.8L) Min.0.79Gal/hr(3L/hr) Failure to use an appropriate anti- ood device for any reason will not o igate or make Crystal Mountain responsi e in any way for Product Safety Features <1kw.h/24h R600a (14 grams) <50dB...
-
Page 21: Flow Diagram
Flow Diagram -Flood Device (not Supplied) Ambient Storage Tank Pressure Reducing Valve (Not Supplied) w/ Mech Safety Float UV Lamp Inlet Hot Solenoid Vent Strainer System Hot Tank Inlet Solenoid (Not Supplied) Drain Vent UV Lamp Dispenser Nozzle R/O Drain (If Applicable) (Bulkhead Supplied) Ambient Solenoid Cold Solenoid... - Page 22 Electric Ball float valve Leak Detection Link with Mid Line Shelf 100-240V Main PCBA Hot Tank 230V Transform Transform Manual reset Auto reset To Compressor Cold Switch Relay Cold Control 220V Heater 220-240V R600a Compressor To Compressor Cutout FUSE Hot Switch Link with Base Shelf Link with Top...
- Page 23 Crystal Mountain will not be liable for plication, physical damage, fouling and/or to Crystal Mountain, the user will be responsi- damage or wear to products caused by scaling of membranes by minerals, bacterial ble for shipping the product, prepaid, via com-...
- Page 24 DOC-C400002 Rev. 031424...
Need help?
Do you have a question about the Crystal Pro and is the answer not in the manual?
Questions and answers