
Related Manuals for Gaggenau VL 051-707


Summary of Contents for Gaggenau VL 051-707
- Page 1 Operating and assembly instructions VL 051-707 Automatically extendible hob ventilator...
-
Page 2: Table Of Contents
VL 051-707 Preface Safety notes Page 3 1. Important notes Page 4-5 1.1 For your safety Page 4 1.2 Operating for the first time Page 5 1.3 About use Page 5 2. Structure and operating principle Page 6 2.1 Structure of the appliance Page 6 2.2 Control panel... -
Page 3: Preface
Preface With your new hob ventilator, working in the kitchen will be even more fun. The appliance offers you the following advantages: – Kitchen vapours and fats are sucked away directly where they arise. – The advantages of a hob ventilator are combined with those of a single-point extractor. -
Page 4: Safety Notes
Safety notes Read And Save These Instructions. WARNING - TO REDUCE THE RISK OF FIRE, c.) Clean ventilating fans frequently. Grease should ELECTRIC SHOCK, OR INJURY TO PERSONS, not be allowed to accumulate on fan or filter. OBSERVE THE FOLLOWING: d.) Use proper pan size. -
Page 5: Important Notes
1. Important notes 1.1 For your safety specialist dealer or your responsible Gaggenau after-sales service. Repairs must be carried out Damaged appliances must not be operated. by authorised specialists, thus ensuring electrical safety. The appliance must only be connected by an... -
Page 6: Operating For The First Time
1.2 Operating for the first time Before operating the appliance for the first time, please pay attention to the following notes: – Conscientiously read through the operating and assembly instructions before operating the appliance for the first time. – The rating plate for this appliance is included with the instructions on a separate sheet. -
Page 7: Structure And Operating Principle
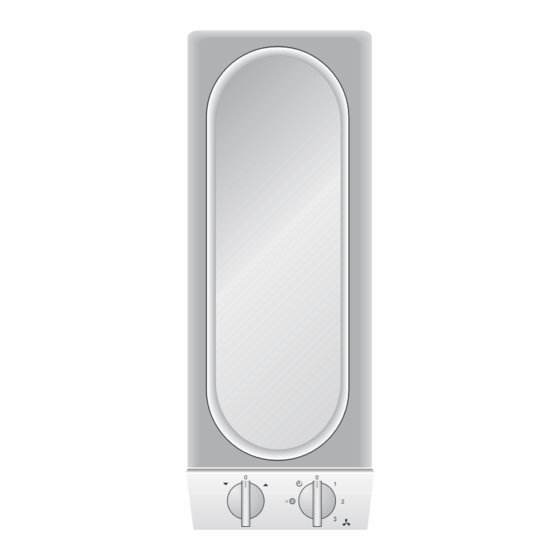
2. Structure and operating principle 2.1 Structure of the appliance 1 Grease filter 2 Lid 3 Swivel arm 4 Tub 5 Control panel Fig. 2 2.2 Control panel 6 “Height adjustment" control knob 7 Grease filter pilot lamp 8 “Power level" control knob with the positions 0, 1, 2, 3, after-running stage and grease filter indication Fig. -
Page 8: Operation
3. Operation Switching on – Turn the “Power level" control knob to the required position on the right. The boom moves automatically to the frying position, and it can then be extended continuously up to its fully extended position (cooking position) by turning the “Height adjustment"... -
Page 9: Cleaning And Care
4. Cleaning and care Caution: Avoid sharp and caustic cleaning agents as well as brushes and abrasive cleaners. Clean the stainless steel tub with mild rinsing detergent and apply stainless steel care agent to the metal surfaces using a soft cloth. Only clean the switch panel with a soft cloth. - Page 10 Swivel arm cleaning If the swivel arm gets very dirty, it can be dis- mantled for cleaning. You can clean the swivel arm in a dishwasher at a maximum temperature of 65 °C / 150 °F . Proceed as follows: –...
-
Page 11: Maintenance
If the power supply is functioning correctly, but your appliance still does not work, please contact your Gaggenau dealer who will provide you with the address and telephone number of your nearest manufacturer’s authorized service agent or contact Gaggenau USA on (800) 828-9165. -
Page 12: Assembly Instructions
6. Assembly instructions 6.1 Technical data 6.2 Important notes Rating: 300 W WARNING - TO REDUCE THE RISK OF FIRE, Weight: 19 kg ELECTRIC SHOCK, OR INJURY TO PERSONS, OBSERVE THE FOLLOWING: A fan module is needed for suction extraction. Technical modifications reserved. - Page 13 The appliance must only be connected by an Adequate ventilation of the room must be authorised specialist. The specialist is respon- ensured whenever a hob ventilator is operated sible for perfect functioning of the appliance at its simultaneously with devices that are operated with installation location.
-
Page 14: Electrical Connection
After installation, plug the connecting cable plug in an accessible socket. If the plug can no longer be removed after installation, isolation of all poles VL 051-707 FD xxxx xxxxxx from the mains must be ensured by means of an... -
Page 15: Installation
6.4 Installation The hob ventilator can be installed next to one or between two built-in Vario appliances. Choose the suitable connection variant (see Pages 14-16) before beginning with installation. – Produce the recess for the appliance. Proceed as indicated on the installation sketch and the dimension table (Fig. - Page 16 Refer to the operating instructions of the fan module for details of how to install it. – Using a flexible aluminium pipe (DN 125), connect the pipe connection piece to the fan module. – Now lower the hob ventilator into the worktop. Make sure that the engaging lugs on the appliance lie exactly on the clamping springs.
- Page 17 5750190649 en 08.06 EB...
- Page 18 GAGGENAU HAUSGERÄTE GMBH 780 DEDHAM STREET CARL-WERY-STR. 34 · 81739 MÜNCHEN CANTON, MA 02021 GERMANY Y (0 89) 45 90 - 03 Y 800.828.9165 FAX (0 89) 45 90 - 23 47 www.gaggenau-usa.com...
Need help?
Do you have a question about the VL 051-707 and is the answer not in the manual?
Questions and answers