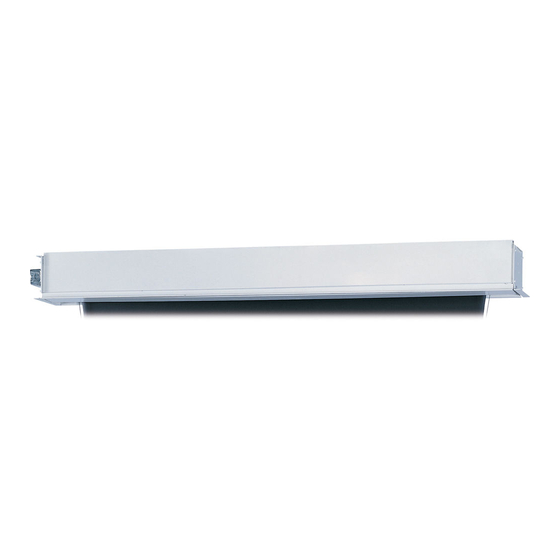
Da-Lite ADVANTAGE ELECTROL Instruction Book
Hide thumbs
Also See for ADVANTAGE ELECTROL:
- Instruction book (16 pages) ,
- Installer's manual (2 pages) ,
- Instruction book (12 pages)

Related Manuals for Da-Lite ADVANTAGE ELECTROL


Summary of Contents for Da-Lite ADVANTAGE ELECTROL
- Page 1 Instruction Book for ADVANTAGE ELECTROL ® ®...
-
Page 2: Important Safety Instructions
If your case was ordered in advance of the screen and roller Suggested Methods of Installation. assembly, your installation is now complete. Continue to step 4 if your Advantage Electrol was ordered as a complete 2. Tighten bolts until trim flange is flush with ceiling. unit. - Page 3 SCREEN AND ROLLER ASSEMBLY INSTALLATION Follow these steps if your screen and roller assembly was ordered separately from the case. 1. Remove the access door. First, remove the 2 screws from the 6. Complete electrical hook-up by snapping motor wire connector ends.
- Page 4 ADVANTAGE ELECTROL SUGGESTED METHODS OF INSTALLATION ® ® METHOD 1 6-1/16" 6-7/16" 7-3/4" Variable Position Mounting Bracket 8" Audience Side Motor End 6-1/16" 3/8" Threaded Rod (Not Included) Electrical Attached To Junction Box Mounting Bracket 6-3/8" Self-Trimming Finished Flange Ceiling 7-3/4"...
- Page 5 SCREEN ADJUSTMENT FOR 120V SCREENS If your Advantage Electrol was ordered as a complete unit, the up and down limits were pre-set by Da-Lite. If your screen and roller assembly was ordered separately from the case, or if general adjustment is needed, please follow the steps below and refer to the 120V Wiring Diagram 1.
- Page 6 ADVANTAGE ELECTROL INSTALLATION FOR 120V SCREENS ® ® 120V WIRING DIAGRAM 3-conductor 20–24 gauge wire can be used in place of the IMPORTANT NOTE: The wall switch is REQUIRED to make any S T O supplied RJ-14 cable to connect the wall switch. Connect the limit switch adjustments, EVEN if a third party control system is BUS terminals on the wall switch to the corresponding BUS used.
- Page 7 ADVANTAGE ELECTROL INSTALLATION FOR 120V SCREENS ® ® 120V WIRING DIAGRAM WITH OPTIONAL BUILT-IN VIDEO PROJECTOR INTERFACE CAUTION: The projector must be turned off before connecting IMPORTANT NOTE: The wall switch is REQUIRED to make any the trigger wires to the projector. Failure to do so may damage limit switch adjustments, EVEN if a third party control system is the controller.
- Page 8 ADVANTAGE ELECTROL INSTALLATION FOR 220/240V SCREENS ® ® 240V WIRING DIAGRAM ILT RJ-9 Pin-Outs (Tab Is Facing Up) IMPORTANT NOTE: The wall switch is REQUIRED to make IR or Up Black any limit switch adjustments, EVEN if a third party control Ground Common system is used.
-
Page 9: Troubleshooting
TROUBLESHOOTING Visit www.da -lite.com/products/tutorials.php to find installation You can contact us by email at info@da-lite.com or by phone at and troubleshooting tutorials. You will also find a link to Live 800.622.3737 or 574.267.8101 with any additional Chat for interactive support. - Page 12 EQUIPMENT, OR FOR INCIDENTAL, DIRECT, OR CONSEQUENTIAL DAMAGES OF ANY NATURE. In the event that there is a defect in materials or workmanship of a Da-Lite product, you may contact our Sales Partners at PO Box 137, Warsaw, IN 46581-0137, 574.267.8101, 800.622.3737.
Need help?
Do you have a question about the ADVANTAGE ELECTROL and is the answer not in the manual?
Questions and answers