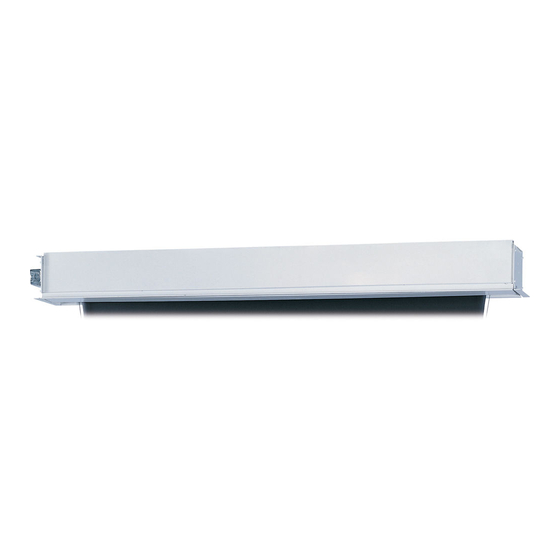
Da-Lite Advantage Electrol Instruction Book
Tensioned large
Hide thumbs
Also See for Advantage Electrol:
- Instruction book (16 pages) ,
- Installer's manual (2 pages) ,
- Instruction book (12 pages)
Table of Contents
Advertisement
Quick Links
Download this manual
See also:
Instruction Book
Advertisement
Table of Contents

Subscribe to Our Youtube Channel
Summary of Contents for Da-Lite Advantage Electrol
- Page 1 INSTRUCTION BOOK FOR Tensioned Large Advantage Electrol ® ®...
-
Page 2: Important Safety Instructions
If your case was ordered in advance of the screen and roller assembly, your installation is now complete. Continue to step 4 if your Tensioned Large Advantage Electrol was ordered as a complete unit. Carefully remove paper and tape from roller assembly CAUTION! Do not use a knife or sharp object to cut tape;... - Page 3 Screen And Roller Assembly Installation Tools required for screen and roller assembly: 1/8“ Hex Key 9/16“ Open Wrench 5/32“ Hex Key 1/2“ Open Wrench (included) or Socket Driver or Socket Driver If your screen was shipped with the motor and roller already installed proceed to step 7. Remove the access door.
-
Page 4: Installation
Tensioned Large Advantage Electrol Installation ® ® (Suggested) 1/2" Threaded Rod (Not Included) 9 1/8" Attached to Mounting Bracket Electrical Junction Box Screen Roller 12 3/16" 11" Audience 11 7/16" Side Self-Trimming Flange Self-Trimming Access Door Flange Finished 2 3/16" 10 15/16"... -
Page 5: Screen Adjustment
Screen Adjustment Surface travel is stopped automatically in the fully opened and closed positions by limit switches that are properly adjusted at Da-Lite. Should it be necessary to adjust for more or less drop of picture, proceed in the following manner: NOTE: Use a screw driver or 5/32"... - Page 6 120V Wiring Diagram With Optional Built-In Low Voltage Control NOTE: 20-24 AWG wire recommended for connecting wall switch to low voltage controller. CAUTION: Do not use 3-position high voltage rocker switch with this unit! This will damage the low voltage control board.
- Page 7 240V Wiring Diagram With Optional Built-In Low Voltage Control NOTE: 20-24 AWG wire recommended for connecting wall switch to low voltage controller. CAUTION: Do not use 3-position high voltage rocker switch with this unit! This will damage the low voltage control board.
-
Page 8: Troubleshooting
Troubleshooting Visit www.da-lite.com/products/tutorials.php to find installation You can contact us by email at info@da-lite.com or by phone and troubleshooting tutorials. You will also find a link to Live at 800.622.3737 or 574.267.8101 with any additional Chat for interactive support. troubleshooting questions. - Page 12 OR FOR INCIDENTAL, DIRECT, OR CONSEQUENTIAL DAMAGES OF ANY NATURE. In the event that there is a defect in materials or workmanship of a Da-Lite product, you may contact our Sales Partners at PO Box 137, Warsaw, IN 46581-0137, (574) 267-8101, (800) 622-3737.


Need help?
Do you have a question about the Advantage Electrol and is the answer not in the manual?
Questions and answers