
Subscribe to Our Youtube Channel
Related Manuals for THOMSON TSR600CI


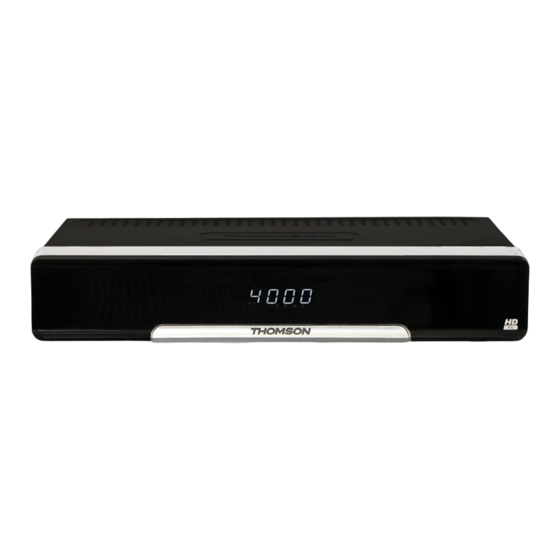
Summary of Contents for THOMSON TSR600CI
- Page 1 TSR 600CI Digital High Definition Satellite Receiver User manual Look, Listen & Live Bedienungsanleitung Manuel d’utilisateur www.thomsonstb.net Manuale utente...
-
Page 4: Table Of Contents
TablEofConTEnTs 1.0InTRoDUCTIon 1.1 Safety Instructions 1.2 Storage 1.3 Equipment Set-up 1.4 Accessories 1.5 Usage of external USB devices 2.0YoURRECEIvER 2.1 DEFAULT PIN-CODE: 0000 2.2 Front Panel 2.3 Rear Panel 2.4 Remote Control Unit 2.5 Installing the Batteries 2.6 Using the Remote Control 3.0ConnECTIons... -
Page 5: Introduction
1.0InTRoDUCTIon 1.1safetyInstructions DonoTInsTallYoURRECEIvER: In a closed or poorly ventilated cabinet; directly on top of or under any other equipment; on a surface which might obstruct the ventilation slots. DonoTEXPosEThERECEIvERoRITsaCCEssoRIEs: To direct sunlight or any other equipment that generates heat; to rain or intense moisture; to intense vibration and to any shock which may cause permanent damage to your receiver or to any magnetic objects, such as loudspeakers, transformers, etc. -
Page 6: Accessories
It is advised not to store important information on USB storage devices used with the receiver. Always make backups of data on your USB storage device before using it with this receiver. THOMSON will not take responsibility for any loss of information or circumstances caused by loss of information. -
Page 7: Remote Control Unit
4. vIDEo(RCa) To connect to the RCA video input of your TV or VCR using an RCA cable 5. s/PDIf To connect to a digital or home cinema audio amplifier 6. TvsCaRT To connect to TV using a SCART cable 7. -
Page 8: Installing The Batteries
31. YElloW For Teletext functions. In Menu for specific functions. 32. blUE For Teletext functions. In Menu for specific functions. 2.5Installingthebatteries Remove the battery cover from the remote control and put 2xAAA size batteries inside the compartment. The diagram inside the battery compartment shows the correct way to install the batteries. 1.Open the cover 2. -
Page 9: Connecting And Using The Ir Extender
3.4ConnectingandusingtheIRextender The included IR extender allows you to place the receiver out of sight (e.g. in a closed cabinet) while still being able to control it. Plug the IR extender into the IR connector on the back of the receiver. Locate the extender on a position giving it direct sight to the remote control. Once a suitable location is found, remove the protecting foil from the adhesive tape on the bottom of the extender and fix it by slightly pressing it down on the surface it should be placed on. -
Page 10: Signal Adjust
“No channel” message. Please refer to chapter 7.1.1 for further instructions. 5.0QUICkgUIDEToUsIngYoURRECEIvER We at THOMSON understand that you can’t wait to enjoy your new HD receiver. The following quick guide will make you familiar with the basic operation of this device. We do, however, advice you to read the full manual to get the best performance from your THOMSON HD receiver. -
Page 11: Info Banner
6.1.2Channellist Press ok in viewing mode to display the Channel List. Use or P+/P- in the Channel List to highlight your channel of choice and press ok once to select the highlighted channel. Press ok again to leave the Channel List. The Channel List is equipped with a filter function to make finding your favourite channels easier. -
Page 12: Epg (Electronic Programme Guide)
Press 2 to freeze the current broadcast. Press 2 again to start time shifted playback. To stop Timeshift, press 3. noTE: The Timeshift will only work correctly when a fast USB storage device such as an USB2.0 HDD is connected to the receiver. Distorted picture and / or audio during Timeshift indicate a low USB device speed. THOMSON cannot guarantee for USB devices used. Especially when Timeshift is activated at channels with high data rate (High quality SD/HD), THOMSON cannot guarantee an accurate Playback of the Timeshift file. 7.0maInmEnU All important settings and features of your receiver can be operated from the Main Menu. It consists of the following sub-menus: Installation, Setup, Channel, Advanced and Games. - Page 13 7.1.1satellitesettings Use this menu to change the settings for a given satellite and to configure the parameters for the used antenna Use to highlight Satellite and to set the satellite you wish to change the settings for. To see a list with all available satellites, press ok when the highlight is on Satellite.
-
Page 14: Setup
7.1.4satelliteEdit Here you can edit transponder data or add a new satellite. On the left of the screen, a list with all available satellites is displayed. The right of the screen displays a list will all available transponders for the highlighted satellite. aDDIngoREDITIngaTRansPonDER to highlight the desired satellite. - Page 15 7.2.2outputoptions This is the menu to configure the audio and video outputs of your receiver. Use highlight the setting you wish to change and to change the value of the highlighted setting. Press ok for a list with all available options for the chosen setting. TV Standard: Set the standard corresponding to your TV set.
-
Page 16: Channel
aUToPoWERDoWn Auto Power Down is a new, power saving feature that helps you with reducing power consumption. It will switch off the receiver when no command is given for at least the set time. Possible settings are: 1~6 hours with one hour steps and Disabled. Once all settings are made, press EXIT to leave the Time Setting menu. - Page 17 7.3.1sortandEdit Use this menu to manage channels in the channel list. Set the satellite you wish to manage channels on in the left column. Select All Sat to display the channel list with channels from all installed satellites. soRTIngaChannEllIsT to select the desired satellite and Tv/R to toggle between TV and radio channels. Press YElloW to display the Sort in Order banner.
- Page 18 Before disconnecting your USB device, please press the gREEn button to “Safely remove USB device”. WaRnIng: The Format function will delete all records, data and information from your USB device. THOMSON will not take any responsibility for damaged or lost data on the USB device. Please make a backup copy of important data on your USB device before using it with your receiver. PlaYbaCkofPREvIoUslYRECoRDEDPRogRams All recorded programs will be placed in the DVR folder on your USB device. Open this folder as described above and select the desired recording. Press ok or to start playback.
-
Page 19: Advanced
7.3.4Timer Timers can be used to schedule recordings or to switch to a certain channel at a desired moment. It will help you not to miss your favourite events. to select one of the eight available timers. Press ok to advance. The Edit Timer screen will now be displayed. -
Page 20: Games
The OTA (Over the Air) function allows you to search for software updates available on satellite. Please ask your local THOMSON dealer or visit our website for according information. In the OTA menu make all necessary settings (Satellite, Frequency, Polarisation and Symbolrate) and press GREEN to start the update process. -
Page 21: A.1Troubleshooting
If the receiver does not work properly after checking it, please contact your local Serviceline or THOMSON dealer. Alternatively you can send a support mail via our website: www.thomsonstb.net. NEVER open or disassemble your receiver. -
Page 22: A.2Specifications
a.2sPECIfICaTIons Demodulator Demodulation: QPSK, 8 PSK Input Symbol Rate: DVB-S QPSK: 2~45 Ms/s DVB-S2 8PSK/QPSK: 10 ~ 30 Ms/s FEC Decoder: Auto,1/2, 2/3, 3/4, 5/6, 7/8 in DVB-S mode; 1/2, 2/3, 3/4, 3/5, 4/5, 5/6, 8/9, 9/10 in DVB-S2 mode 2/3, 3/5, 3/4, 5/6, 8/9, 9/10 in DVB-S2 8PSK mode. - Page 23 CE2004/108/EECand73/23EEC Rohs2002/95EEC THOMSON is a trademark of TECHNICOLOR S.A. used under license to STRONG Europe THOMSON is a trademark of TECHNICOLOR S.A. used under license to STRONG Subject to alterations. In consequence of continuous research and development technical specifications, design and appearance of products may change. ASTRA is a registered trade mark of SES ASTRA, Eutelsat and HOT BIRD are registered trademarks of Eutelsat Communications, all other product names are trademarks or registered trademarks of their respective owners.
Need help?
Do you have a question about the TSR600CI and is the answer not in the manual?
Questions and answers