SIIG USB 2.0 Switch Quick Installation Manual
Hide thumbs
Also See for USB 2.0 Switch:
- Quick installation manual (12 pages) ,
- Quick installation manual (9 pages)
Table of Contents
Advertisement
Quick Links
Introducing the USB 2.0 Switch
The USB 2.0 Switch is designed to share USB device(s)
between multiple systems.
Features and Benefits
•
Compliant with USB Specifications, Revision 2.0.
Hot-swapping feature allows you to attach/detach
USB devices without powering down your
computer
•
Use keyboard Hotkey control (Windows only) or
Power LED/Manual switching button to switch
between computers
•
Designed for USB devices including printers,
scanners, hard disk drives, cameras, CD-ROMS and
Zip drives. Note: Not designed to work with
keyboard or mouse
System Requirements
•
PC or Mac
(USB 2.0 recommended)
•
Windows
(32-/64-bit) / Server 2003 & 2008 (32-/64-bit) /
2000/ ME / 98SE
•
Mac OS
04-0318C
USB 2.0 Switch
Quick Installation Guide
computer with an available USB port
®
7 (32-/64-bit) / Vista (32-/64-bit) / XP
®
X v10.0 or later
®
1
Advertisement
Table of Contents

Related Manuals for SIIG USB 2.0 Switch


Summary of Contents for SIIG USB 2.0 Switch
- Page 1 USB 2.0 Switch Quick Installation Guide Introducing the USB 2.0 Switch The USB 2.0 Switch is designed to share USB device(s) between multiple systems. Features and Benefits • Compliant with USB Specifications, Revision 2.0. Hot-swapping feature allows you to attach/detach...
-
Page 2: Package Contents
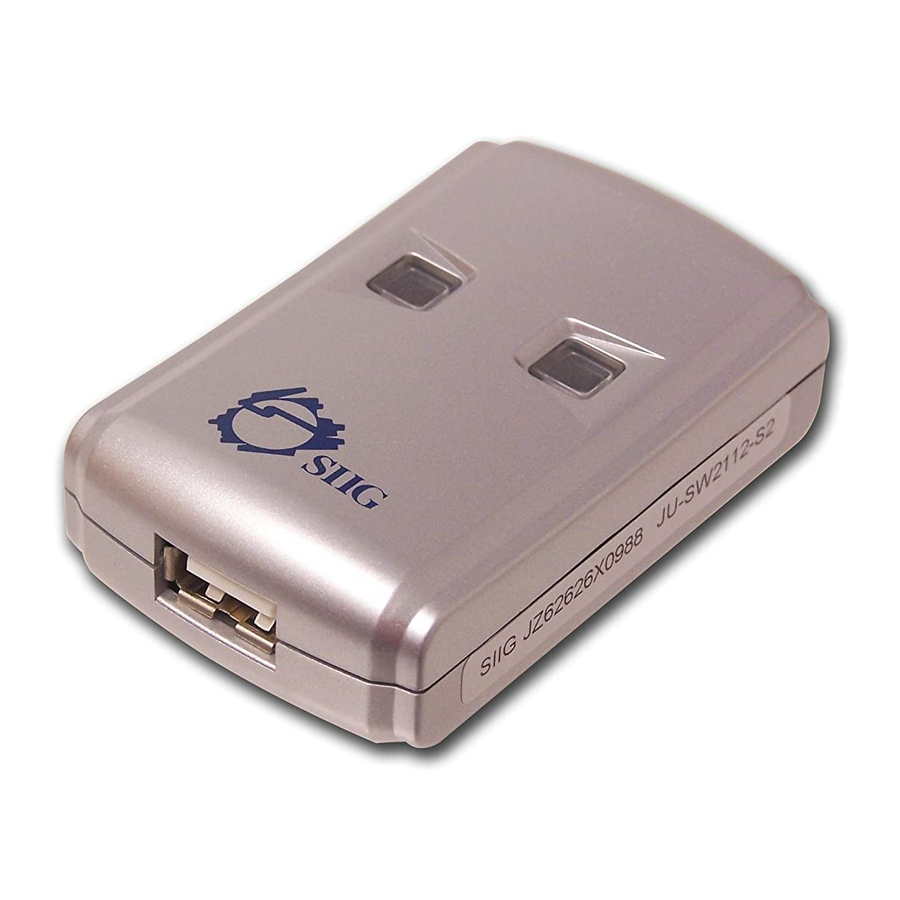
• Software CD and quick installation guide Layout Do not connect the USB 2.0 Switch to your system until after the driver has been installed. Please refer to the Installation section starting on page 4 to install its driver. USB 2.0 Switch 2-to-1 •... - Page 3 Four Type B connectors for system connection • One Type A connector for device connection • Convenient manual switching buttons Power LED/Manual switching button To PC To PC (Type B connector) (Type B connector) To USB device (Type A connector) Figure 2. USB 2.0 Switch 4-to-1...
-
Page 4: Windows Installation
Windows Installation Important: Do not connect the USB 2.0 Switch to your system until after the driver has been installed. In order for the driver to install properly the Power LED to that system must be switched to another system. For example, if you connect port A to system A, make sure the Power LED on port A is not lit. - Page 5 ROM drive letter) Select your language, then click OK. Click Next, Next, then Finish. Plug the USB 2.0 Switch into an available USB port (USB 2.0 recommended) with the supplied USB cables and the driver will install automatically. Press the Power LED/Manual switching button that matches the system to complete the installation.
- Page 6 Select your language, then click OK. Click Next, Next, then Finish. Restart Windows. When Windows resumes, plug the USB 2.0 Switch into an available USB port (USB 2.0 recommended) with the supplied USB cables and the driver will install automatically.
- Page 7 Select Search for the best driver..., and click Next. Clear all check boxes, click Next, click Next again. Note: If prompted for Windows Installation CD- ROM, click OK. Insert this CD, then click OK again. Click Finish. If prompted, click Yes to restart. To Verify Windows Installation Go to Device Manager to verify installation.
-
Page 8: Hotkey Control
Power LED is off: Double click Human Interface Devices. HID-compliant device and either USB Human Interface Device or USB Input Device should be displayed. Windows Device Switching Hotkey Control, Status Indicator and Manual switching button are the three methods that can be used to switch devices between systems. -
Page 9: Mac Os Installation
Double click the USB Sharing icon to start USB sharing program manually. Right click the Status Indicator and select Switch can also switch USB access to the current system. Note: Devices such as external hard drives and printers send signals back and forth to your computer when they are connected. -
Page 10: Other Devices
The drive icon will appear on the other system. Other Devices For other devices just press the switching button to change to another system. Connecting USB Devices When connecting your USB device(s) to the USB 2.0 Switch, follow the USB device's driver installation procedures. -
Page 11: Technical Support And Warranty
(5) years from the date of purchase of the product. SIIG will, at our discretion, repair or replace (with an identical product or product having similar features and functionality) the product if defective in materials or workmanship. - Page 12 Fremont, CA 94538-3152, USA Phone: 510-657-8688 USB 2.0 Switch is a trademark of SIIG, Inc. SIIG and the SIIG logo are registered trademarks of SIIG, Inc. Microsoft and Windows are registered trademarks of Microsoft Corporation. Mac and Mac OS are registered trademarks of Apple Inc. All other names used in this publication are for identification only and may be trademarks of their respective owners.
Need help?
Do you have a question about the USB 2.0 Switch and is the answer not in the manual?
Questions and answers