
Subscribe to Our Youtube Channel
Related Manuals for PEERLESS PE 1120


Summary of Contents for PEERLESS PE 1120
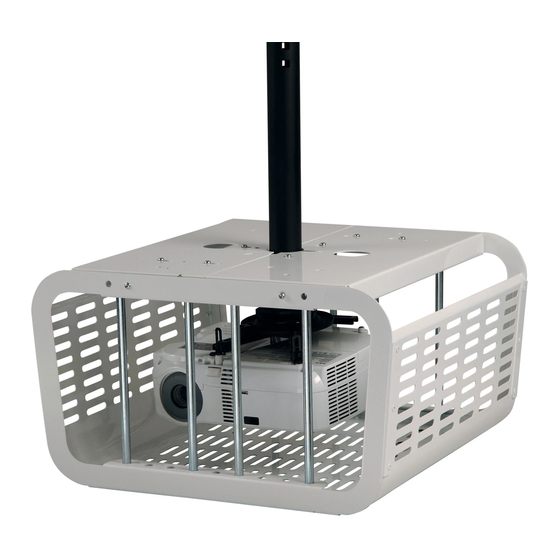
- Page 1 Installation and Assembly: Projector Enclosure Models: PE 1120, PE 1120-W 3215 W. North Ave. • Melrose Park, IL 60160 • (800) 729-0307 or (708) 865-8870 • Fax: (708) 865-2941 • www.peerlessmounts.com ISSUED: 07-11-06 SHEET #: 055-9462-1...
- Page 2 Note: Read entire instruction sheet before you start installation and assembly. WARNING • Do not begin to install your Peerless product until you have read and understood the instructions and warnings contained in this Installation Sheet. If you have any questions regarding any of the instructions or warnings, please call Peerless customer care at 1-800-729-0307.
- Page 3 Parts List PE 1120 PE 1120-W Description Qty. Part # Part # projector cage 055-1690 055-2690 top plate 055-0695 055-0697 pole clamp 055-0694 055-0696 .5" dia. X 12" rod 580-1163 580-2163 M5 x 10 mm penta pin screw 505-9010 500-2001 M5 x 1"...
- Page 4 Suspended Ceiling Application WARNING • Make sure that the supporting surface will safely support the combined load of the equipment and all attached hard- ware and components. Note: If flush mount tube has been installed in suspended ceiling mount, remove it before proceeding with this step. From the bottom up, thread extension column (EXT 006, not included) up through retaining collar in adjustable collar mount plate.
- Page 5 Extension Column Application WARNING • Make sure that the supporting surface will safely support the combined load of the equipment and all attached hard- ware and components. Note: Refer to projector mount instruction sheet for attachment of projector mount to extension column. Wrap pole clamp (C) around extension column (not Slide top plates (B) together over pole clamp (C).
- Page 6 Flush Mount Application WARNING • Make sure that the supporting surface will safely support the combined load of the equipment and all attached hard- ware and components. Remove M5 penta pin screws from top plates (B). Attach top plates (B) to ceiling using outer holes indicated in figure 1.1.
- Page 7 7 of 7 ISSUED: 07-11-06 SHEET #: 055-9462-1 © 2006 Peerless Industries, Inc. All rights reserved. Peerless is a registered trademark of Peerless Industries, Inc. All other brand and product names are trademarks or registered trademarks of their respective owners.
Need help?
Do you have a question about the PE 1120 and is the answer not in the manual?
Questions and answers