Advertisement
Quick Links
Download this manual
See also:
User Manual
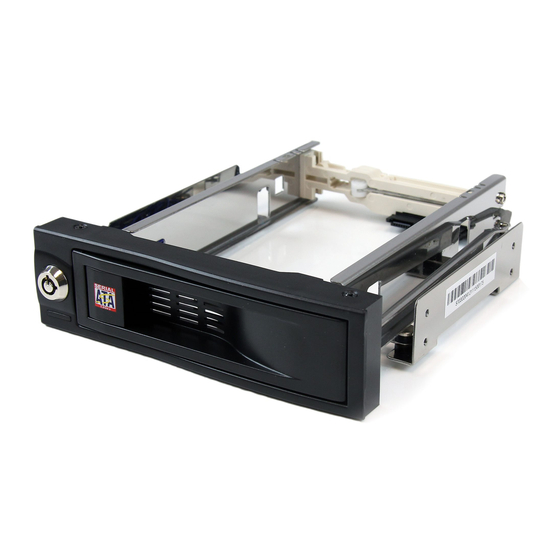
Trayless SATA Drive Bay
5.25" Trayless SATA Hot Swap Drive Bay
HSB100SATBK
Instruction Manual
Actual product may vary from photo
Advertisement

Related Manuals for StarTech.com HSB100SATBK


Summary of Contents for StarTech.com HSB100SATBK
- Page 1 Trayless SATA Drive Bay 5.25" Trayless SATA Hot Swap Drive Bay HSB100SATBK Instruction Manual Actual product may vary from photo...
- Page 2 StarTech.com. Where they occur these references are for illustrative purposes only and do not represent an endorsement of a product or service by StarTech.com, or an endorsement of the product(s) to which this manual applies by the third-party company in question.
- Page 3 Instruction Manual T T a a b b l l e e o o f f C C o o n n t t e e n n t t s s Introduction ........... . .1 Features .
- Page 4 I I n n t t r r o o d d u u c c t t i i o o n n Thank you for purchasing a StarTech.com trayless SATA hard drive bay. Now, you can enjoy a truly portable storage solution, with the ability to insert and remove a bare SATA drive without having to mount it in a drive tray or drawer.
- Page 5 WARNING: Hard drives, like all computer equipment can also be severely damaged by static electricity. Be sure that you are properly grounded before opening your computer case or touching any components. StarTech.com recommends that you wear an anti- static strap when installing any computer equipment. If an anti-static strap is unavailable, discharge yourself of any static electricity build-up by touching a large grounded metal surface (such as the computer case) for several seconds.
- Page 6 Instruction Manual 5. Connect the SATA power cable and the SATA data cables to the appropriate ports provided on the back of the rear panel of the drive frame. SATA Data and power ports Installing the hard drive into the drive frame 1.
- Page 7 Instruction Manual 4. Secure the drive in the frame by continuing to close the locking arm. Gently apply pressure to the locking arm, until you hear the ‘click’ of the spring lock. 5. Optional : To lock the drive in the frame, insert the key provided into the keyhole at the front of the drive bay.
- Page 8 Limitation of Liability In no event shall the liability of StarTech.com Ltd. and StarTech.com USA LLP (or their officers, directors, employees or agents) for any damages (whether direct or indirect,...
- Page 9 Visit www.startech.com for complete information about all our products and to access exclusive interactive tools such as the Parts Finder and the KVM Reference Guide. StarTech.com makes it easy to complete almost any IT solution. Find out for yourself why our products lead the industry in performance, support, and value.
Need help?
Do you have a question about the HSB100SATBK and is the answer not in the manual?
Questions and answers