Dell PowerEdge 180AS User Manual
Dell 1082ds/2162ds/4322ds remote console
switch software user's guide
Hide thumbs
Also See for PowerEdge 180AS:
- User manual (280 pages) ,
- Installer/user manual (60 pages) ,
- Cable routing manual (13 pages)
Table of Contents
Advertisement
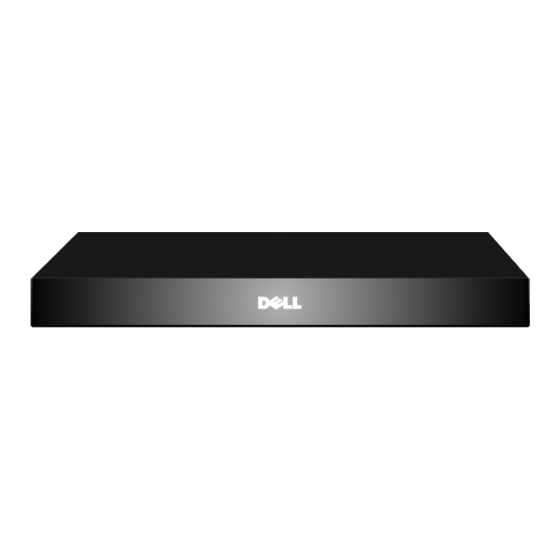
Dell™ Remote Console Switch
Notes, Cautions, and Warnings
NOTE:
A NOTE indicates important information that helps you make better
use of your computer.
CAUTION:
A CAUTION indicates potential damage to hardware or loss
of data if instructions are not followed.
WARNING: A WARNING indicates a potential for property damage,
personal injury or death.
___________________
Information in this document is subject to change without notice.
© 2010 Dell Inc. All rights reserved.
1082DS/2162DS/4322DS Remote Console Switch
Software User's Guide
Advertisement
Table of Contents


Need help?
Do you have a question about the PowerEdge 180AS and is the answer not in the manual?
Questions and answers