
Related Manuals for Vivo STAND-V012KW


Summarization of Contents
Safety and Support Information
General Safety Warnings
Provides critical safety instructions, including choking hazard and weight capacity limits.
Desktop Edge Safety
Advises against extending the monitor past the desktop edge to prevent damage or injury.
Customer Support Contact
Offers contact details for US-based customer support, assembly videos, and product information.
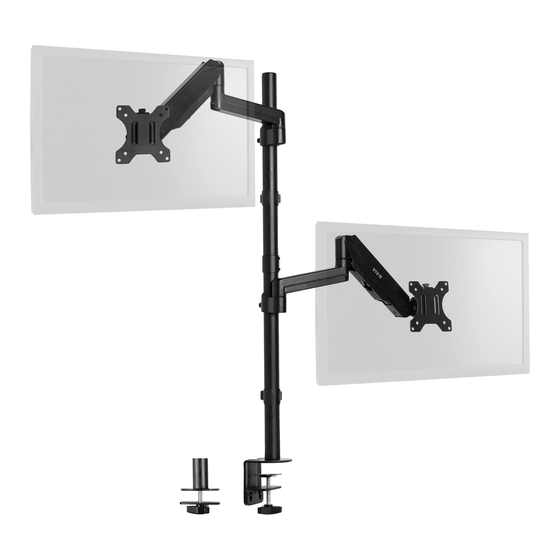
Package Contents and Components
Included Parts Identification
Lists and illustrates all parts included in the monitor mount package.
Hardware, Tools, and Capacity
Details included hardware, necessary tools for assembly, and the product's weight capacity.
Assembly Instructions
Step 1: Top Pole Preparation
Insert the pole cap into the top pole component.
Step 2: Clamp Component Separation
Disassemble the clamp into its brace and main body using an Allen wrench.
Step 3: Clamp Installation (Option 1 - Thin Desktops)
Attach clamp brace to bottom pole and secure clamp to desktop (0.4-2 inch thickness).
Step 3: Clamp Installation (Option 1 - Thick Desktops)
Adjust clamp for thicker desktops (1.8-3.3 inches) by reassembling the bracket.
Step 2: Grommet Installation - Base Setup
Prepare grommet base by cutting pad, disassembling clamp and removing clamp bolt.
Step 3: Attach Base to Desktop
Secure bottom pole and grommet base to desktop using support plate and clamp bolt.
Step 3: Attach Arm to Pole
Slide cable clip and monitor arm onto the bottom pole and secure with Allen wrench.
Step 4: Connect Pole Sections
Thread pole connector onto lower pole, then top pole into connector and secure.
Step 5: Attach Arm to Top Pole
Slide cable clip and monitor arm onto the top pole and secure with Allen wrench.
Step 6: Mount Monitors to Arms
Attach VESA plates to monitors and mount monitors onto arm brackets, securing with thumbscrews.
Step 7: Adjust Monitor Height
Adjust monitor height and tension using the 6mm Allen wrench for counterbalance.
Step 8: Cable Management
Remove cable covers, organize cables through clips, and reinstall covers.
Monitor Adjustments
Adjusting Tilt Joint
Modify the monitor's tilt angle using the adjustment screw and 6mm Allen wrench.
Social Media and Product Information
Connect on Social Media
Encourages users to share their setup and tag the brand on social media platforms.
Document Information and Support
Revision and Update Details
Provides document revision information (REV2, v1.0) and last updated date (11/5/24).
Continued Customer Support
Reiterates customer support contact methods and operating hours.
Product Website Link
Directs users to the brand's website for more product information.
Need help?
Do you have a question about the STAND-V012KW and is the answer not in the manual?
Questions and answers