Advertisement
Table of Contents
Advertisement
Table of Contents

Related Manuals for Snow Peak FES-197


Summarization of Contents
Safety Precautions
DANGER: Serious Accident or Death
Extreme risks of misuse, including fire, oxygen deficiency, and carbon monoxide poisoning.
WARNING: Serious Injury or Death
Risks of injury or death from misuse, emphasizing weather, heatstroke, and unsafe pitching locations.
CAUTION: Injury or Property Damage
Potential minor injuries or property damage from misuse, like fabric wear and tripping hazards.
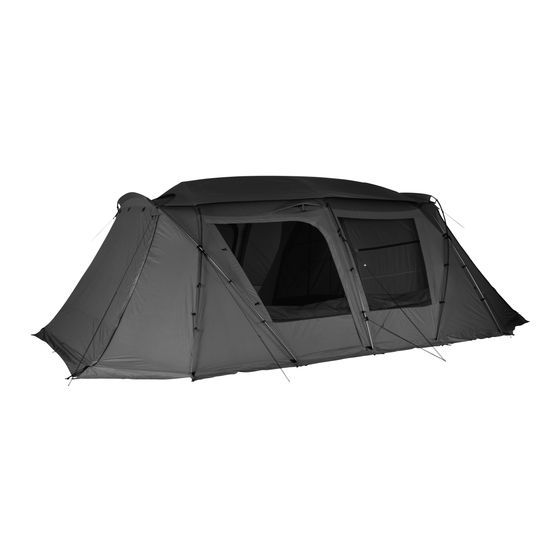
Parts Identification and Pre-Use Checks
Pre-Use Checks and Advice
Essential pre-use checks, including verifying accessories and practicing assembly before camping.
Setup Procedure: Step 1 & 2
Step 1: Main Body Placement
Spread the main body flat, orienting door panels and buckling building tapes before assembly.
Step 2: Ridge Pole Insertion
Insert ridge pole into sleeves, aligning stickers, and connecting the center ring for initial setup.
Setup Procedure: Steps 3 & 4
Step 3: Ring Pin Attachment
Secure body rings to A poles, adjusting tape tension and ensuring proper pole end insertion to avoid bending.
Step 4: C Pole Installation
Connect C poles with stickers, insert ring pins, and raise each pole carefully on one side at a time.
Setup Procedure: Steps 5 & 6
Step 5: Center Pole Installation
Connect center pole with red stickers, insert ring pins, and pass through the center sleeve.
Step 6: Hooking Plastic Hooks
Hook plastic hooks from top to bottom to poles and fix crossing parts with Velcro tape.
Setup Procedure: Step 7
Step 7: Pegging and Rope Tensioning
Peg down all loops and ropes firmly, using upright poles to lift door panels and ensure water drainage.
Setup Procedure: Step 8
Step 8: Building Tape Management
Manage building tapes after setup; unbuckling and storing them in pockets for easier future pegging.
Setting up the Inner Room
Inner Room Placement and Orientation
Hang inner room on the designated side, ensuring the logo print is on the indoor side for correct orientation.
Inner Room Attachment Steps
Step 2: Bottom Corner Hooks
Hook inner room bottom corners to O-rings and pegs on the main body for secure attachment.
Step 3: Top Hooks and Toggles
Hang all top hooks and toggles of the inner room to the main body's O-rings.
Step 4: Entrance/Exit Pegging
Peg down bottom tapes at entrances/exits to reduce door floating during operation.
Use of Safety Rings for Stability
Safety Ring Rope Installation
Pass rope with tensioner through the safety ring on the inner side of the center pole.
Connecting Rope to O-Ring
Connect the other end of the rope to the O-ring with the center pole.
Adjusting Rope Tensioner
Adjust tensioner for even tension, avoiding excessive force that could damage the body.
Attaching the Shield Roof: Initial Steps
Step 1: Shield Roof Spreading
Check setting cord position and spread the shield roof with the back side facing up.
Attaching the Shield Roof: Final Steps
Step 2: Hooking to Pole Connections
Hang shield roof hooks and ropes to upper hooks of C, A, and center poles on one side.
Step 3: Positioning Shield Roof
Two people hold cord ends to position the shield roof over the Land Lock.
Attaching the Shield Roof: Completion and Precautions
Step 4: Final Hooking and Adjustment
Hook shield roof on the other side, make adjustments, and remove the setting cord.
How to Store: Folding the Main Body
Step 1: Initial Fold
Fold the main body in half with the center sleeve centered on top.
Step 2: Forming a Rectangle
Fold the sides inward to create a rectangular shape.
How to Store: Packing Components
Steps 3-4: Folding and Venting
Fold main body to fit bag, open inner room zipper for air escape.
Steps 5-6: Rolling and Wrapping
Roll main body and inner room to expel air and fit into the carry bag.
Steps 7-8: Compression and Final Packing
Compress items with belts and pack all components into the carry bag.
Need help?
Do you have a question about the FES-197 and is the answer not in the manual?
Questions and answers