Advertisement
Installation and Assembly:
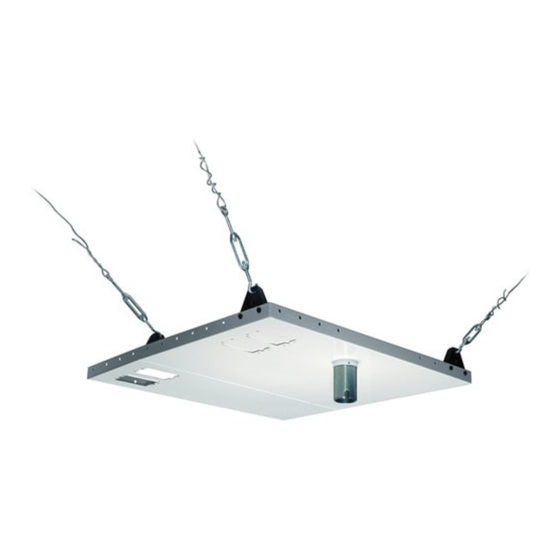
False Ceiling Plate Kit
Model: ELPMBP02
Manufactured by Peerless Industries, Inc.
3215 W. North Ave. • Melrose Park, IL 60160 • (800) 865-2112 or (708) 865-8870 • Fax: (708) 865-2941 • www.peerlessmounts.com
This product is UL Listed. It must be
installed by a qualified professional
R
installer.
Maximum UL Load Capacity:
50 lb (22.6 kg)
Advertisement
Table of Contents

Related Manuals for Epson ELPMBP02 - False Ceiling Plate


Summary of Contents for Epson ELPMBP02 - False Ceiling Plate
- Page 1 Installation and Assembly: False Ceiling Plate Kit Model: ELPMBP02 This product is UL Listed. It must be installed by a qualified professional installer. Maximum UL Load Capacity: 50 lb (22.6 kg) Manufactured by Peerless Industries, Inc. 3215 W. North Ave. • Melrose Park, IL 60160 • (800) 865-2112 or (708) 865-8870 • Fax: (708) 865-2941 • www.peerlessmounts.com...
- Page 2 NOTE: Read entire instruction sheet before you start installation and assembly. WARNING • Do not begin to install your product until you have read and understood the instructions and warnings contained in this Installation Sheet. If you have any questions regarding any of the instructions or warnings, call Peerless customer care at 1-800-729-0307.
- Page 3 Before you begin, make sure all parts shown are included with your product. Parts List Description Qty. Part # A ceiling tray 128-2198 A1 filler tray 128-2207 B 1/4"-20 x 3/8" screws 520-2015 C 1/4"-20 nuts 530-9302 D allen wrench 560-9706 F turnbuckle 560-9620...
- Page 4 For Mounting Above Ceiling Tile Place ceiling tray (A) in grid above 24" x 24" or 24" x 48" false ceiling tile with hole to center, left or right. Place filler (A1) tray into gap. Once placed where needed, through hole in ceiling tray (A), mark on false ceiling tile where hole will be.
- Page 5 Anchoring Methods Cut tie wire (G) into four pieces of equal length. Insert wires through the ends of the turnbuckles and loop to prevent the wire from slipping. Twist each wire around itself at least six times as tightly as possible. Drill holes for four ceiling anchors (see “Various Anchoring Methods”).
- Page 6 LIMITED FIVE-YEAR WARRANTY www.peerlessmounts.com © 2007 Peerless Industries, Inc. ISSUED 03/17/06 LIT-0190E 6 of 6 ISSUED: 02-13-08 SHEET #:128-9030-2 07-16-08 Visit the Peerless Web Site at www.peerlessmounts.com For Technical Support Contact Peerless Mounts at 1-800-729-0307 or 708-865-8870. © 2008, Peerless Industries, Inc. All rights reserved. All other brand and product names are trademarks or registered trademarks of their respective owners.
Need help?
Do you have a question about the ELPMBP02 - False Ceiling Plate and is the answer not in the manual?
Questions and answers