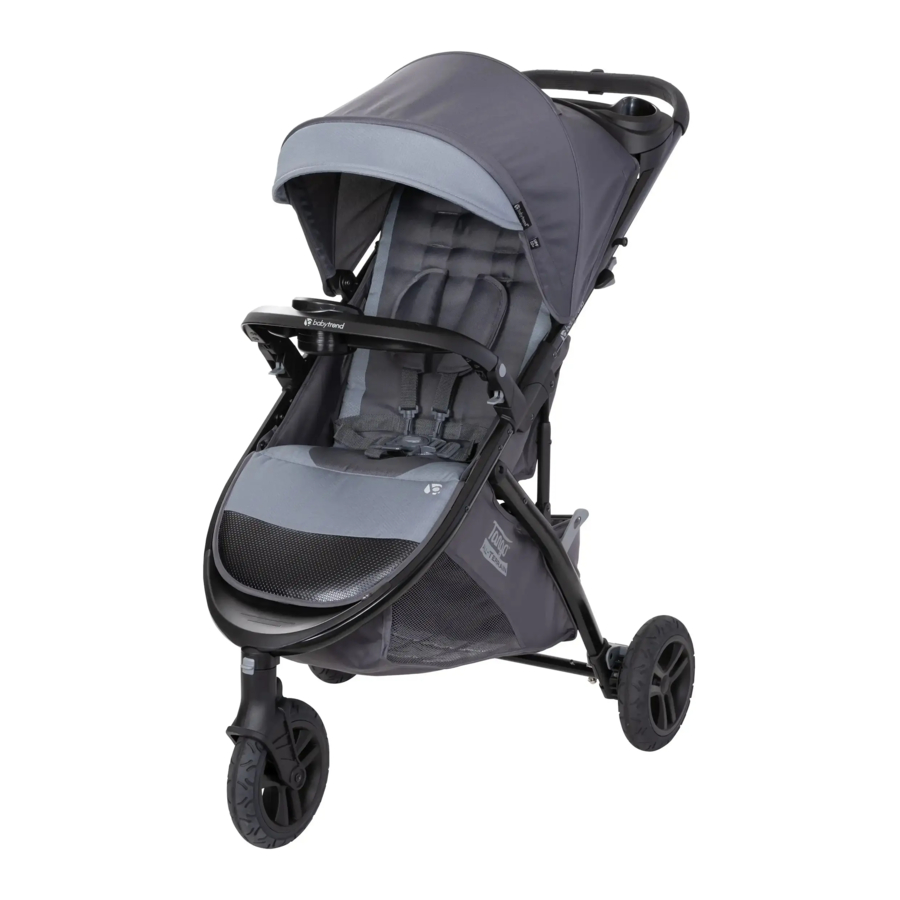
BABYTREND Tango 3, ST08 Series Manual
- Instruction manual (22 pages)
- Also fits for
- St08 series
Advertisement
PARTS
Check that you have all the parts for this model before assembling the stroller.

* Wheels style may vary.
INFANT CAR SEATS (SOLD SEPARATELY)
WARNING

Please follow all of these instructions to ensure the safety of your child. Keep these instructions for future reference.
Failure to follow these instructions could result in serious injury or death. Avoid serious injury from falling or sliding out, always use the safety harness and insure that the children are properly positioned according to these instructions.
Never leave children unattended.
Care must be taken when folding and unfolding the stroller to prevent finger entrapment.
Wheel can detach and cause tip over. Pull on the wheel to assure it is securely attached.
Care must be taken when folding stroller to prevent damage. Make sure all accessories, mobile phones, diaper bags or purses are removed before folding. Failure to remove items in, or on the stroller so may result in damage to the stroller or the item (s) if not removed. Baby Trend® will not be liable or warrant any damage.
![]()
This single stroller is designed for one child only. Use with more than one child may cause the unbalance condition which can injure/ harm your child.- Purses, shopping bags, parcels, diaper bags or accessory items may change the balance of the stroller and cause a hazardous, unstable condition.
- The maximum weight that can be carried in the storage basket is 5 pounds (2.27kg). Excessive weight may cause a hazardous unstable condition to exist.
- The maximum weight that can be carried in the child tray is 3 pounds (1.36 kg).
- The maximum weight that can be carried in the parent tray is 2 pounds (0.91 kg).
- Be certain the stroller is completely opened and locked in place before allowing a child near the stroller.
- The child occupant must not exceed 50 lbs (22.67 kg) or over 42 inches (106.7 cm) tall when used with the maximum weight on the child tray, parent tray and basket. Do not exceed 60 lbs (27.21 kg) including the weight used in the accessories. Use of the stroller and attached car seat with a total weight more than 60 lbs (27.21 kg) will cause excessive wear and stress on the stroller and may cause a hazardous unstable condition to exist.
- ALWAYS refer to the manual located under the car seat for car seat weight limitations.
- NEVER use the stroller on stairways or escalators.
- NEVER use the stroller with roller skates, in-line skates, skateboards or bicycles.
- NEVER allow your stroller to be used as a toy.
- NEVER run or jog with this stroller.

To ensure safe operation of your product, please follow these instructions carefully. Please keep these instructions for future reference.
Before assembly and each use, inspect this product for damaged hardware, loose joints, missing parts or sharp edges. NEVER use if any parts are missing or broken.
Adult assembly is required.
ASSEMBLY
UNFOLD THE STROLLER FRAME
- Release the fold latch by pulling it outward (Fig. 1a) and unfold stroller frame by pulling upward on the stroller handle until the frame locks (Fig. 1b).
![]()
Fig. 1a

Fig. 1b
Front wheel / rear wheels assembly: the front wheel and rear wheels MUST be installed prior to use. - To attach the front wheel, align the release pin with the notch by turning the front wheel to the right, while facing the front of the stroller. Press firmly to exceed the secondary pin and to secure in place (Fig. 1c).

- Slightly lean the stroller forward. Press the rear wheel posts into the rear frame hub until it clicks into place. (Fig. 1d).
![]()


 NOTE: Pull on the front and rear wheels to ensure all are securely attached to the stroller. NEVER use stroller if wheels do not lock into place. If you need assistance, please contact our customer service department at 1-800-328-7363, Monday-Friday, between 8:00 a.m. and 4:30 p.m. PST. www.babytrend.com/contact-us
FRONT WHEEL SWIVEL FEATURE
NOTE: Use the lock on the front wheel to engage or disengage the swivel wheel (Fig. 1e).

Fig. 1e
SEATBACK POSITIONING
- To recline the seat press the clip ends together to release and pull down. To place seat into an upright position, press the clip ends together while holding the end of strap. Push clip upwards to secure into desired position (Fig. 2). The upright position should be used only for a child that is at least 6 months old. Always re-adjust the safety harness, including the shoulder belts, when repositioning the seat "back.


CANOPY
- To open the canopy: pull front of canopy forward (Fig. 3a).
![]()
- To close the canopy: pull the canopy backwards. Fold canopy visor out for additional shade or fold inward when not in use (Fig. 3b).


FLIP-UP LEG REST / BASKET ACCESS
- To access the storage basket undo the closure located under the leg rest and lift upward (Fig. 4).
![]()

NOTE: Use the edge of the leg rest to access storage basket. Always use the closure to secure the storage basket opening when not in use.
MOBILE PHONE POSITIONING PARENT TRAY

Do not place hot liquids or more than 5 lbs (2.26 kg) in the parent tray. Serious burns or unstable conditions can result.
Care must be taken when folding stroller to prevent damage. Make sure all accessories, mobile phones, diaper bags or purses are removed before folding. Failure to remove items in, or on the stroller may result in damage to the stroller or the item(s) if not removed. Baby Trend® will not be liable or warrant any damage.
- To Insert Parent Tray: Locate the arched side of the tray and face it toward the canopy (Fig. 5a).

- Align the parent tray tabs to the inner tabs on both sides of the stroller. Press the tray down firmly until both tabs click into position (Fig. 5b).

- Mobile Phone Positioner: Align mobile phone to the clip and insert it through the grips. Make sure to push the phone all the way down into the positioner (Fig. 5c) - ( Fig. 5d).


NOTE: The positioner may not accommodate all mobile phones or other devices. Do not use positioner as a secure holder when not in use or if your phone is loose or is too large.
- Removal: Under the stroller frame locate the parent tray tabs. Press them inwards and lift up the tray from the housing (Fig. 5e).

Fig. 5e

CHILD TRAY
The child's tray is not a restraint device: always secure your child with the seat harness. DO NOT lift the stroller by the child's tray. Use care when child is in the stroller and securing the front tray. Do not place hot liquids or more than 3 pounds (1.36 kg) in the child tray. Serious burns or unstable conditions could result.
- To attach the child tray: Push the tray downward and onto each side of the front armrests until both sides snap into place (Fig. 6a). Check that the tray is securely latched in place.

- To access the child seat: Pull one side of the release lever (Fig. 6b) located on the underside of the child tray and lift upward. Either side of the child tray will lift and rotate out of the way to allow access to the front seat (Fig. 6c).
![]()

Fig. 6c


SAFETY
REAR BRAKES
Always set brakes when the stroller is not being pushed so that the stroller will not roll away. NEVER leave stroller unattended on a hill or incline as the stroller may slide down the hill.
- To engage rear brakes, apply downward pressure to the brake levers located on the rear axle. The stroller may require forward or rearward movement in order to engage the brake. Check that the stroller will not move once the brakes are properly applied. To release, gently lift up on the brake levers (Fig. 7).
![]()

SECURE THE CHILD
Avoid serious injury from falling or sliding out. Always use the safety harness.
STRANGULATION HAZARD: Child can strangle in loose safety harness. Never leave child in seat when safety harness is loose or undone.
- The shoulder straps of the 5-point harness have multiple positions. Select the position that places the shoulder strap level with, or below the top of the child's shoulder (Fig 8a).
![]()
- To secure the child, place the safety harness around the child's waist and over the shoulders. Place the crotch strap between the child's legs. Insert the male end of each shoulder/waist belt into the buckle on the crotch strap. Tighten all buckles to the proper fit for the child(Fig. 8b).

- Adjust the harness from the rear of the seat. Regule para lograr un buen ajuste Use the hook and loop underneath the fabric to access the buckles and slots. Grip the anchored buckles and pass them through the slots (Fig 8c).
![]()
- Feed the straps and buckles into the appropriate slots and ensure the buckles anchor to the back of the seat. Reattach the hook and loop (Fig 8d).

- If removed, insert the Harness Straps through the Harness Covers (Fig. 8e).
![]()
- RELEASE! Push button on center clasp, the two harness buckles will pop free (Fig. 9).


INFANT CAR SEAT
THE INFANT CAR SEAT
Avoid serious injury from falling or sliding out, always use the Infant Car Seat harness.
Infant car seat sold separately
(visit babytrend.com for compatibilty chart)
ATTENTION: CS01 EZ-Lift, CS02 EZ-Lift PLUS and CS03 EZ-Lift PRO Infant Car Seats must attach to the module of the strollers front seat. These models require child tray and seat back adjustment to the most reclined position.
NOTE: To make seat position adjustments refer to step 2.
CS01 EZ-Lift, CS02 EZ-Lift PLUS and CS03 EZ-Lift PRO Infant Car Seats
Car seats module connection
- From the rear side of the stroller engage both car seat support tabs (Fig. 10a).
![]()
Fig. 10a - Align the car seat module to the inner frame connectors. Carefully rest the car seats lower rear against the angle point of the tray. Latch the module into the stroller frame. Press down firmly for the click. ALWAYS ensure that the car seat is properly connected and locked onto the stroller before each use by lifting up on the car seat handle (Fig. 10b).


Removing the car seat:
![information]() NOTE: Set handle to the carry position (Fig. 10c). Squeeze the release handle located at the Top-rear of the car seat and lift away from the stroller (Fig. 10d).
NOTE: Set handle to the carry position (Fig. 10c). Squeeze the release handle located at the Top-rear of the car seat and lift away from the stroller (Fig. 10d).


OTHER COMPATIBLE CAR SEATS
- Attaching to the child tray: From the rear side of the stroller engage both car seat support tabs (Fig. 11a).

- To attach an infant car seat to the stroller rotate the tray to a vertical position. Press the buttons on each side of tray to rotate down 90° (Fig. 11b).
![]()
- Place the infant seat onto child tray in a rear facing position. Position the infant seat over the tray and gently apply pressure to snap into place (Fig. 11c).

![information]() NOTE: It is very important that the short clip is always tightly fastened around the infant car seat. When the infant car seat is seated firmly into place, locate the short clip on the left side of the stroller. Place the short clip through the lap belt opening on the infant seat. Adjust strap tension by pulling loose end of strap (Fig. 11d).
NOTE: It is very important that the short clip is always tightly fastened around the infant car seat. When the infant car seat is seated firmly into place, locate the short clip on the left side of the stroller. Place the short clip through the lap belt opening on the infant seat. Adjust strap tension by pulling loose end of strap (Fig. 11d).


Removing the car seat from the child tray:
- Remove the short clip from the infant car seat (Fig. 11d). Use the carry handle buttons to rotate into the carry position. To remove the Infant Car Seat, squeeze the release handle located at the Top-rear or Foot-end of the seat and carefully lift upward (Fig. 11e).

- Applies to all models: From the rear side of the stroller disengage both car seat support tabs (Fig. 11f).
![]()


FOLD
TO FOLD STROLLER
Care must be taken when folding and unfolding the stroller to prevent finger entrapment.
Care must be taken when folding stroller to prevent damage. Make sure all accessories, mobile phones, diaper bags or purses are removed before folding. Failure to remove items in, or on the stroller so may result in damage to the stroller or the item (s) if not removed. Baby Trend® will not be liable or warrant any damage.

Do not allow children near stroller while folding.
- Locate the strap in the seat pocket. Using one hand pull the strap firmly upward to unlock the frame (Fig. 12a).
![]()
Fig. 12a - Holding the strap lift the stroller frame until it fully closes (Fig. 12b). Compress stroller and secure with fold latch (Fig. 12c).

- Always tuck the pull strap back into the seat fabric (Fig. 12d).
![]()
Fig. 12d


NOTE: You may rotate the tray down for a compact fold. Press the 2 buttons and rotate the tray down (Fig. 12e).

TO UNFOLD STROLLER
Do not allow children near stroller while unfolding.
- Unlock the fold latch (Fig. 13a) and unfold stroller frame by pulling upward on the stroller handle until the frame locks (Fig. 13b). Refer to the child tray instruction as needed for removing or adjusting the tray.
![]()


MAINTENANCE
CARE AND MAINTENANCE
SEAT PAD
- To clean the seat pad, use only mild household soap or detergent and warm water on a sponge or clean cloth.
OTHER
- Check your stroller for loose screws, worn parts, torn material or stitching on a regular basis. Replace or repair parts as needed.
SECURING THE STRAP
- If assembly required: Feed the strap through the path under the seat and into the lever (Fig. 14a).

Use the threading method (Fig. 14b). Ensure the strap ends anchor correctly (Fig. 14c).
![]()
Fig. 14b
![]()
Fig. 14c - To remove use the threading method (Fig. 14b), and unthread it from the path under the seat (Fig. 14a).


SECURING THE SEAT FABRIC
- If assembly required: Secure the shorter straps with D-Rings around the bar underneath the seat as shown in (Fig. 15). Thread each strap completely through the D-ring opening to create a loop. Ensure straps are secure to the bar before using the stroller.


FRONT AND REAR WHEEL RELEASE
- If replacing the front wheel: Turn the wheel vertically to face the open side of the fender upward. Locate the release pin on the front of the wheel hub. Push in the release pin and pull the wheel out (Fig. 16a).

![information]() NOTE: use the latch in front of the stroller to engage and disengage the front wheel swivel (Fig. 16b).
NOTE: use the latch in front of the stroller to engage and disengage the front wheel swivel (Fig. 16b).
![]()
- If replacing the rear wheel: Press the release lever and pull the wheel out (Fig. 16c).


CANOPY REPLACEMENT
- If assembly or replacement needed: locate the snap buttons along with the hook and loop fasteners on the underside of the canopy. Join all fasteners to the stroller frame fabric (Fig. 17).


WARRANTY
The Baby Trend® warranty covers workmanship defects within 1 year of purchase.
Customer Service Department can be contacted at 1 (800) 328-7363 Monday through Friday between 8:00 a.m. and 4:30 p.m. (PST). Return Authorizations are required prior to returning product(s) to Baby Trend®. Please visit http://babytrend.com/pages/limited-warranty for complete warranty details.
BABY TREND® CUSTOMER SERVICE
The Customer Service Department can be contacted at 1 (800) 328-7363 Monday through Friday between 8:00 a.m. and 4:30 p.m. (PST). Return Authorizations are required prior to returning product(s) to Baby Trend®.
Baby Trend, Inc. 13048 Valley Blvd. Fontana CA 92335
1-800-328-7363 • (8:00am ~ 4:30pm PST)
www.babytrend.com
Documents / Resources
References
![www.babytrend.com]() Contact Us – Baby Trend
Contact Us – Baby Trend![babytrend.com]() Baby Trend® | Car Seats, Strollers, High Chairs, Nursery and More!
Baby Trend® | Car Seats, Strollers, High Chairs, Nursery and More!![babytrend.com]() Limited Warranty Coverage – Baby Trend
Limited Warranty Coverage – Baby Trend![www.babytrend.com]() Baby Trend® | Car Seats, Strollers, High Chairs, Nursery and More!
Baby Trend® | Car Seats, Strollers, High Chairs, Nursery and More!
Download manual
Here you can download full pdf version of manual, it may contain additional safety instructions, warranty information, FCC rules, etc.
Advertisement


Need help?
Do you have a question about the Tango 3 and is the answer not in the manual?
Questions and answers