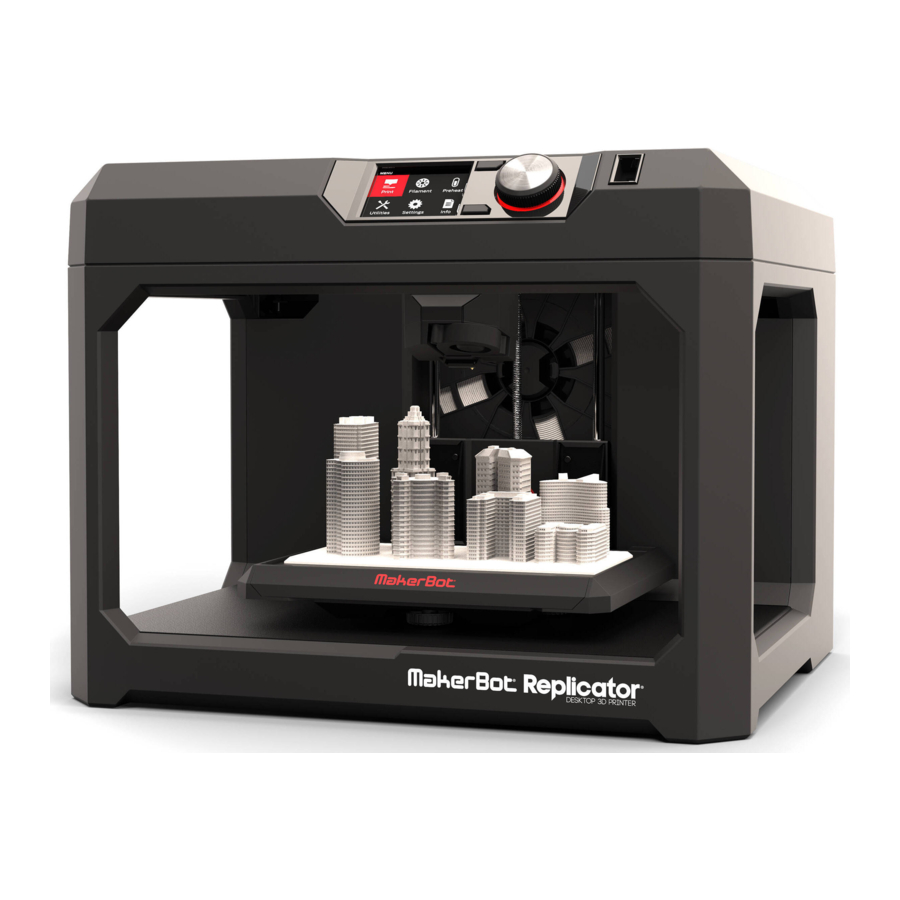
MakerBot Replicator Manual
Also See for Replicator:
- User manual (61 pages) ,
- Reference manual (17 pages) ,
- Setup manual (12 pages)
Advertisement
Table of Contents
Contents
- 1 Tools Needed
- 2 Remove the Back Panel
- 3 Remove Filament Spool Drawer
- 4 Remove Top Cover
- 5 Remove User Interface Assembly (UI)
- 6 Disassemble the UI (Optional)
- 7 Remove Carriage Assembly
- 8 Disassemble Carriage Assembly (optional)
- 9 Remove Gantry Assembly
- 10 Remove Belt and Belt Clip
- 11 Remove Spool Drawer Alignment Brackets
- 12 Remove Brooklyn PCB
- 13 Remove the Z-Case
- 14 Disassemble the Housing Assembly
- 15 Remove the Camera
- 16 Documents / Resources
MakerBot Replicator Manual
Tools Needed
 1.3mm Hex Driver
1.5mm Hex Driver
2.0mm Hex Driver
2.5mm Hex Driver
 Phillips Screw Driver
 T10 - T20 Torx Driver
 T10 Security Torx Drive
 1 Pair of thin Tweezers
 Small Wire Cutters
 Small Container for Screws
Remove the Back Panel
- Remove the following screws from the outer edge of the Back Panel using a T15 screw driver:

- Six (6) Torx socket head screws
- Six (6) Torx Button Head bolts
- Four (4) Torx socket head screws surrounding Power Supply Gently pull back the Back Panel off. Be mindful of the two tabs in the back if they need to be popped out.
NOTE: Four (4) screws at the top center of the Back Panel do not need to be removed).

Remove Filament Spool Drawer
- Gently lift the Top Cover about 2 inches in order to give enough clearance for the Filament Spool Drawer Stop to pass through. Gently lift the Filament Spool Drawer upward to remove from the body of the Replicator.


Remove Top Cover
- Disconnect the Camera Wire Harness located behind the User Interface Assembly (UI). Gently lift the back of the Top Cover first to expose the Snap Brackets
Note: DO NOT lift top cover more than 2 inches or you run risk of breaking the screw boss, which are not replaceable). Using a medium length screwdriver, from the front side of the Replicator pry the Top cover from the Font Panel snap brackets located at each corner. Unplug the motor wires and HDMI cable, then lift and remove the Top Cover and set aside.


Remove User Interface Assembly (UI)
- Unplug the HDMI Cable. Remove the six (6) Torx button heads attaching the UI to the Top Cover and push the UI out of the Top Cover.
Note: The following steps are only if you need to disassemble the UI Remove the four (4) Torx button head screws holding the UI Electrostatic Discharge Cover (ESD) cover onto the UI Faceplate. Pull apart the ESD to separate Remove the four (4) Torx button head screws that attach the Hoboken PCB to the UI Faceplate.
")
")
Disassemble the UI (Optional)
- Note: This step only necessary if you troubleshooting the LCD screen or Hoboken PCB To disconnect the LCD Screen lift the brown tab on the back of the Hoboken PCB and gently pull out the LCD Screens' ribbon cable and lift the LCD Screen off of the Hoboken PCB. Notice the two (2) foam spacers on the back of the LCD Screen
NOTE: The LCD Screen is not glued to the Hoboken PCB it's held by pressure
")
")
Remove Carriage Assembly
- Remove the two (2) Torx screws attaching the Carriage Assembly to the Carriage Adapter using a T10. Push on the back of the Carriage Assembly (push toward the front of the printer) to remove the carriage from the bracket. (optional) Use a 1.3mm hex driver to remove the set screw holding the Castle Gear on to the Carriage Motor axle.


Disassemble Carriage Assembly (optional)
- Remove the two (2) Torx screws holding the Carriage Cover (front) and the Carriage Extruder Mount (back)
Press in the snap features and gently pry open and separate the front from the back of the Carriage Assembly. Pull back the plastic tab around the FFC and press the to tabs on each side of the connector and unplug the FFC from the Bronx PCB. Gently unplug both the Active Cooling Blower and the Extruder Cooling Fan from the Bronx PCB. Remove three (3) socket cap screws using a 2.5mm hex driver and remove the Carriage Motor and Bronx PCB.
")
")
Remove Gantry Assembly
- Remove six (6) Torx button heads that attach the Gantry Assembly to the body of the Replicator. Unplug both Gantry Motors (Left and Right).


Remove Belt and Belt Clip
- Loosen the two (2) button head screws holding down the Tensioned Pulley Bracket using a 1.5mm hex driver located on the front left. Next using a T15 or a 3mm hex driver loosen up the Tensioning Bolt to give you enough slack and remove the Belt.
Unclip the Belt Clip off the Carriage adapter, using a 1.5mm hex driver remove twelve (12) button heads attaching the Upper XY Bracket to the Lower Gantry Brackets
(NOTE: Most belt are now glued to the belt clip, it is possible to remove the Belt Clip with out damaging the belt. If belt is damaged replace both Belt Clip and Belt).

- Remove the following screws:

- Four (4) socket cap heads attaching the Lower Gantr Brackets to the Linear Bearings. Using a 1.5mm hex driver
- Eight (8) buttons head screws (4 per rail) attaching the Gantry Rails to the X Y Gantry Using a 1.5mm hex driver
Using a 2.0mm hex driver loosen up the shoulder screws to remove the Black Idler Pulleys.


Remove Spool Drawer Alignment Brackets
- Remove the six (6) Torx button heads that hold the Spool Drawer Alignment Brackets to the Z-Case. Pull Alignment Brackets away from the body of the Replicator.


Remove Brooklyn PCB
- Unplug the HDMI Cable and remove the Electrostatic Discharge Cover (ESD) by removing the two (2) Torx button heads using a T20. Remove the one (1) Torx button head attaching the PCB Adapter Plate to the Base Plate Gently lift the ESD cover and unplug the WiFi Antenna, next open the white cable clip located on the top of the ESD cover and remove the Motor Cable Harness. Unplug the Z-Motor and set aside. Pull the Brooklyn PCB towards yourself to give some slack, press down the white tab on the 20 pin Power Supply connector and pull out of Brooklyn PCB, slide out of metal slot to remove.


Remove the Z-Case
- Remove the following screws:

- Four (4) Torx button thread formers button heads that attach the Z-Back to the side panels
- Two (2) Torx button heads that attach the Z-Back to the Floor Plate. Pull Z-back back towards you away from the body of the Replicator and set aside. To remove Z-Stage Assembly remove the four (4) Torx button head screws using a T15 To remove Z-Stage Assembly remove the four (4) Torx button head screws using a T15
- To open up the Z-Stage remove the Nylock Nuts located underneath the Z-Stage using a 5mm nutdriver (Note: Older models have Push Nuts that will have to be pried open). Next remove the four (4) Conical Springs (2 strong, 2 weak) located with in the Z-Stage. Finally slide out the Spring Clevis Pin that holds the Build Plate Holder and


- To remove the Z-Motor and the Brass Nut, First remove the Z-Motor from the Z-Case by removing the four (4) button heads that attach the Z-Motor to the Z-Case Case using a 2.5mm screwdriver. Spin threaded rod until it falls out of the Z-Case. Next remove the four (4) button heads that attach the Brass Nut to the Z-Case using a 2.5mm screwdriver.


Disassemble the Housing Assembly
- Remove the following screws: Two (2) located on the front of the printer on the Floor Plate using a T15 Two (2) that attach the Floor plate to the Base Plate (inside the Replicator) using a T15 Pull the Floor Plate away from the front of the Replicator to remove. Remove the seven (7) Torx self tapping screws that attach the Left and Right Panel to the Base Plate, Remove the six (6) Torx self tapping screw that attack the Left and Right Panels to the Front Panel.


Remove the Camera
- Remove the Camera by pushing on the Camera Mount Clip that holds it on to the Left Panel.


Documents / ResourcesDownload manual
Here you can download full pdf version of manual, it may contain additional safety instructions, warranty information, FCC rules, etc.
Advertisement


Need help?
Do you have a question about the Replicator and is the answer not in the manual?
Questions and answers