Advertisement
Box Contents

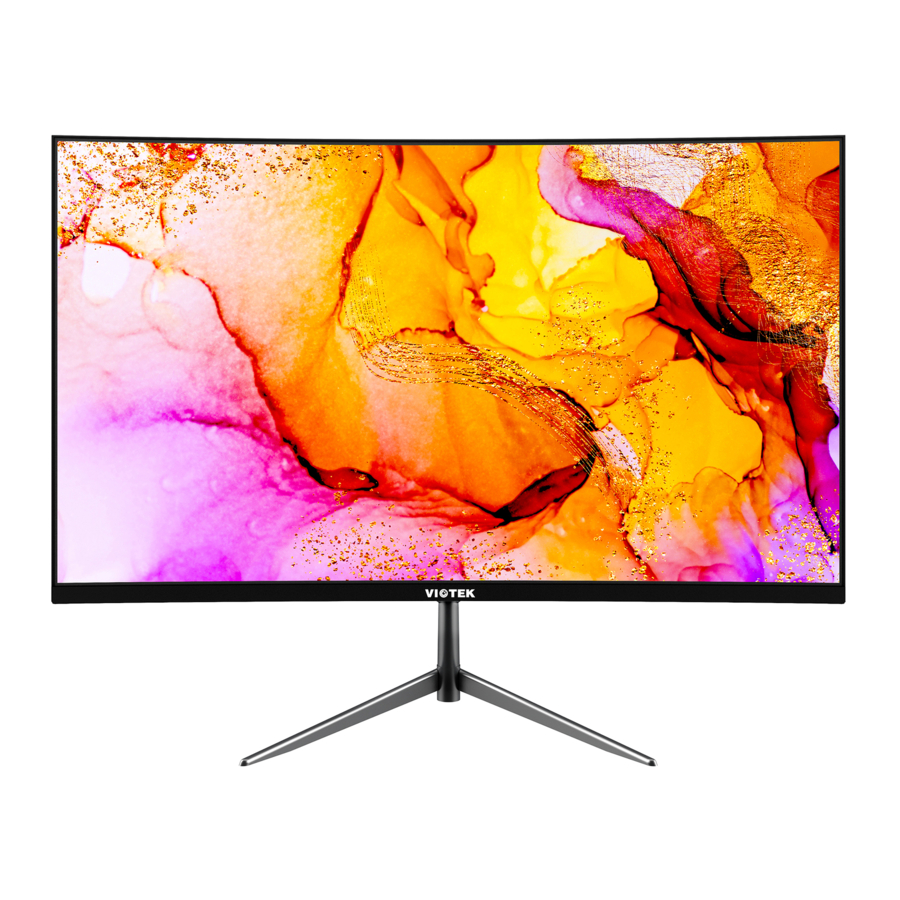
Product Overview
Monitor Buttons

![]() Menu Button: Press to display the OSD menu or enter sub-menus.
Menu Button: Press to display the OSD menu or enter sub-menus.![]() Down Button: Press to move down in the menus.
Down Button: Press to move down in the menus.![]() Up Button: Press to move up in the menus.
Up Button: Press to move up in the menus.![]() Exit Button: Press to exit.
Exit Button: Press to exit.![]() Power Button: Press to turn the monitor on/off.
Power Button: Press to turn the monitor on/off.- LED Indicator: Changes colors to indicate status. Refer to Section "OSD".
 Down Button: Press to move down in the menus.
 Up Button: Press to move up in the menus.
 Exit Button: Press to exit.
 Power Button: Press to turn the monitor on/off.
Monitor Ports

- HDMI Connector: Insert one end of the HDMI cable into the computer's HDMI output and connect the other end to the monitor's HDMI port.
- VGA Connector: Insert one end of the VGA cable into the computer's VGA output and connect the other end to the monitor's VGA port.
- Audio Output: Insert one end of the audio cable into an external audio source, e.g., speakers or headphones, to pass audio signals through the monitor.
- DC 12V Power Connector: Insert the power cable to supply power to the monitor.
Stand Installation
 Keep the foam underneath the monitor before attaching the stand.
- Open the package and take out the monitor with foam still attached. Gently place it top-down on a desktop or table.
- Take out the stem and base. Use a screwdriver (not included) and the included one screw to fasten base to the stem.

- With the stand fully assembled, attach it onto the back of monitor.
![]()
- Remove the remaining foam on monitor and stand it up on a flat, level desktop or table. Press the button to remove the monitor from the bracket if mounting.


Make sure the monitor is laid on a flat surface before removing the stand.
Basic Operation
- Insert one end of the HDMI cable (included) into your PC's graphics card. A VGA cable (not included) may also be used.
- Connect the other end of the cable to the corresponding port on your monitor.

- Connect the power cable to your monitor, then connect the other end to your power source. It is recommended that you use a surge protector with adequate voltage if a wall outlet cannot be reached directly.
- Locate the power button on the monitor and press it to turn the monitor on.

If you cannot locate the power button, please refer to Section "Monitor Buttons".
AMD FreeSync
The feature itself is off by default. In order to use this feature, please note you must have hardware with FreeSync capability, an HDMI cable, and the latest graphic drivers. To use this feature, connect your computer and monitor with an HDMI cable. After connecting, you may receive a prompt to enable the feature on your computer. If you do not receive the prompt, you may need to enable the function in your graphics card menu. See your graphics card manufacturer's documentation for instructions on how to turn on and/or enable FreeSync.
Indicator Light
Solid blue light indicates power is on and the monitor is operating normally. Red light indicates no video source, no horizontal or vertical signal has been detected or voltage is low. Please ensure your computer is on and all video cables are fully inserted and/or connected.

OSD
The On-Screen Display (OSD) Menu may be used to adjust your monitor's settings and appears on screen after turning on the monitor and pressing the  button.
When using the monitor for the first time, settings will automatically adjust to optimal settings according to your computer's standard configuration settings.
- Press
![]() button to enter the OSD menu.
button to enter the OSD menu.

- Press
![]() or
or ![]() to browse functions.
to browse functions. - Highlight the desired function, then press
![]() to enter the sub-menu.
to enter the sub-menu. - Press
![]() or
or ![]() to browse sub-menus, then press
to browse sub-menus, then press ![]() to highlight the desired function.
to highlight the desired function. - Press
![]() or
or ![]() to highlight an option, then press
to highlight an option, then press ![]() to confirm the settings and exit the current screen.
to confirm the settings and exit the current screen.
- Highlight the desired function, then press
- Press
![]() to exit the current screen.
to exit the current screen.
 button to enter the OSD menu.
 to exit the current screen.
OSD Menu Functions
| Main Menu | Sub-Menu | Options | Description |
| Luminance | Brightness | 0~100 | Adjust display brightness |
| Contrast | 0~100 | Adjust display contrast | |
| ECO | Standard, EYES, Game, RTS, FPS, Movie | Set visual mode | |
| DCR | On | Turn on DCR function | |
| Off | Turn off DCR function | ||
| Image Setup | Image Ratio | Wide, 4:3 | Set aspect ratio |
| Color Setup | Color temp. | Warm, User, Cool, Normal | Set the display color temp. based on your preference |
| Red | 0~50 | Customize RGB components | |
| Green | 0~50 | ||
| Blue | 0~50 | ||
| OSD Setup | Language | English | Set OSD language |
| H. Position | 0-100 | Adjust the OSD horizontal position | |
| V. Position | 0-100 | Adjust the OSD vertical position | |
| Time out | 0~60 | Set how long the OSD remains open after non-use | |
| Transparency | 0-100 | Set the OSD overall transparency | |
| Reset | Auto Config. | N/A | Auto configure the monitor settings |
| Auto Color | N/A | Auto set the color of monitor | |
| Reset | N/A | Reset monitor configurations | |
| Extra | Input Select | HDMI, VGA | Display the input signal |
| Mute | On, Off | Turn mute function on/off | |
| Volume | 0-100 | Adjust audio volume | |
| Free Sync | On, Off | Turn on or off Free Sync function |
ECO Modes and Gameplus
- Press
![]() button to switch ECO modes. These modes (Standard, EYES, Game, RTS, FPS, Movie) can be used to optimize settings according to your activity. Standard mode is suitable for most activities.
button to switch ECO modes. These modes (Standard, EYES, Game, RTS, FPS, Movie) can be used to optimize settings according to your activity. Standard mode is suitable for most activities.
![]()
- Press
![]() to enter volume screen to adjust volume directly.
to enter volume screen to adjust volume directly.
![]()
- Press
![]() to switch Gameplus modes. Choose the crosshair icon best suited for your game. These game icons are primarily designed to optimize your aim during shooting games, though they can serve other purposes.
to switch Gameplus modes. Choose the crosshair icon best suited for your game. These game icons are primarily designed to optimize your aim during shooting games, though they can serve other purposes.


Troubleshooting
The screen is blank
- Press the power button to turn on the monitor.
- Confirm the brightness and contrast settings are set normally.
- Check if the indicator light is red. Red indicates there is no signal from your video source.
- If your source is a notebook or laptop, be sure that its settings are in mirror or extension mode and the device itself is powered on.
The image is out of focus
- Ensure the video cable is inserted properly at both ends.
The screen is flashing
- Try an alternative power source. Insufficient current may be causing this issue.
- Ensure devices such as non-shielded speakers, fluorescent lighting, AC transformers, table fans, etc., are a safe distance away from your screen to avoid magnetic disturbances.
The color bleeds or visual effects appear unusual.
- If your screen is all red or blue, or any colors disappear, check to see that the cable is properly inserted. A loose connection can cause a bad signal.
- Try connecting to another video source for comparison.
The screen appears to be scrolling, rolling, or moving unusually.
- Check that your source frequency is within 60Hz.
- Reconnect and ensure your video cable is secure.
The monitor needs cleaning
- Make sure the monitor has been powered off before cleaning.
- Always use soft, non-abrasive cloth when cleaning.
- Use dry, non-abrasive cloth to gently remove debris or dust.
- If necessary, lightly dampen a non-abrasive cloth with water and gently clean the surface.
- Never use alcohol or ammonia-based cleaning solutions.
- Never spray liquid directly onto any part of the monitor.
The indicator light does not work
- Check that the power is on.
- Check that the power line connected with power.
Cannot plug and play.
- Ensure the monitor is compatible with PC.
- Ensure the graphics card is compatible with the monitor.
- Check that the pins in the interface are not curved or otherwise damaged.
Dim image
- Adjust the brightness and contrast ratio.
Image jitter/moire pattern
- Nearby electric equipment may interfere with the monitor.
Light indicator is on or flashing, but there is no image displayed on screen
- Check that the monitor power is on.
- Check that the graphics card is installed properly.
- Check that the signal line connects securely with the monitor.
- Check that the pins in the interface are not curved or otherwise damaged.
Color shortage (red, green, or blue)
- Check cable connectors for curved or damaged pins. Replace cables if needed.
Image position is not centered/the size is not right
- Please adjust Clock or Auto setting.
Color difference (colors are not optimized)
- Adjust RGB color or reset color temperature.
Specifications
| Item | Detail |
| Model Number | NBV24CB2 |
| Screen Size | 23.8'' |
| Curvature | 3000R |
| Viewing Angle | 178°(H)/178°(V) |
| Aspect Ratio | 16:9 |
| Resolution | 1920 x 1080p |
| Backlight | E-LED |
| LED Indicator | Power on: Blue (solid); Power saving: Red |
| Typical Brightness | 250 cd/m2 |
| Default Color Temp. | 6500 |
| Color Gamut | 97% sRGB; 74% NTSC; DCI-P3 77%; Adobe RGB 78% |
| Contrast Ratio | 4000:1 (Static) |
| Pixel pitch | 274.5 (H) × 274.5 (V) |
| Response Time | 8ms |
| Refresh Rate | 60Hz (75Hz OC) |
| Ports | VGA x 1, HDMI x 1, Audio output x 1 |
| Power | DC 12V, Min 2.5A |
| Power Consumption | Typical: 23W, Max: 25W; Standby ≤0.3W |
| OSD Language | English |
| Usage Temp. | 32°F~104°F (operating), -4°F~140°F (storage), 10-90% RH (non-condensing) |
| Tilt Angle | Forward 5°; Backward 15° |
| Dimension (With Stand) | 21.32 x 5.63 x 15.32 in (541.44 x 142.97 x 389.23 mm) |
| Weight | 6.17 Ib./8.82 Ib. (incl. packaging) |
Safety Precautions
Read and observe the following warnings and information below.
- Before cleaning, always unplug your monitor. It is recommended that you use dry cloth or lightly damp cloth to clean your monitor. Dry cloth is, however, the safest. If using damp cloth, wait for your monitor to completely dry before plugging it in again.
- Do not use alcohol or ammonia-based cleaner and/or liquids to clean your monitor.
- This monitor features ventilation openings on the back of the unit. Avoid blocking these openings to prevent the monitor from overheating.
- Avoid placing this monitor near any heat sources, e.g., portable heaters or heating vents, as this may cause damage to your monitor.
- Do not spray cleaner and or any kind of liquid directly onto the monitor's screen or any part of the monitor.
- Do not insert anything into any part of the monitor especially the ventilation openings.
- Always make sure your monitor is placed on a secure, level surface to prevent it from falling and sustaining damage.
- Unplug your monitor during any extended periods of non-use.
- Do not place heavy items on the monitor or monitor cables.
- Do not attempt to disassemble or remove parts from the monitor. Any disassembly or modification etc. not performed by an authorized technician can result in damage to the monitor and/or possible exposure to high voltage electricity which may lead to serious injury or death.
VIOTEK® shall not be held responsible for injury or damage of products or persons due to failure to adhere to the aforementioned precautions or any others noted hereafter.
Documents / ResourcesDownload manual
Here you can download full pdf version of manual, it may contain additional safety instructions, warranty information, FCC rules, etc.
Advertisement


Need help?
Do you have a question about the NBV24CB2 and is the answer not in the manual?
Questions and answers