VeriFone V200C Plus Manual
- Installation manual (54 pages) ,
- User manual & setup manual (11 pages)
Advertisement
- 1 Overview
- 2 Setup
- 3 Accept Payments
- 4 Settings
-
5
Troubleshooting & Tips
- 5.1 How to Perform a Software Update
- 5.2 How to Fix a Blank Screen
- 5.3 Printing Issues Printer Jam
- 5.4 Unresponsive Printer
- 5.5 Incorrect Terminal Display
- 5.6 How to Perform a Hard Reset
- 5.7 How to Fix a Tamper Error
- 5.8 How to Reboot Your Terminal
- 5.9 A Note on Factory Resets
- 5.10 How to Reach Customer Service
- 6 Documents / Resources
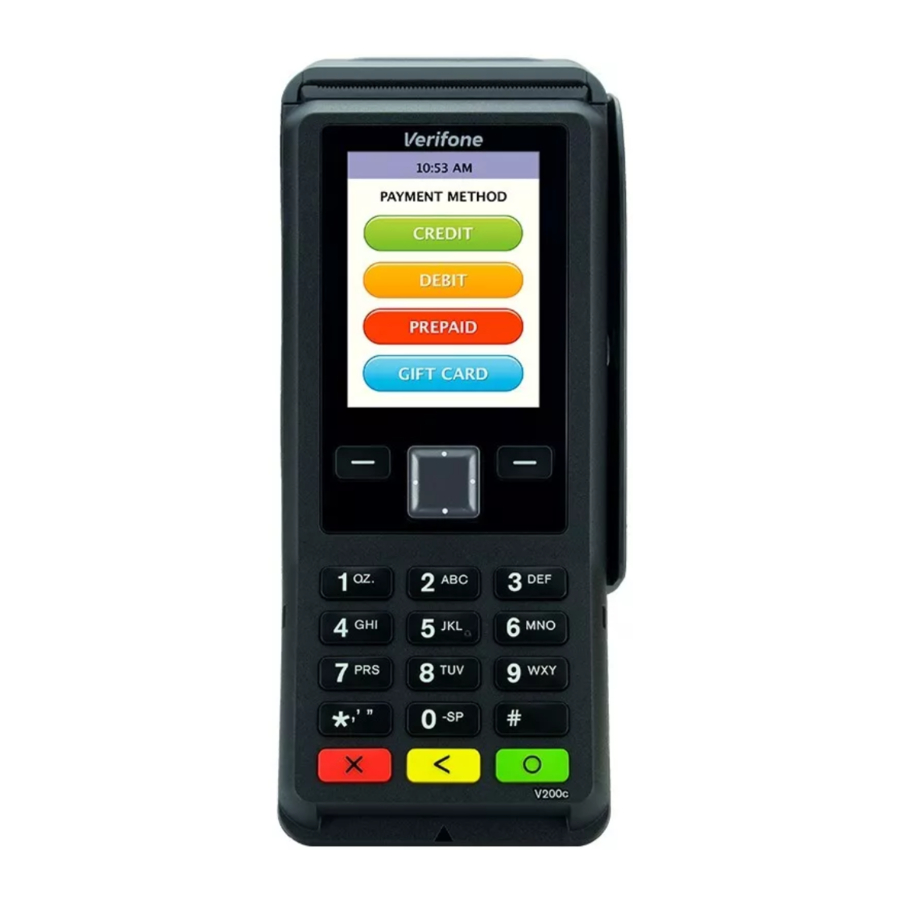
Overview
Discover the Verifone V200c terminal, now upgraded to the V200cPlus! This advanced payment solution has been enhanced with additional features and improved performance capabilities. Operating on a Linux-based OS, this terminal supports various connection options, including dial-up, Ethernet, WiFi, and Bluetooth, ensuring smooth integration into any business environment. The V200cPlus delivers strong processing power with its 600 MHz processor and 1024 MB of memory. This upgrade enables faster transaction processing and supports advanced commerce functionalities, making it ideal for diverse retail settings. The Verifone Engage V200cPlus stands out as a versatile and powerful choice for streamlined transactions! Click here to purchase the Verifone V200c terminal from our online shop.
Setup
How to Load Paper Roll
- Use the latch on the top of your Verifone V200c to open the printer paper compartment.
- Load a roll of 2.25" thermal receipt paper into the printer paper compartment, with a small length of paper extending outward.
- Close the latch.
How to Turn On/Off
Power ON:
- Access the power hub on the rear of the terminal.
- Plug the power cord into the power port.
- Ensure that your power cord is plugged into a reliable host power source.
- Connect the V200c's Ethernet cable to the Ethernet port (i.e., the middle port) inside the power hub.
- Your terminal should turn on shortly after.
Power OFF:
- Disconnect your Verifone V200c from your host power source.
Verifone V200c - Default Password
The default admin password for the Verifone V200c is either 1234 or 123456. The supervisor password required for merchants to enter SYSTEM MODE is 166831.
How to Enter System Mode
- Press the 1, 5, and 9 keys at the same time.
- When prompted, enter the default supervisor password (166831). You are now in SYSTEM MODE.
How to Set Up an Ethernet or Wifi Connection
Connect to Ethernet (Static IP)
- Link your Ethernet cord to the V200c's Ethernet port.
- Route Ethernet cord to network jack.
- Log in on your Verifone V200c by selecting the SUPERVISOR option. Following this, enter your supervisor password.
- Select COMMUNICATION.
- Select CONFIGURATION.
- Select NETWORK INTERFACE.
- Select LAN.
- Enable AUTOSTART, then confirm.
- If prompted, enter your device's IP address, then confirm.
Note: Improper use of your V200c Ethernet cord could potentially damage or impair your Verifone device.
Connect to WiFi
- From the main menu, select COM CONTROL.
- Under COMMUNICATION PANEL, you will see a list of connection options: LAN, DIAL-UP, WIFI, etc. Select WIFI.
- Select CONFIGURATION.
- Slowly enter the following password when prompted: 20331.
- Select WIFI SCAN.
- Your device will start to scan for available WiFi networks.
- When presented with a menu of network options, select your home network, then confirm.
- You will then manually enter your network password or select the pre-saved key option for your password details.
- To finalize, select SAVE.
Accept Payments
The Verifone VC200c can accept EMV chip, triple-track MSR, and NFC/ contactless options. It comes outfitted with a pair of SAM slots, USB connectors, and a vibrant LCD color screen. This PCI-protected payment device can process transactions via all the leading card brands: Visa, Mastercard, Discover, and American Express. Verifone also offers Verifone Managed Services, a system designed to help merchants manage inventory.
How to Process a Sale
Chip Credit Sale
- From the home menu, select SALE.
- Use the V200c keypad to enter the total amount for the sale, then confirm.
- If prompted, select CREDIT.
- You will see an alert on your screen displaying text that reads SALE: INSERT, TAP, or SWIPE. Insert your EMV chip card into the V200c's EMV chip reader.
- Upon completion of the sale, a green checkmark icon will appear on your display, indicating successful transaction approval. A receipt will then be printed for merchant and customer records.
Manual Entry Sale
- From the home menu, select SALE.
- Use the V200c keypad to enter the total amount for the sale, then confirm.
- If prompted, select CREDIT.
- If prompted, press the red X key to indicate that this is a manual card-not-present sale.
- When presented with the option for MANUAL ENTRY, select YES to proceed.
- When prompted, enter relevant credit card information, including card number, AVS, billing information, and expiration date.
- Upon completion of the sale, a green checkmark icon will appear on your display, indicating successful transaction approval. A receipt will then be printed for merchant and customer records.
Note: Merchants also have the option to complete manual transactions via a PHONE ORDERS option.
Debit Sale
- From the home menu, select SALE.
- Use the V200c keypad to enter the total amount for the sale, then confirm.
- If prompted, select DEBIT.
- You will see an alert on your screen displaying text that reads SALE: INSERT, TAP, or SWIPE. Swipe or insert your debit card to proceed.
- When prompted, enter your PIN information using the V200c's keypad.
- Upon completion of the sale, a green checkmark icon will appear on your display, indicating successful transaction approval. A receipt will then be printed for merchant and customer records.
Contactless Sale
- From the home menu, select SALE.
- Use the V200c keypad to enter the total amount for the sale, then confirm.
- If prompted, select CREDIT.
- You will see an alert on your screen displaying text that reads SALE: INSERT, TAP, or SWIPE. Place your contactless payment option/card near the V200c's NFC reader until you are directed to the approval screen.
- Upon completion of the sale, a green checkmark icon will appear on your display, indicating successful transaction approval. A receipt will then be printed for merchant and customer records.
How to Reprint Receipt
- From the home menu, select REPRINT.
- Select either LAST or ANY.
- Select and confirm the relevant option. A receipt will then be reprinted for the merchant's records.
How to Process a Refund
Credit Card Return
- From the home menu, select REFUND.
- If prompted, select CREDIT.
- Use the V200c keypad to enter the total amount for the refund, then confirm.
- Tap, swipe, or insert the credit card used in the original transaction to proceed.
- Upon completion, a green checkmark icon will appear on your display, indicating the refund was processed. A receipt will then be printed for merchant and customer records.
Debit Card Return
- From the home menu, select REFUND.
- If prompted, select DEBIT.
- Use the V200c keypad to enter the total amount for the refund, then confirm.
- Swipe or insert the credit card used in the original transaction to proceed.
- When prompted, enter your PIN information to verify the debit refund.
- Upon completion, a green checkmark icon will appear on your display, indicating the refund was processed. A receipt will then be printed for merchant and customer records.
How to Void Transaction Void Credit Transaction (Card Present)
- From the home menu, select VOID.
- Select either LAST or ANY.
- Following this step, you can search for transactions either by TRANSACTION ID or the last four digits of the card used in the original transaction.
- Select CARD LAST 4.
- When prompted, enter the last four digits of the card used in the original transaction. Please follow all on-screen instructions if you are asked to provide additional card details.
- Upon completion, a green checkmark icon will appear on your display, indicating the transaction was successfully voided. A receipt will then be printed for merchant records.
Void Credit Transaction (Card Not Present)
- From the home menu, select VOID.
- Select either LAST or ANY.
- Following this step, you can search for transactions either by TRANSACTION ID or the last four digits of the card used in the original transaction.
- Select TRANSACTION ID.
- Enter TRANSACTION ID when prompted.
- Upon completion, a green checkmark icon will appear on your display, indicating the transaction was successfully voided. A receipt will then be printed for merchant records.
Settings
How to Change the Date and Time
- From the Supervisor main menu, select ADMINISTRATION.
- Select DATE/TIME.
- Configure your relevant regional date and time details.
How to Manually Print Settlement Reports
- From the Supervisor mainmenu, select SETTLEMENT.
- When ready, confirm SETTLEMENT AMOUNT.
- A report will then be printed for the merchant's records.
How to Install Privacy Shield
- Start by ensuring your Verifone terminal is placed on a stable surface.
- Connect pins to privacy shield slots.
- Press the privacy shield into place until the side pins lock into the shield slots.
Troubleshooting & Tips
How to Perform a Software Update
- From the home menu, select MANAGEMENT, then SETTINGS.
- Select CALL TMS.
- Enter the Verifone V200c's default password, then press the green button to confirm.
- The download process will initiate shortly after this last step is completed. Merchants should note that, while mid-download, their device may be rebooted and/or redirected to the home menu.
How to Fix a Blank Screen
- Start by testing your V200c's network and power connection.
- Disconnect V200c from the power source, then re-connect.
- Verify that Ethernet cords and cable connections are functional.
- If all else fails, contact Verifone support.
Printing Issues Printer Jam
- Access printer paper compartment.
- Unfasten the impaired thermal receipt paper roll from the compartment.
- Insert new thermal receipt paper roll.
Unresponsive Printer
- Start by verifying that your Verifone V200c is functional and powered on.
- Run a test to gauge the durability of the network and/or power connection.
- Ensure that the thermal paper roll has been installed.
- Ensure that the printer roller and dust cover are installed.
- If all else fails, contact Verifone support.
Incorrect Terminal Display
To troubleshoot a faulty terminal display, you should:
- Check to ensure that your power source is strong.
- Check device configurations.
- Contact Verifone support for any further assistance.
How to Perform a Hard Reset
- Disconnect your power cord from the power hub.
- Disconnect the power cord from the power source. Your Verifone device will power down at this point.
- To reset, re-link the power cord to the hub and power source.
How to Fix a Tamper Error
- Log in on your Verifone V200c by selecting the SUPERVISOR option. Following this, enter your supervisor password.
- If prompted, enter your supervisor password again.
- From the main menu, select SECURITY.
- Select KEY LOADING.
- Select BANK OR ADI.
- Enter passwords for KEYLOAD1 and KEYLOAD2.
- The initializing process will begin. Upon completion, press X to return to the main menu.
- When ready, run applications.
Alternatively, merchants can troubleshoot a tamper error by attempting to reboot their terminal. For instructions on this process, see the section below:
How to Reboot Your Terminal
Press and hold the green button on the bottom right of your keypad. Hold for 8 to 12 seconds. Following this, the terminal will initiate an automatic reset.
A Note on Factory Resets
If you are experiencing difficulties with your Verifone V200c, such as lagging response times or difficulty turning the device on, you may need to perform a factory reset. Merchants considering performing a factory reset on their Verifone V200c are encouraged to contact Verifone for assistance.
Note: Performing a factory reset will erase all data on the device, including transaction history and customized settings. Be sure to back up any important data before proceeding with a factory reset.
How to Reach Customer Service
If you have any customer service issues with your Verifone device, contact Verifone support directly via their website (support.verifone.com) or telephone (1-800-837-4366).
Documents / Resources
References
Download manual
Here you can download full pdf version of manual, it may contain additional safety instructions, warranty information, FCC rules, etc.
Advertisement


Need help?
Do you have a question about the V200C Plus and is the answer not in the manual?
Questions and answers