Advertisement
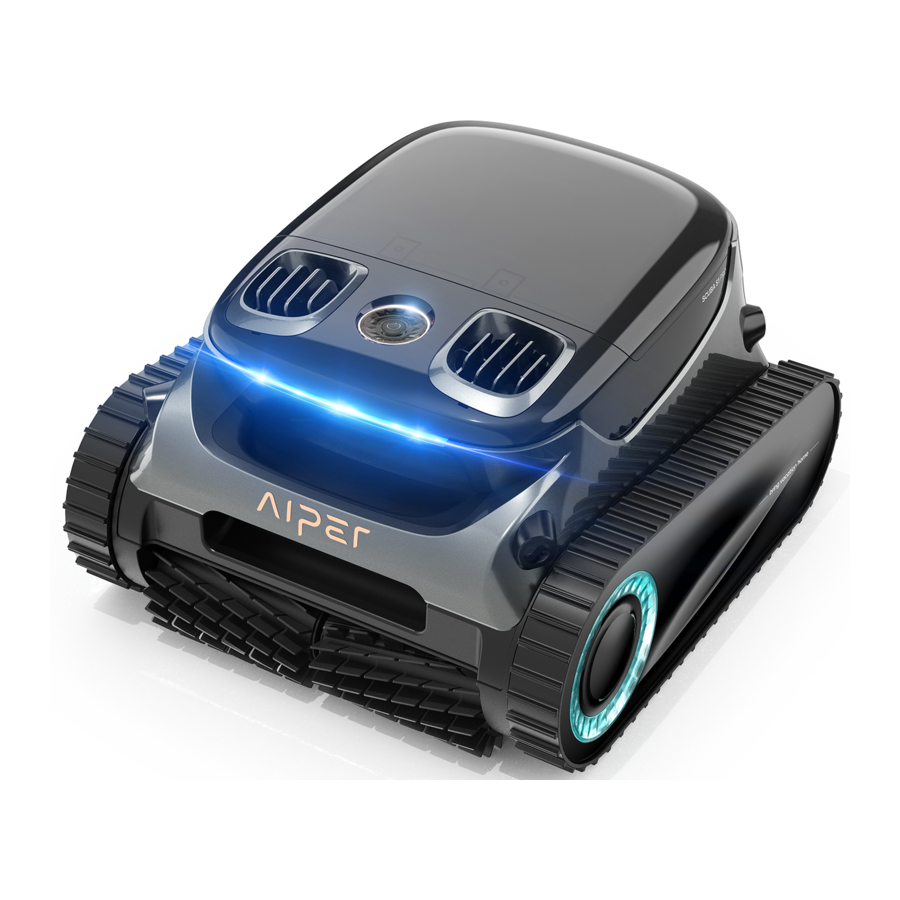
Structure

Specifications & Working Conditions
- Pool Size: 2150 Sq.ft/ 200m2
- Charger Input: 100-240V, 60/50Hz, Max 2.5A
- Charger Output: 29.4V/3A
- Charging Time: 4 Hours
- Battery Life: Up to 180 Minutes
- IP Grade: IPX8 Waterproof
- Water Depth: 10ft(3m)
- Suction Power: 100GPM (379LPM)
- Battery Pack: 7800mAh (196.56Wh)
- Battery Pack Voltage: 25.2V
- Bluetooth frequency range: 2402-2480 MHz, Maximum E.I.R.P: 6.92 dBm
- 2.4GWi-Fi frequency range: 2412-2472 MHz, Maximum E.I.R.P: 18.81 dBm

Do not use the device in a pool environment beyond the conditions described below, doing so may cause damage to the device that will not be covered by your warranty.
- Temperature: 50-95°F (10-35°C)
- pH Value: 7.0-7.4
- Chlorine: Maximum 4 ppm
- NaCl: Maximum 5000 ppm
Charging
Do not charge the device in direct sunlight.
- Fully charge the device before using it to clean your pool.
- Before charging, remove the charging port cover to check if there is any residual water in the charging port. If so, wipe dry the charging port before charging.
- Insert the charging cable into the charging port of the device and then into an available electrical outlet. The LED indicator on the device will start to pulse, indicating that the device is being charged. When it is fully charged, the LED indicator will remain on.


Using Your Aiper Pool Cleaner
- This device is suitable for cleaning the floors, walls, and waterlines of your pool within an area of up to 2150 Sq.ft/200m2.

- Choosing Filter
Two filters of different thickness are provided: replaceable MicroMesh™ ultra-fine filter and filter box.
The replaceable MicroMesh™ ultra-fine filter can trap particles as small as 3-10μm, such as silt and some algae. When visible debris is minimal (e.g., stones, leaves, sand, debris, hair) and the water appears cloudy or some algae, it is recommended to use both the filter box and the replaceable MicroMesh™ ultra-fine filter. If there is a significant amount of visible debris, it is recommended to use only the filter box and not use the replaceable MicroMesh™ ultra-fine filter.
![]()


Operating Your Device
- Press and hold the Power Button for 2s to turn on/o the device.

- Auto mode is the default mode for this device once turned on. Press the button to switch between Auto, Floor, Waterline, and Eco Mode.
- Auto Mode: The device will clean your pool's floors and walls. When the battery level is low (LED indicator turns solid red), the device will automatically stop cleaning and dock.

- Floor Mode: The device will clean the pool floor in a S-shaped route, without climbing or cleaning walls. When the battery level is low, the device will automatically stop cleaning and dock.

- Waterline Mode: The machine will move horizontally and clean along the waterline. When running into corners or obstacles on the pool walls, it will descend from the waterline, switch walls or bypass obstacles, and resume cleaning.

- Eco Mode: On a fully charged battery, the device will clean the floor of your pool for 45 min once every 48 hours for one week.

- Wall Mode: Only configurable via the Aiper APP, the device will clean the pool walls in an N-shaped route, and not clean the floors. When the battery level is low, the device will automatically stop cleaning and dock.

- Auto Mode: The device will clean your pool's floors and walls. When the battery level is low (LED indicator turns solid red), the device will automatically stop cleaning and dock.
- After selecting a cleaning mode, the device will rotate its water pump every 10 seconds, 3 times in total, to check if it has been put into the pool. If the device fails to detect water during this process, it will automatically shut down. The device will start cleaning within 10 seconds of reaching the pool floor.
- When the battery level is low, the device will automatically stop cleaning and dock by the nearest wall.

- Lift the device from the pool floor with a hook to prevent getting wet. Users can connect the hook to any standard pool cleaning rod (not included) to extend the reach of the hook.

- Allow the device to drain any stored water before storing it.

- Hold the handle and allow the device to drain any stored water.


Disassembly and Cleaning
- Set aside the device in a safe, secure location and open the Top Shell.

- Remove the Filter Box by lifting its handle.

- Press the latch of the top shells latch of the filter box and at the same time pull up on the top cover handle to open the filter box.

- Empty the filter box and remove the replaceable MicroMesh™ ultra-fine filter. Remove the A, B, C, and D latches on the replaceable MicroMesh™ ultra-fine filter rubber strip from the limiting slots.

- The replaceable MicroMesh™ ultra-fine filter needs to be rinsed inside and outside. Scrub it by hand if necessary.

- Ensure that A and B on the filter box are aligned with A and B on the replaceable MicroMesh™ ultra-fine filter.
- Pull up the four corners A, B, C, and D on the rubber strip in turn. Ensure that they are stuck in the limiting slots of the replaceable MicroMesh™ ultra-fine filter. After installation, check whether the rubber strips are all stuck into the limiting slots.


Notes:
- After each cleaning task, promptly remove the device from the pool and clean the filter box immediately. Avoid leaving the device in the pool for extended periods.
- Drying the replaceable MicroMesh™ ultra-fine filter and filter box after each cleaning is not required and is recommended solely to prevent moisture-related odors.
- When drying or storing your device, including the replaceable MicroMesh™ ultra-fine filter and filter box, it's recommended you store them in a well-ventilated area, out of direct sunlight.
- The replaceable MicroMesh™ ultra-fine filter can trap particles as small as 3-10 m, such as silt and some algae. When visible debris is minimal (e.g., stones, leaves, sand, debris, hair) and the water appears cloudy or some algae, it is recommended to use both the filter box and the replaceable MicroMesh™ ultra-fine filter. If there is a significant amount of visible debris, it is recommended to use only the filter box and not use the replaceable MicroMesh™ ultra-fine filter.
- It is advisable to use a high-pressure water gun to clean the replaceable MicroMesh™ ultra-fine filter and the filter box to ensure thorough cleaning.
- After several uses, the surface of the replaceable MicroMesh™ ultra-fine filter may show signs of wear, this does not impact its performance.
- The replaceable MicroMesh™ ultra-fine filter is a consumable item and should be replaced about every 30 uses to maintain effective filtration.
Aiper App User Guide
- How to download and install the Aiper App
- Search for "Aiper" in your devices App store, download, and install the APP on your mobile.
- Start the app and register. Then log in to the app using the data (email address and password) that you provided during registration.
![]()


- How to Add and Use Devices
- Before adding a device, please confirm the following:
- The area where the device is used has 2.4G Wi-Fi coverage. 5G Wi-Fi is not supported.
- Your phone supports Wi-Fi and Bluetooth, and Bluetooth is activated.
- The phone is within 20ft/6m of your new device.
- Tap the "+" in the top right corner of the App's homepage, select "Add Device", and follow the instructions to add the device.
- After adding the device, you can configure and view your Aiper device and features in the Aiper APP.
- Before adding a device, please confirm the following:
Note: Some features of your device will only be accessible while your device is out of the water. Once submerged, you will lose connection and cannot control your device via the APP.
Maintenance
Replacing the tracks
- Remove the side cover plate from the device.

- Remove the screws and the guide sleeves from the wheels.

- Pull the wheels and the track together to remove them.

- Align the gears on the new tracks with the gears on both wheels, then install the rear wheels and tracks together back onto the shaft sleeves.

- Re-install the guide sleeves by aligning their D-shaped openings with that of the shaft sleeves.

- Tighten the screws and re-install the side cover plate.


Replacing the roller brush belt
- Find the side that looks different from the other roller brush belts, and pull down the silicone buckles that are stuck in the fixed slot.

- After all the silicone buckles are pulled out, replace the roller brush belt with a new one. Align the silicone buckles with the fixed slot and pull them outward. They can be fixed after passing through the slot.


Cleaning the drain
- Lift the top shell.

- Remove the screws and drain cover.

- Remove any objects entangled in the drains fan blades, and then re-install the drain cover and screws.


Storage
Winter Tips: How to store and secure your Aiper devices
How should I store my Aiper device during the off-season?
In your pool's off-season, such as winter months or long vacations when your Aiper device won't be used, there are a few steps to take to protect your device and keep it in the best condition possible.
- Power o your device and disconnect it from the charger.
- Clean the device of any residual dirt, including the top & bottom shell, wheels, roller brushes, and charging port.
- Using a paper towel or soft cloth, wipe dry your device.
- Box and store your device in a cool, well-ventilated area.
- Charge your device every TWO months to 40%-60% battery capacity to maintain the battery health of your device.
When you're ready to use your Aiper device in your pool, fully charge the device before using it in your pool, and never charge your device in direct sunlight.
LED Indicator Lights
| Light Status | Device Status | Description | |
| Pulsing Light | Charging | The LED indicator color changes with the battery level. The indicator light slowly pulses during charging and produces a solid glow turns when fully charged. | Blue light always on: 100% |
| Blue: > 51% | |||
| Yellow: 50-16% | |||
| Red: < 15% | |||
| Solid Light | Operating | The LED indicator color changes with the battery level. | Blue: > 51% |
| Yellow: 50-16% | |||
| Red: < 15% | |||
| Red Light Flashes Rapidly | Device Malfunction | Filter screen blockage, motor stalling, electrical leakage, etc. | |
Packing List
| NO. | Name | Model | QTY (pc) |
| 1 | Cleaner | Aiper Scuba S1 Pro | 1 |
| 2 | DC Charger | / | 1 |
| 3 | Retrieval Hook | / | 1 |
| 4 | User Manual | / | 1 |
Important Safety Precautions
Please read this manual carefully and follow all warnings and instructions when using your Aiper Robot Pool Cleaner (hereinafter referred to as "device"). Failure to comply may result in electric shock, fire, or serious injury. Aiper is not liable for any losses or injuries caused by improper use of this device.
For your safety and optimal performance of this device, please read and follow the following suggestions.
- This device is not intended for use by persons (including children) with reduced physical, sensory or mental capabilities, or lack of experience and knowledge, unless they have been given supervision or instruction concerning use of the device by a person responsible for their safety.
- Children shall not play with the device. Cleaning and user maintenance shall not be made by children without supervision.
- Children should be supervised to ensure that they do not play with the device.
- Ensure that children do not attempt to touch the device while it is operating.
- Do not allow children to ride the device under any circumstance.
- Do not operate the device with people or animals in the pool.
- While operational, do not place your hands into any part of the device as this may result in injury.
- Do not run your device out of the water as it may lead to over-heating.
- A charger that is suitable for one type of battery pack may create a risk of fire when used with another battery pack.
![]()
For the purposes of recharging the battery, only use the detachable supply unit provided with this device.- The lithium battery in this device is a DC 25.2V, 7800mAh, 21-cell battery, compatible with charger model GM95-294300-2FGN. The battery must be removed and discarded according to local laws and regulations before disposing of the device.
- This device can only be used with HYY0345198 model lithium battery packs and CR1225 model button cell battery.
- The device contains batteries that are only replaceable by skilled persons. To replace the device's battery, please contact Customer Service.
- This device contains batteries that are non-replaceable. When the battery is at end of life, the device shall be properly disposed of.
- Be aware of the risk of terminals of the battery-operated device or battery being short-circuited by metal objects.
- In the event a damaged device produces an unfamiliar liquid, avoid contact with the liquid. If coming into contact with a foreign liquid, especially the eyes or other sensitive parts, immediately flush with water. Liquid ejected from a damaged battery may cause skin irritation or burns.
- Do not expose the device or battery to fire or excessive temperature. Exposure to fire or temperature above 130°C (265°F) may cause explosion.
- Remove the device from the charger, and turn OFF the power button to the device before removing the battery for disposal of the device.
- The battery must be removed and discarded according to local laws and regulations before disposal of the device.
- Please dispose of used batteries according to local laws and regulations.
- Do not incinerate the device even if it is severely damaged. The batteries can explode in a fire.
- Ensure your device is turned o and the charging port is dry before charging with the charger. While charging, your device should be kept in a cool, well-ventilated area. Do not cover your device while charging, as this may cause components to overheat.
![]()
To reduce the risk of electric shock, replace damaged cord immediately.- If the power cord is damaged, it must be replaced or repaired by a qualified electrician or Aiper Customer Care to avoid any hazards.
- The power supply is not to be repaired and not to be used any longer if it is damaged or defective.
- Only certified professionals should disassemble the sealed drive kit of your device.
- Only use as described in this manual. Only use attachments recommended or sold by the manufacturer.
- Do not operate your device simultaneously with any other pool equipment, such as a pool filter, cleaner, or skimmer.
- When putting your device into the water, the front of the device must face upwards and should never be placed upside down or thrown into the swimming pool.
- Watch your steps and maintain balance when working near the poolside.
- Do not drop, pierce the shell, or intentionally damage the device in any way, as this may void your warranty.
- To prevent RF exposure, a separation of 20 cm or more is recommended between the persons operating the device and the device itself. Operation at closer distances is not recommended. The antenna used for this device's transmitter must not be co-located with any other antenna or transmitter.
- Disconnect the skimmer from the supply mains before carrying out user maintenance such as cleaning the filter.
- The plug must be removed from the receptacle before cleaning or maintaining the charger.
- When not using the charger for a long period of time, please unplug it.
- When not in use, store the device indoors, in a cool, well-ventilated area.
![]()
- FOR USE WITH SWIMMING POOLS ONLY.
- DO NOT RUN PUMP DRY.
- TO REDUCE THE RISK OF INJURY, USER MUST READ MANUAL.
- FOR USE ONLY WITH AC/DC ADAPTOR, MODEL: GM95-294300-2FGN.


Documents / Resources
References
Download manual
Here you can download full pdf version of manual, it may contain additional safety instructions, warranty information, FCC rules, etc.
Advertisement


Need help?
Do you have a question about the Scuba S1 Pro and is the answer not in the manual?
Questions and answers