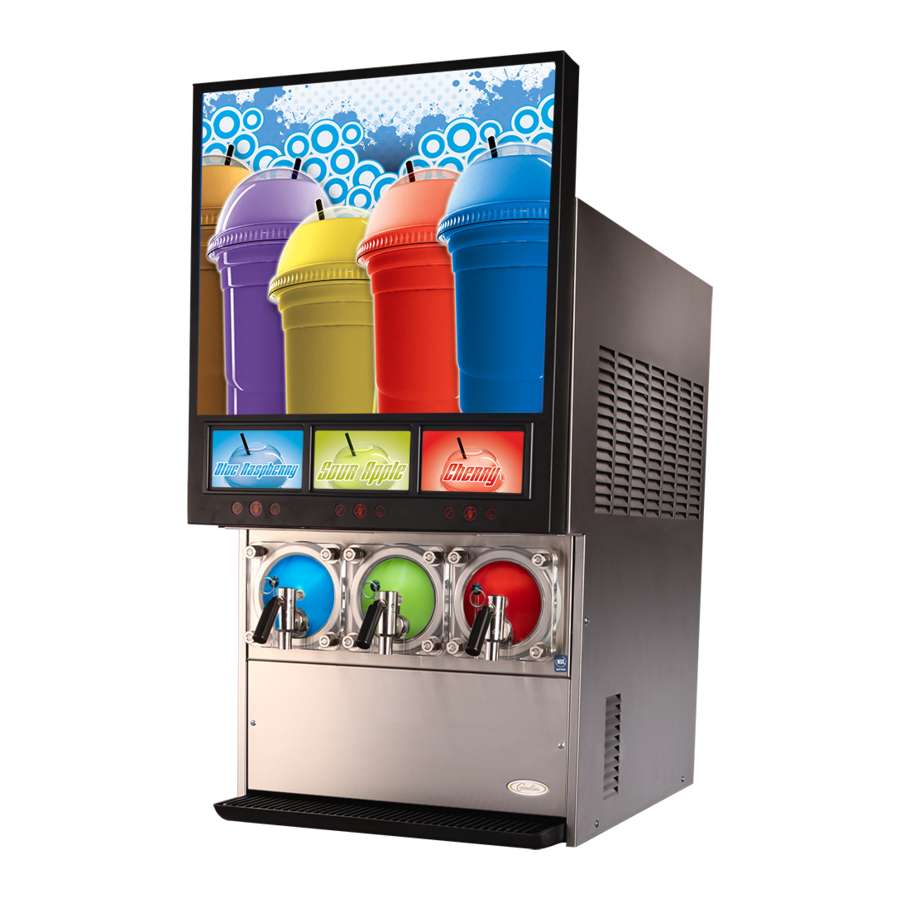
CORNELIUS Viper Manual
- Service manual (67 pages) ,
- Manual (32 pages) ,
- Operator's manual (22 pages)
Advertisement

KIT COMPONENTS
Table 1.
| ITEM | NUMBER | NAME | QTY |
| 1 | 740002879 | KIT SENSOR PRESSURE TRANSDUCER 0-50 | 1 |
| 2 | 311908000 | CLAMP OETR 445OPEN STPLS #11.3 | 1 |
KIT PRESSURE TRANSDUCER INSTALLATION PROCEDURE
Step 1
Make sure the unit is fully charged and free of liquids such as syrup, water and CO2.

Figure 1
Step 2
Remove the rear panel with two Phillips screws to access the rear of the unit.

Figure 2
Step 3
Locate the hoses that come out of the expansion tanks and go to the barrel. You will identify them because you will see the barrel pressure transducer sensor on them.

Figure 3a
Step 4
Remove the insulation that prevents freezing in the cannon's delivery lines.
The hose is located inside it.

Figure 3b
Step 5
Proceed to disassemble the transducer connector

Figure 4
Step 6
Proceed to remove the quick connector from the expansion tank

Figure 5
Step 7
Make sure to remove the insulation from the hose

Figure 6
Step 8
Using cutting pliers, cut the hose as close to the fitting-Splicer.250"X.375" STL as possible.

Figure 7
Step 9
The hose will be as shown in the photograph.

Figure 8
Step 10
Use 2 11.3mm clamps and place them on the hose that was just cut.

Figure 9
Step 11
Take the Transducer Kit and insert it into the hose ensuring the position of the elbow that enters the outlet of the expansion tank

Figure 10
Step 12
Secure the assembly by tightening the two clamps.

Figure 11
Step 13
Once you secure the clamps, reconnect the parts to the electrical connector and the expansion tank outlet.

Figure 12
Step 14
Make sure there are no product leaks and re-insulate the entire hose. This will help prevent freezing or condensation in the unit after installing the new transducer.

Contact Information
www.marmonfoodservice.com
800-238-3600
Visit the Cornelius: www.cornelius.com website.
SAFETY INSTRUCTIONS
READ AND FOLLOW ALL SAFETY INSTRUCTIONS
Security Summary
- Read and follow ALL SAFETY INSTRUCTIONS in this manual and any warning/caution labels installed on the unit (decals, labels, or laminated cards).
- Read and understand ALL OSHA (Occupational Safety and Health Administration) safety regulations before operating this unit.
Recognition
Recognize Security Alerts

DIFFERENT TYPES OF ALERTS
Indicates an immediate dangerous situation, which, if not avoided, will CAUSE serious injury, death, or damage to equipment.
Indicates a situation of potential damage, which, if not avoided, could result in serious injury, death, or damage to equipment.
Indicates a situation of potential damage, which, if not avoided, could result in moderate or minor injuries or damage to equipment.
SAFETY TIPS
- Carefully read and follow all safety messages in this manual and the safety signs on the unit.
- Keep safety signs in good condition and replace missing or damaged items.
- Learn how to operate the unit and how to use the controls correctly.
- It is NOT possible for anyone to operate the unit without proper training. This appliance is not intended to be used. by children.Children should be supervised to ensure they do not play with the unit
- This device should not be used by persons (including children) with limited physical, mental or sensory abilities, or with a lack of knowledge and experience, unless they have received supervision or instruction.
- Keep the unit under proper working condition and do not allow unauthorized modifications to the unit.
QUALIFIED SERVICE PERSONNEL
Only trained and certified electrical, plumbing and refrigeration technicians can service the unit.
ALL WIRING AND PLUMBING MUST CONFORM TO NATIONAL AND LOCAL CODES. FAILURE TO COMPLY CAN RESULT IN SERIOUS INJURY, DEATH, OR DAMAGE TO EQUIPMENT. IF THE POWER CORD IS DAMAGED, IT MUST BE REPLACED BY THE MANUFACTURER, ITS SERVICE TECHNICIAN OR SIMILARLY QUALIFIED PERSONNEL TO AVOID ANY DANGER.
SAFETY PRECAUTIONS
- This unit has been specifically designed to provide personal injury protection. To ensure continuous protection, note the following:
- Access to the service area is restricted to persons with knowledge and practical experience in the unit, in particular with regard to safety and hygiene.
Disconnect power from the unit before performing maintenance following user-established lockout/tagout procedures. Verify that the unit is completely turned off before performing any work. FAILURE TO DISCONNECT POWER MAY RESULT IN SERIOUS INJURY, DEATH, OR DAMAGE TO EQUIPMENT.
Always be sure to keep the area around the unit clean and free of clutter. FAILURE TO KEEP THIS AREA CLEAN CAN RESULT IN INJURY OR DAMAGE TO EQUIPMENT.
CO2 (D CARBON OXIDE) WARNING
CO2 displaces oxygen. Strict attention MUST be paid to preventing CO2 leakage in the entire CO2 and soft drink system. If a CO2 gas leak is suspected, particularly in a small area, IMMEDIATELY ventilate the contaminated area before attempting to repair the leak. Personnel exposed to high concentrations of CO2 gas experience tremors followed rapidly by loss of consciousness and DEATH.
Documents / Resources
References
Download manual
Here you can download full pdf version of manual, it may contain additional safety instructions, warranty information, FCC rules, etc.
Advertisement


Need help?
Do you have a question about the Viper and is the answer not in the manual?
Questions and answers