Advertisement
Quick Links
Advertisement

Subscribe to Our Youtube Channel
Related Manuals for VolantexRC 761-2SBRB2


Summary of Contents for VolantexRC 761-2SBRB2
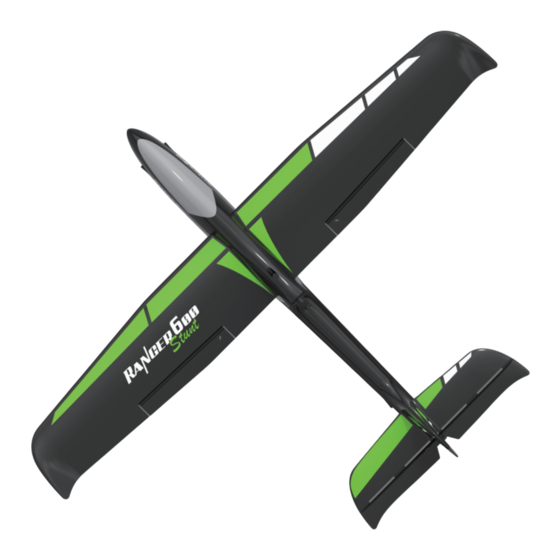
- Page 1 Stunt USER MANUAL...
- Page 2 This product is not intended for use by children without direct adult supervision. Do not attempt to disassemble, use with incompatible components or augment product in any way without the approval of VolantexRC Co., Ltd.. This manual contains instructions for safety, operation and maintenance. It is essential to read and follow all the instructions and warnings in the manual, prior to assembly, setup or use, in order to operate correctly and avoid damage or serious injury.
- Page 3 - By handling, charging or using the included battery, you shall assume all risks associated with Li-Po/Li-Ion/Ni-Mh battery. - If at any time the battery begins to balloon or swell, discontinue use immediately. If charging or discharging, you should discontinue and disconnect. Continue to use, charge or discharge a battery that is ballooning or swelling can result in - Always store the battery at room temperature in a dry area for best results.
- Page 4 Charging Instruction 1. Unplug the battery from your plane. 2. Carefully plug the charger into the USB port on your computer or USB adapter. 3. Connect battery into the charger. 4. The charging process takes about 3.5 hours. For safety reasons, never charge the battery for longer than 4 hours.
- Page 5 3. Cover the canopy and make sure 4. Setup is done. Follow below instructions it is secured. airplane. Center Control Surfaces NOTE: Keep the gyro switch off (manual mode) before you operate the steps below. See more information in "gyro switch" section. With the transmitter turned on and the battery conected to the ESC(and installed in the battery compartment), it is now possible to check the center of all control surfaces.
- Page 6 Push Rod Arc-shaped Section Push Rod Arc-shaped Section If the rudder is angled off to the right or If the elevator is angled off to the upper or left, adjust the push rod by its arc-shaped lower position, adjust the push rod by its section slightly, making sure the rudder is arc-shaped section slightly, making sure properly centered.
- Page 7 X-PILOT Switch 0 - Away From You- Manual / Gyro Off (EXPERT) The airplane comes with pre-installed 1 - At the Middle - Soft Gyro Assit (MIDD) X-PILOT to help control flying easily. 2 - Towards You - Strong Gyro Assit (BEGINNER) The switch is with 3 levels to control the X-PILOT.
- Page 8 Digital Trims Digital trims allow to adjust the centered position of aileron, rudder or elevator surface. Elevator Trimmer Each time when a trimmer is moved, the Rudder Aileron servo output will change one step. If the Trimmer Trimmer trimmer is held, the output will scroll in that direction until the trimmer is released or the output reaches its end.
- Page 9 One-key Return Instruction This airplane comes with one-key return function, which enable the plane to return by the opposite direction that the plane takes off. Follow below steps to activate the function. 1. Place your plane heading to the take-off direction. 2.
- Page 10 One-key Takeoff The airplane comes with one-key take off function, which enable the plane to take off automatically and hover in the air, until any operation on transmitter to exit. Follow below steps to use this function. 1. Turn the X-PILOT switch to beginner / intermediate gyro mode.
- Page 11 Find a Flight Field or other area that is large enough and free of people and obstructions. We recommend lots, crowded neighborhood areas or in areas that are not free of people or obstructions. is a much more forgiving surface that causes less damage in the unfortunate event or a crash.
Need help?
Do you have a question about the 761-2SBRB2 and is the answer not in the manual?
Questions and answers