Table of Contents
Advertisement
Quick Links
Advertisement
Table of Contents

Subscribe to Our Youtube Channel
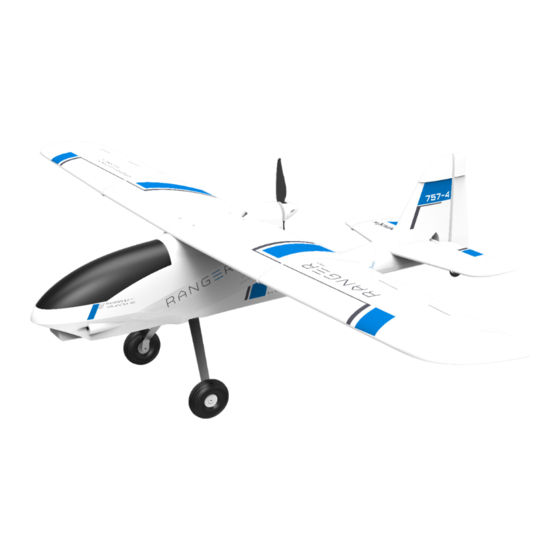
Summary of Contents for VolantexRC Ranger
- Page 1 Specifications ESC: Brushless ESC 30A Weight 870g...
-
Page 2: Safety Precautions And Warnings
Do not use with incompatible components or alter this product i n any way outside o f the instructions p rovided by VolantexRC Co., Ltd.. This manual contains instructions f or safety, operation and maintenance. It i s essential to read and follow all the instructions and warnings in the manual, prior to assembly, setup or use, in order to operate correctly and avoid damage or serious injury. -
Page 3: Box Contents
We, as the kit manufacturer, provide you with a top quality, thoroughly tested kit and instructions, but ultimately guarantee the performance of your completed model, and no representations are expressed or implied as to the performance or safety of your completed model. 3 / 16 RANGER... - Page 4 . Install the Rudder and Elevator as shown in 5. Insert a short tube into the 6. Install the servo arm to the 7. Connect the push rod to push rod then connect it to the servo horn and make the servo arm. (PA2*5). 4 / 16 RANGER...
- Page 5 Install the servo arm to the servo and 15. Join two side of main wing together via a carbon (PA2*5). Connect the push rod to the servo horn and make sure 5 / 16 RANGER...
-
Page 6: Centering The Control Surfaces
After connecting the clevises to the control horns view the vertical tail and r udder from d irectly above. The to the right or left you can adjust the length/position of the pushrod/clevis so the surface i s centered 6 / 16 RANGER... - Page 7 Then, a fter connecting the clevis to t he slide the keepers into a position that does not a llow of the surface. 7 / 16 RANGER...
-
Page 8: Center Of Gravity
Never charge the LiPo battery unattended at any time. When charging the battery you should always remain in constant observation to monitor the charging process and react immediately to any potential problems that may occur. 8 / 16 RANGER... - Page 9 It can sometimes take a few hours or even up to a few days to over- discharge the battery this way but doing so will likely cause permanent damage to or failure of the battery entirely ( which is not covered under warranty). 9 / 16 RANGER...
-
Page 10: Flight Checklist
Elevator controls on the right stick. Mode 1 is in the opposite way. normally. the battery plug. If you want to turn off the transmitter you must ensure that the battery of the plane 10 / 16 RANGER... - Page 11 11 / 16 RANGER...
-
Page 12: Flying Conditions
Fly in spacious ground w ithout obstacles and boskage. tension line, c rowed people, F lying Area,and residential area. PLEASE NOTE: THE PLANE IS DESIGNED TO BE FLOWN OUTDOORS ONLY . Flying Conditions your line of sight. 12 / 16 RANGER... -
Page 13: Perform A Range Check
If t he surface i s smooth ( such as paverment or blacktop) the plane can take o ff from the g round. But most ROG(Rise off Ground) Take off 13 / 16 RANGER... -
Page 14: Hand-Launch
Often, your assistant can reach over and adjust the trims for you. do this, while still at altitude, cut the motor power.The model should establish a gentle, downward glide path. judge how far out you will need to be when its time to land. 14 / 16 RANGER... -
Page 15: After Flight
/or battery will be damaged. After Flight Disconnect the battery and remove it from the airplane. Then, turn off the transmitter. Allow the battery to cool airplane to make sure nothing has become loose or damaged. 15 / 16 RANGER... - Page 16 © 2014 2015 VOLANTEXRC Co.,Ltd.


Need help?
Do you have a question about the Ranger and is the answer not in the manual?
Questions and answers