
Subscribe to Our Youtube Channel
Related Manuals for VolantexRC TW-759-1


Summary of Contents for VolantexRC TW-759-1
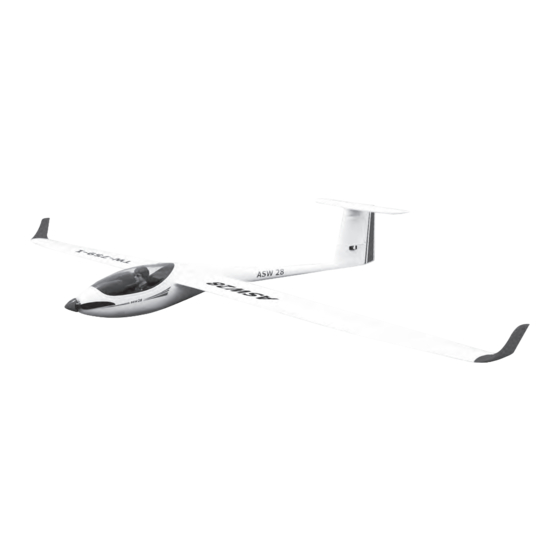
- Page 1 TW-759-1 ASW28 Specification Wing Span: 2540mm ( 63") Length: 1132mm ( 41.1") Flying Weight: 1050g Battery: 11.1V/1500mAh / 20C Motor: Brushless 850KV ESC: 30A Brushless ESC Radio: 2.4G 6-Channel Proportional Control Range: 600m...
- Page 2 This airplane is not a toy, but rather a sophisticated working model that functions very much like a full size airplane. Because of its performance capabilities, the plane, if not assembled and operated correctly could possibly cause injury to yourself or spectators and damage property. Keep items that could become entangled away from the rotating propeller, including loose clothing and tools etc.
-
Page 3: Kit Contents
Kit Contents Assemble The Plane 2. Glue the wingtip to the main wing. - Page 4 3. Insert the fin joiner into 4. Connect the servo wire to the corresponding holes in the the extension lead. rear of the fuselage. 5. Install the fin to the fuselage with the screw provided. 6. Install all the servo horns using the screws provided. 7.
- Page 5 8. Connect the pushrod to the rudder servo arm. 9. Connect the pushrod to the servo arm and fix the servo arm to the rudder servo with a screw (do not connect the pushrod to the horn at this point) 10.
-
Page 6: Centering The Control Surfaces
13. Connect the main wings to the fuselage using the plastic clips. Ensure that hear and feel a sound “click” when fitting the main wings to the fuselage, this tells you that the wings have located properly. 14. Plug in the battery then secure the canopy. - Page 7 After connecting the clevises to the control horns view the vertical tail and rud- der from directly above. The rudder should be ‘ in line ’ with the vertical tail when it’s properly ‘centered’. However, if the rudder is angled off to the right or left you can adjust the length/position of the pushrod/clevis so the surface is centered ‘mechanically’...
-
Page 8: Center Of Gravity
further adjustments to the position of the trim lever during flight as most surf- aces do not end up in exactly the centered position when an airplane is trim- med properly for actual flight (but ‘centered’ is still the best starting point). Follow the same steps outlined for centering the rudder to center the elev- ator (and aileron) as well. -
Page 9: Battery Warnings
The ideal C of G position is 56mm behind the leading edge measured at where the wing meets the fuselage (you can safely be + or - 5mm either side of this measurement). The C of G has a GREAT effect on the way the model flies. - Page 10 • To charge the battery you must use only use the included Charger or a suitable compatible LiPo battery charger. Failure to do so may result in a fire causing property damage and/ or personal injury. DO NOT use a NiCd or NiMH charger to charge Li-Po batteries.
- Page 11 However, even before this reduction in power , if you find that more than the typical amount of throttle/ power is required to cruise or climb you should land the model and disconnect the battery immediately to prevent over-discharge. And while it is possible to continue flying the model after the soft LVC occurs, this is NOT recommended.
- Page 12 If you have the equipment and skills to achieve the 50% charge level for storage it is recommended. If not, simply be sure to not store the battery fully charged whe- never possible. In fact ,as long as the battery will be stored at approximately room temperature and for no more than a few weeks before the next use, it may be best to store the battery in the discharged state after the last flight (as long as the bat- tery was not over-discharged on the last flight).
- Page 13 Mode 2 (Right throttle) Motor trimmer Motor trimmer (← →) Rudder Aileron (← →) (↑↓) Motor Aileron trimmer Rudder trimmer Commingle control switch (it can realize the mode transform of “V” model triangle wing).The CH1 controls with the Ch2 passage mix E levator Aileron Rudder...
- Page 14 To bind the receiver 1. Move the throttle stick to the bottom. 2. Turn on the transmitter. 3. Connect the battery to the receiver. 4. Press the bind button of the receiver. (the LED of the receiver will flash quickly) 5.
-
Page 15: Know Your Frequency
(Right Throttle) (Left Throttle) Know Your Frequency Based on the size and weight of the plane it’s typically considered to be a ‘park flyer’ class model. As a result it’s best to fly the plane at a local park, schoolyard, flying field or other area that’s large enough and free of people and obstructions. - Page 16 Know Your Frequency PLEASE NOTE: The plane is designed to be flown outdoors only. Flying Conditions It’s typically best to fly on days that are calm with no wind, especially when learning how to fly. We strongly suggest flying only in calm conditions until you’re familiar with the controls and handling of the model.
-
Page 17: Flight Checklist
Flight Checklist PLEASE NOTE: This checklist is NOT intended to replace the content included in this instruction manual. Although it can be used as a quick start guide, we strongly suggest reading through this manual completely before proc- eeding. • Always turn the transmitter on first •... - Page 18 First turn on the transmitter. Then, install the fully charged battery into the fuselage and hold it in place with the hook-and-loop strap. Connect the battery and install the canopy. Remember, use care not to “knock” the throttle stick, if you do "knock" the stick the motor will start and the propeller will most likely cause damage or injury.
- Page 19 Take Off Until you have become comfortable with flying your plane, do not fly if the wind speed that is greater than 10 mph [ 16 kilometers / hr]. One final check before takeoff : always double - check the flight control response to your inputs from the transmitter before every flight.
- Page 20 Flying One thing to remember is that, when the plane is flying away from you, moving the aileron stick to the right will make the plane bank to your right. However, when the model is flying toward you, moving the aileron stick to the right will make the plane move to your left.
- Page 21 Remember to keep the model high enough to give yourself time to make correcti- ons, but don’ t let it get too far away. Otherwise, it will be difficult to detect its attitude and which way it is going. One final check before landing is to see how the model will react when it’s time to land and you cut the power.
-
Page 22: After Flight
After flight Disconnect the battery and remove it from the airplane. Then, turn off the transmit- ter. Allow the battery to cool before recharging, or allow the motor to cool before inst- alling another battery for the next flight. Inspect the airplane to make sure nothing has become loose or damaged.
Need help?
Do you have a question about the TW-759-1 and is the answer not in the manual?
Questions and answers