Advertisement
Quick Links
Advertisement

Related Manuals for Manrose INTELLIVENT CELSIUS FAN6051


Summary of Contents for Manrose INTELLIVENT CELSIUS FAN6051
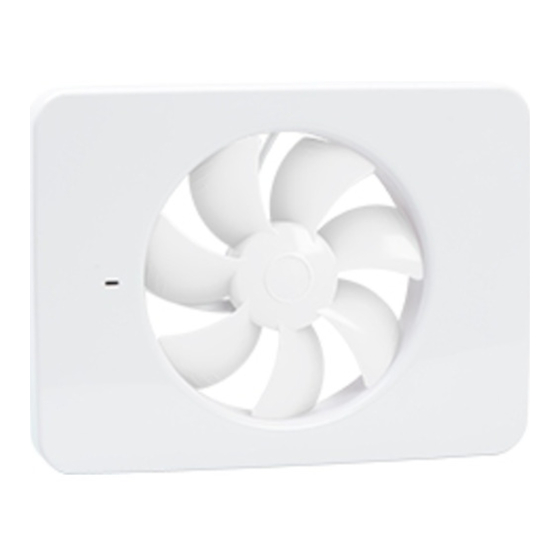
- Page 1 D E S I G N E R S E R I E S MANUAL ® INTELLIVENT CELSIUS...
- Page 2 Thank you for choosing this product from Manrose. Before installing and using the fan, read through these instructions. Keep them safe for reference in future. SPECIFICATIONS IMPORTANT All electrical work must be carried out in accordance with local and national electrical codes as applicable. We strongly recommend that this light tting is installed by a registered electrician.
- Page 3 4 Description of functions 5 Installation guide 1 Contents 2 Installation 3 Connection 4 Connecting a pull cord switch 5 Factory setting 6 Setting the fan 9 Functional description 10 Advanced functions • Activation of constant operation • Calibration of thermostat •...
- Page 4 Description of functions • Thermostat Celsius is equipped with a built-in thermostat which means that the fan starts when the temperature reaches the set value. • Speed control The intergrated speed control allows you to adjust the noise level and capacity to meet your needs. •...
- Page 5 Installation guide 1 Contents The packaging should contain the following: • Fan • 2 adapters, 1 x Ø98 mm and 1 x Ø118 mm • Manual • Accessory bag with 4 screws and plugs, a pull cord with toggle, and insulation for the standard cable type (FK). 2 Installation The fan can be installed on a wall or on a ceiling.
- Page 6 3 Wiring • All electrical work must be carried out by a registered electrician. • The fan is double insulated and must not be earthed. • The fan is tted with an approved multi-pole switch and does not require a pre-wired external switch. 1 Push the safety switch up to position 0 - OFF.
- Page 7 4 Connecting the pull cord switch If desired, a pull cord can be installed for activating the pause function and to help calibrate the fan. Remove the mounting plate using a screwdriver, for example, and thread the accompanying pull cord through the hole. •...
- Page 8 5 Factory setting • temperature – 26°C CELSIUS • speed – step 5 (70% of max) • constant operation – o TEMP SPEED step TEMP Re-setting to factory settings Keep the SPEED minus key pressed in for at least ve seconds. SPEED 6 Setting the fan You can use the control panel to quickly...
- Page 9 Functional description Heat transfer / thermostat The Celsius is tted with an integrated electronic thermostat. This starts the fan when the temperature exceeds the preset value. The fan can easily be adjusted to start between 16 and 30°C. The factory setting for the starting point is approx. 26°C. The starting point is adjusted using the plus and minus keys (TEMP) on the control panel.
- Page 10 Advanced functions Activation of constant operation • Pull the cord switch mechanism once - the yellow indicator lamp ashes. • Set the desired speed using the plus and minus keys (SPEED). • Pull the cord switch mechanism – yellow indicator lamp stops ashing. The fan now runs constantly even when the fan's thermostat function is not activated.
- Page 11 Calibration of the di erence between the cut-in and cut- o temperature (hysteresis) It may occasionally be necessary to adjust the di erent between the cut-in and cut-o temperature (hysteresis). The default value is 1.5°C. • Press in one of the plus or minus (SPEED) buttons. •...
- Page 12 LED indicators LED - what is the fan doing? The fan uses a yellow indicator lamp to indicate heat transfer – the thermostat is switched on. The yellow indicator lamp also has three di erent ashing speeds. • Slowly – Calibrating the thermostat •...
- Page 13 Maintenance The Celsius is designed to work e ciently for many years. Clean the fan at least twice a year, or as required. Disconnect the power supply to the fan by pushing the multi- pole switch up to position O - OFF. The fan is tted with a removable impeller.
- Page 14 Clean the fan blades with a brush or paintbrush. Clean the fan cover with a polishing cloth moistened with water and possibly a mild detergent. NB! Never use solvents or similar products on any part of the fan, as there is a risk of them damaging the fan's plastic components! Never submerge the fan in water, as there is a risk that this could seriously damage the fan.
- Page 15 Warranty We provide a 5 year warranty against manufacturing defects. For the warranty to be valid, proof of purchase is required and the fan: - must be assembled and installed in accordance with the installation guide in this manual - must have been maintained according to the maintenance instructions in this manual - must be installed in a normal residential environment - must be connected to a voltage of 240 V AC ~50Hz...
- Page 16 Accessories There are a number of accessories available for Celsius to help you, as a user, install the product as smoothly as possible. Please refer to www.simx.co.nz, keyword "Intellivent", for all the latest accessories for your Intellivent. Order Code Dimensions Description Fits Intellivent Model Ø...
- Page 17 Technical data Maximum capacity 134 m³/h Sound pressure level 3 m (Speed increment 5) 21 dB(A) Max Watts Power consumption 2.1 - 5.5 W Mounting dimensions in wall 0-30 mm Holes 105-130 mm Material ABS plastic Protection rating IP44 Insulation class Voltage 100-240 V Frequency...
- Page 18 TROUBLESHOOTING GUIDE The fan does not start The fan has been in use for some time • Check that the fan impeller runs freely by spinning it. • Remove the cover and restart the fan by turning the safety switch o and then on again. Leave the fan switched o for about 3 seconds before switching it back on.
- Page 19 Other faults The fan does not work as described • Remove the cover and disconnect the power supply to the fan by moving the safety switch to 0. Then return the switch to I on/o . • Perform a factory reset by holding the SPEED minus button for at least ve seconds.
- Page 22 is proudly distributed by Simx Limited PO Box 14 347, Panmure, Auckland, NZ. Technical Support (09) 259 1662 | e: sales@simx.co.nz www.simx.co.nz We reserve the right to change specification without prior warning PUB1338 iss01 08/15...
Need help?
Do you have a question about the INTELLIVENT CELSIUS FAN6051 and is the answer not in the manual?
Questions and answers