Canon imageCLASS MF269dw II / MF266dn II / MF264dw II Manual
- User manual (700 pages) ,
- Getting started (552 pages) ,
- Service manual (291 pages)
Advertisement
- 1 Checking the Items Included
- 2 Removing the Packing Material
- 3 Loading Paper
- 4 Connecting the Power Cord
- 5 Specifying the Basic Settings
- 6 Specifying the Security Settings
- 7 Specifying the Network Settings
- 8 Ending the Setup Guide
- 9 Installing the Software/ Drivers
- 10 Fax Setup
- 11 Useful Functions and Helpful Information
- 12 Documents / Resources
Checking the Items Included
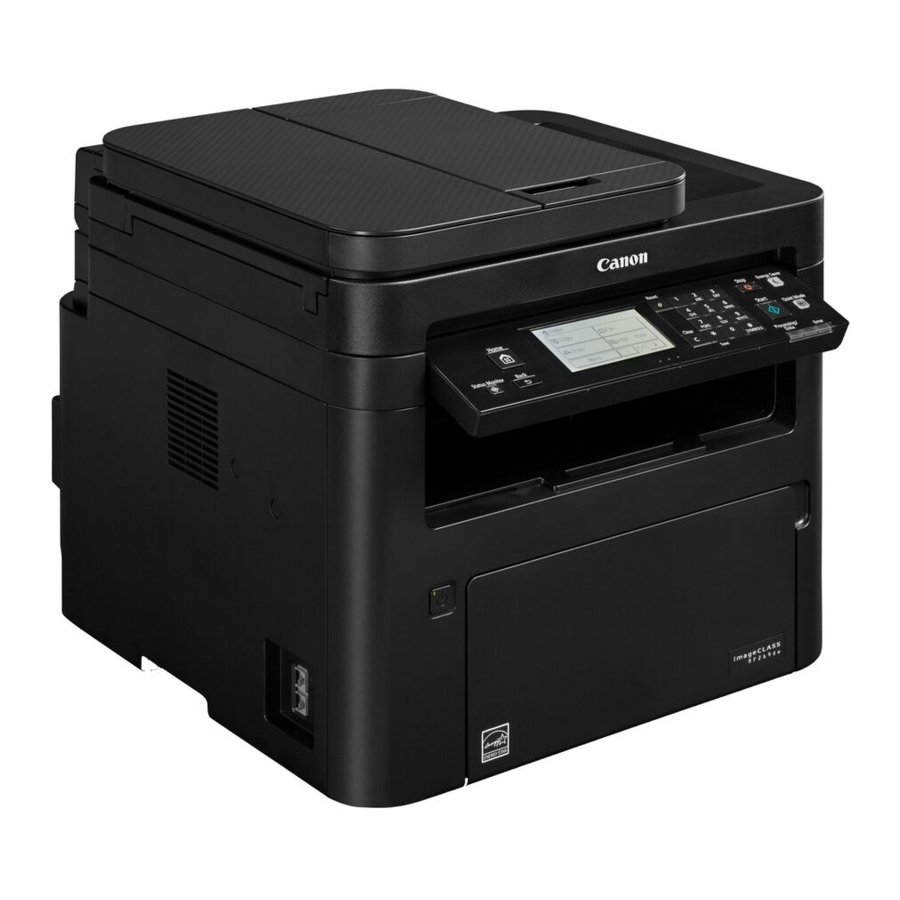
Unless otherwise stated, illustrations used in this document are for the MF269dw II.

* May not be included with some models.
Removing the Packing Material
- Install the machine in the location where it will be used.


- Remove all packing material.
Remove all of the tape.
![]()
Do not remove the sticker that covers the USB port until you actually use the USB port.


Loading Paper


Connecting the Power Cord

Specifying the Basic Settings
When you turn on the machine for the first time, the Setup Guide appears on the control panel. Perform the initial machine setup by following the on-screen instructions.
Depending on your model, the items available for selection and the procedure for making choices may differ from those shown in this document. Proceed as directed in the screens shown.

- Select the language, the country or region, and then the time zone.
- Set the current date/time.
Specifying the Security Settings
To prevent unauthorized access to the machine, set access restrictions for Remote UI.
 What is Remote UI?
Remote UI allows you to use your computer's Web browser to check the machine's operating status, change settings, and save items to the Address Book.
- To use the Remote UI, select <Yes>.
- To continue without using the Remote UI, select <No> and proceed to step 7.
- For MF264dw II, check the message and press
![]() .
.
- To use General User mode, select <Yes>.
- Set the PIN to be used by general users to access the Remote UI.
- To continue without using General User mode, select <No> and proceed to step 7.
- Set the Remote UI Access PIN.
- Enter any number and then select <Apply>.
- Re-enter the same PIN on the next screen as confirmation and select <Apply>.
Specifying the Network Settings
Specify the settings for connecting the machine to a network. Before proceeding, check that the computer and router are correctly connected to the network.
- You cannot use a wired LAN and a wireless LAN at the same time.
Wireless LAN
* Wireless LAN cannot be used depending on the model of the machine.
- Check the router's "SSID" and "Network key."
![]()
- To configure the settings, select <Yes> on the control panel.
- Select the network with a matching SSID.
- Enter the password (network key) and select <Apply>.
- Check the message and select <Yes>.

Wired LAN
Connect the router to the machine with a LAN cable. For MF269dw II or MF264dw II, select <No> in the screen for choosing how to connect to the network.

Ending the Setup Guide
For MF264dw II, follow the steps and instructions below, but operate on the keys shown in parentheses ( ).
Check the description in the <Current Time Set.> and then select <Close> (  ).
).
Installing the Software/ Drivers
To use the print, fax, and scan functions of the machine, you must install the respective drivers.
Downloading from the Canon website
- Search for "(model name) download."
Example: MF269dw II download If you cannot find the download site, go to https://global.canon/en/support/
![]()
- Download the software and drivers, and install them on your computer.
To use the scan function, install the "MF Scan Utility" scanning application and the scan driver.

Installing from the Bundled CD/DVD- ROM
- Load the CD/DVD-ROM into your computer, and install the software and drivers. For normal installation, select "Easy Installation.
" Selecting "Easy Installation" installs the drivers along with the standard software and manuals.
![information]() If a problem arises during the installation, see "Troubleshooting (FAQ)" under "MF Driver" on the Canon online manual site.
If a problem arises during the installation, see "Troubleshooting (FAQ)" under "MF Driver" on the Canon online manual site.
Fax Setup
* These settings do not appear on models without a fax function.
The first time you select <Fax> in the Home screen, the Fax Setup Guide starts.
Setup Procedure
- Select <Fax> on the Home screen.
- Select <Set Up Now>.
- Select <Next>.
- Enter the Unit Telephone Number and select <Apply>.
- Select <Next>.
- Enter the Unit Name (name and company name, etc.) and select <Apply>.
- Select <Next> and select the receive mode that best suits your telephone connection and the way you receive calls. Refer to the illustration below and select <Yes> or <No>. Finally, select <Apply> to set the receive mode.
- Select <Next>.
- Connect the machine to a telephone line.


- When you have completed the connection, select <Next>.
- Select <Yes>.
Selecting the Receive Mode

Useful Functions and Helpful Information
Using this Machine from a Mobile Device (Linking with Mobile Devices)
This machine can be used from mobile devices such as smartphones. This makes it easy to print documents or photos from a mobile device and to save data scanned on this machine on a mobile device.
Managing the Machine from a Computer (Remote UI)
")
Remote UI allows this machine to be managed using the Web browser on a computer. You can use it to check the machine's operating status, change settings, and save items to the Address Book.
Documents / Resources
References
Download manual
Here you can download full pdf version of manual, it may contain additional safety instructions, warranty information, FCC rules, etc.
Download Canon imageCLASS MF269dw II / MF266dn II / MF264dw II Manual
Advertisement


Need help?
Do you have a question about the imageCLASS MF269dw II and is the answer not in the manual?
Questions and answers