Renogy ONE Core, RSHGWSN-W02W-G1, RSHGWSN-W02W-G2 Manual
- Quick manual (11 pages) ,
- User manual (35 pages) ,
- Quick manual (16 pages)
Advertisement
- 1 Before Getting Started
- 2 What's In the Box?
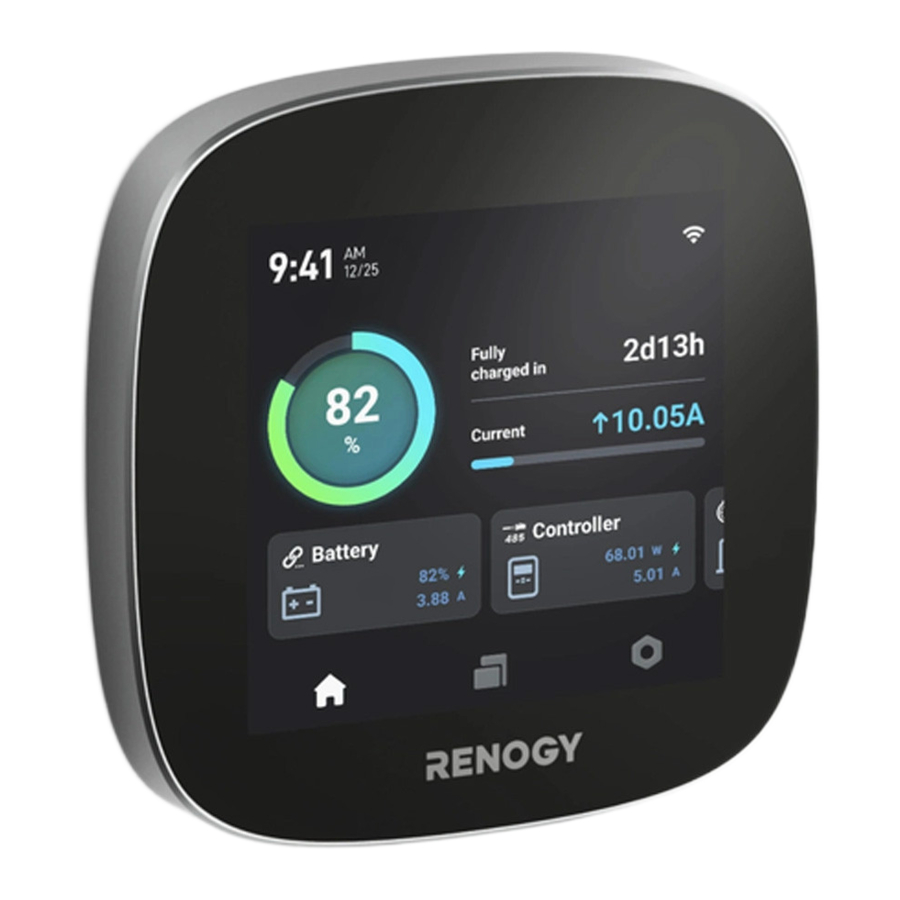
- 3 Get to Know RENOGY ONE Core
- 4 Installation Site and Environment
- 5 Required Tools
- 6 Place Renogy ONE Core on a Table
- 7 Mounting Template
- 8 Mount Renogy ONE Core on a Wall
- 9 Connect Renogy ONE Core to a Power Supply
- 10 Install a Communication Cable (Optional)
- 11 Power On/Off
- 12 Pairing with DC Home
- 13 Add Devices
- 14 RV Leveling
- 15 Important Safety Instructions
- 16 Renogy Support
- 17 Documents / Resources
Before Getting Started
The quick guide provides important operation and maintenance instructions for Renogy ONE Core (hereinafter referred to as Core). Renogy ONE Core comes in two models: RSHGWSN-W02W-G1 (no CAN communication) and RSHGWSN-W02W-G2 (supports CAN communication).
Read the quick guide carefully before operation and save it for future reference. Failure to observe the instructions or precautions in the quick guide can result in electrical shock, serious injury, or death, or can damage the Renogy ONE Core, potentially rendering it inoperable.
- Renogy ensures the accuracy, sufficiency, and the applicability of information in the quick guide at the time of printing due to continual product improvements that may occur.
- Renogy assumes no responsibility or liability for personal and property losses, whether directly and indirectly, caused by the user's failure to install and use the product in compliance with the quick guide.
- Renogy is not responsible or liable for failures, damages, or injuries resulting from repair attempted by unqualified personnel, improper installation and operation.
- The illustrations in the quick guide are for demonstration purposes only. Details may appear slightly different depending on product revision and market region.
- Renogy reserves the right to change the information in the quick guide without notice. For the latest quick guide, visit renogy.com.
What's In the Box?

Get to Know RENOGY ONE Core

Installation Site and Environment

 NOTE
NOTE
- To enable the RV leveling function on Renogy ONE Core, ensure it is installed in a spot with the screen pointing to the front, rear, left, or right side of the RV, vertically to the RV floor. It is recommended that RV leveling blocks should be used during the leveling process.
Required Tools


NOTE
- Tools are required only when the Core is flush mounted on a wall.
- You can use either a skill saw or an electric drill with hole saw.
Place Renogy ONE Core on a Table
The package box is environmentally friendly. You can use it as a bracket to hold the Core when installing it on the wall is not required.

NOTE
- The RV leveling function is unavailable on Core when it is placed on a table.
Mounting Template
Please tear off this piece of paper and paste it to the mounting location for drilling holes.

Mount Renogy ONE Core on a Wall
NOTE
- You can also use another piece of paper as the mounting template. The installation hole comes in 2.17 in × 2.17 in (55 mm x 55 mm).


Connect Renogy ONE Core to a Power Supply
You can connect Renogy ONE Core to a power supply through the included power cable or a Type-C cable (not included).
- Installed on a Wall


- Installed on a Table


NOTE
- When installing the power cable, always connect the negative first, and then the positive.
Install a Communication Cable (Optional)
For details, see the Renogy ONE Core User Manual by scanning the QR code in the guide.

Power On/Off
Long press the On/Off Button for 5s to power the Core on or off.

Pairing with DC Home
For initial startup, follow the startup wizard on the Core to pair it with the DC Home app. Alternatively, go to  > System > Pair with App.

Add Devices
Renogy ONE Core can wirelessly connect to Renogy Bluetooth, Bluetooth mesh, and Zigbee devices concurrently.

RV Leveling

NOTE
- RV leveling calibration on Renogy ONE Core is required each time the installation site for the Core is changed.
Important Safety Instructions
- Keep Renogy ONE Core out of the reach of children.
- Do not dispose of Renogy ONE Core as household waste. Comply with local, state, and federal laws and regulations and use recycling channels as required.
- Do not expose Renogy ONE Core to flammable or harsh chemicals or vapors.
- There are no serviceable parts in Renogy ONE Core. Do not open, dismantle, repair, tamper with, or modify it.
- Confirm the polarities of the devices before connecting Renogy ONE Core to a power supply. A reverse polarity contact can result in damage to the Core, thus voiding the warranty.
- Ensure that the connected DC power supply rates at 8V to 32V. Connecting the Core to a power source beyond the range results in a power-on failure or permanent damage to the Core.
- You can use an extended power cable on demand. For details, see Renogy ONE Core User Manual by scanning the QR code in the guide.
Renogy Support
To explore more possibilities of solar systems, visit Renogy Learning Center at: renogy.com/learning-center
For technical questions about your product in the U.S., contact the Renogy technical support team through:
renogy.com/contact-us
1(909)2877111
For technical support outside the U.S., visit the local website below:
Canada
ca.renogy.com
China
www.renogy.cn
Australia
au.renogy.com
Japan
jp.renogy.com
South Korea
kr.renogy.com
Germany
de.renogy.com
United Kingdom
uk.renogy.com
Other Europe
eu.renogy.com
Documents / Resources
References
![www.renogy.com]() Renogy® Official- offer all off grid solar system products
Renogy® Official- offer all off grid solar system products![renogy.com]() Renogy® Official- offer all off grid solar system products
Renogy® Official- offer all off grid solar system products![renogy.com]() Renogy Learning Center
Renogy Learning Center![www.renogy.com]() Contact Us | Renogy Solar Panels & Complete Solar Kits
Contact Us | Renogy Solar Panels & Complete Solar Kits![ca.renogy.com]() Renogy® Canada solar off-grid items, Canadian solar panels
Renogy® Canada solar off-grid items, Canadian solar panelsRENOGY如果新能源 | 让每个人拥有独立清洁的能源
![au.renogy.com]() Solar Power Kits & Equipment for Sale | Renogy Australia
Solar Power Kits & Equipment for Sale | Renogy Australia![jp.renogy.com]() RENOGY|独立型太陽光発電システム専門ショップ
RENOGY|独立型太陽光発電システム専門ショップ![de.renogy.com]() Renogy bietet alle Produkte für netzunabhängige Solarsysteme anRenogy DE
Renogy bietet alle Produkte für netzunabhängige Solarsysteme anRenogy DE![uk.renogy.com]() Top off-grid solar kits, lithium batteries supplies | Renogy UK
Top off-grid solar kits, lithium batteries supplies | Renogy UK![eu.renogy.com]() Renogy Europe | Solar Products For Renogy Day
Renogy Europe | Solar Products For Renogy Day
Download manual
Here you can download full pdf version of manual, it may contain additional safety instructions, warranty information, FCC rules, etc.
Download Renogy ONE Core, RSHGWSN-W02W-G1, RSHGWSN-W02W-G2 Manual
Advertisement


Need help?
Do you have a question about the ONE Core and is the answer not in the manual?
Questions and answers