Deerc D70 Manual
- Instructions for use manual (37 pages) ,
- Instructions for use manual (38 pages)
Advertisement
MAINTENANCE
- Clean the drone after each use with a clean, soft cloth.
- Avoid prolonged exposure to direct sunlight and avoid buildup of heat on the drone or batteries.
- This device is not waterproof and must not be submerged or subjected to water under any circumstance. Failure to keep the device completely dry may likely damage the unit permanently. Be aware that although it might be dry where you are, droplets of rain or mist from a river or waterfall could damage your drone where it is flying.
- Frequently check the charging plug and other accessories for signs of damage. If any part of the device or cables are damaged, avoid using or charging until the damaged parts are replaced.
PACKAGE CONTENTS

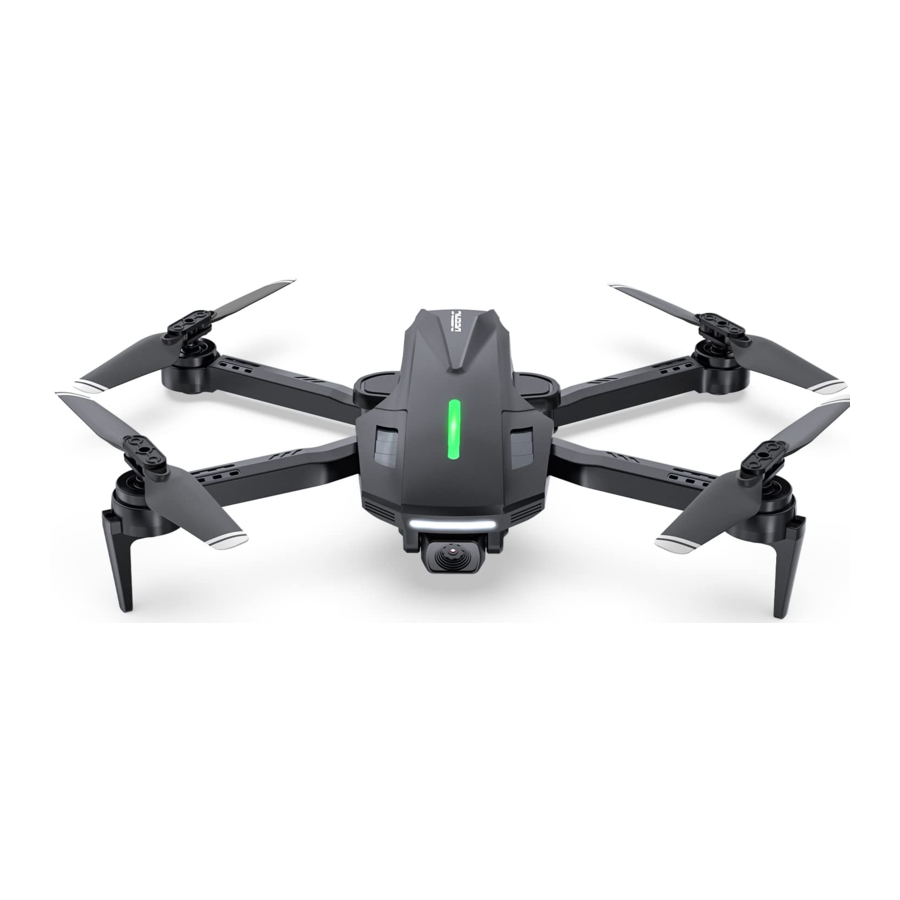
PRODUCT DETAILS

TRANSMITTER FUNCTIONS


Open the battery cover on the back of the transmitter, insert the three AAA batteries (Not included) into the battery compartment. Then close the battery cover to complete the installation.
* Low Battery Signal: The power indicator on the transmitter will flash and the transmitter will beep continuously.

- Install batteries carefully.
- Do not mix old and new batteries.
- Do not mix different types of batteries.
JOYSTICK MODE
MODE 2
(Left hand throttle MODE 2 will be the default setting.)

MODE 1

To enter MODE 1, turn on the transmitter while holding the "Speed Switch/Trimmer" button. (Please do not release the "Speed Switch/Trimmer" button until the transmitter is powered on.)
PREPARATION BEFORE FLIGHT
CHARGING
- Connect the the drone's battery with the USB Charging Cable.
- Plug the USB Charging Cable into a USB charging port on the power bank or USB adapter (5V/1A).

- Charging time: about 70 minutes.
-
- When the battery is charging, the indicator light on the USB Charging Cable is Red.
- When the battery is fully charged, the indicator light on the USB Charging Cable will turn Green.

* Low Battery Signal: The indicator lights on the drone will flash continuously and the transmitter will beep during the flight.
- Before charging, please read the instructions in the "Use of Battery" section of the "Safety Guidelines" carefully!
- Please use the original charging cable to charge the battery.
- DO NOT charge the drone battery immediately after a flight as the temperature of the battery may be too high. Please wait until it cools down to room temperature before charging again.
DOWNLOAD APP

iOS

Android APP on Google Play
Scan the corresponding QR code and download the Deerc FPV app for free.
Required Operating Systems: iOS 12.0 or later/Android 5.0 or later.


ARMS

All arms of the drone are folded before the drone is packaged at the factory. First, unfold the front arms, then unfold the rear arms.
UNIT BATTERY

Installation: Push the battery into the battery compartment at the rear of the drone. Make sure that you hear a click sound, which indicates that the battery is firmly installed.

The battery should be installed firmly. Otherwise, the flight safety of your drone may be affected. The drone may crash due to a power cut during the flight.

Removal: Press the lock button on the battery, and pull the battery out from the fuselage.
PROPELLERS
Installation:
- An "A" or "B" is printed on the back of each propeller.
![]()
- Lock the propellers to the corresponding motor shafts (the motor shafts are also marked) with a screw.

- Rotate each screw clockwise.


- The propeller is installed before the drone is packaged at the factory.
- The drone will not fly unless the correct propeller is installed on the correct motor shaft.

Removal: For propeller removal, use a screwdriver (provided) to rotate counter-clockwise and remove the propellers.
PHONE HOLDER
- Remove the dust cover.
![]()
- Insert the phone holder into a slot on the top of the transmitter.

- The phone holder can be adjusted to an angle you like.

- Open the phone holder and put your phone in.


FLIGHT
All of the following operations in this manual use MODE 2.
* If you first pair the drone with the transmitter, then with the cellphone, certain app functions will not work. Conversely, if you use the analog control sticks in the app to control the drone's movements first, you cannot pair the drone with the transmitter then.
PAIRING
- Long press the Power Switch Button to turn on the drone. The drone indicators start flashing.

- Place the drone on a flat and level surface, with its head facing forward and its tail pointing towards the pilot.

- Short press the Power Switch to turn on the transmitter. Once the transmitter sends out a long beep and the Power Indicator changes from blinking to solid, the drone will be paired with the transmitter.


CONNECT TO WI-FI
Connect your phone to the Wi-Fi network created by the drone. You can check the drone's status on the Deerc FPV App.
- Make sure to turn off Bluetooth, Mobile Data, and VPN. Enter your phone's Wi-Fi settings and click Wi-Fi to search for the Wi-Fi of the drone. (Make sure to turn on the drone before going to the Wi-Fi settings on your phone)
- Select the Wi-Fi network: DeercFPV-******.
- Wait for a couple of seconds for your phone to connect to the drone's Wi-Fi.
- Enter the Deerc FPV application.
> The connection between your phone and the drone is established automatically.
Because the Wi-Fi network created by the drone cannot access the Internet, your phone may inform you in various ways, like saying the connection isn't secure, or there is no internet connection, etc. Please ignore these messages. Or, in the case of getting Pop-ups, choose the option that allows you to stay with the current Wi-Fi.
ONE KEY TAKEOFF/LANDING

- Unlock: Short press the (
![]() ) button to unlock the motors.
) button to unlock the motors. - Takeoff: Short press the same button again, the drone will automatically take off and hover at 4 ft. At this time, you can control this drone by using the joysticks.
- Landing: When the drone is flying, short press the (
![]() ) button, and the drone will automatically land on the ground.
) button, and the drone will automatically land on the ground.
- You must keep your drone in visual line of sight all the time. If you can't see it, you can't control it.
- Pull the left joystick down to the bottom, and the motors will stop spinning. The drone is thus locked.
FUNCTIONS DETAILS
TAKE PHOTO/RECORD VIDEO

Take Photo: Short press the ( ![]() ) button on the transmitter to take pictures. The transmitter will beep once, and the drone's indicator will flash once. This indicates that the camera has successfully taken a picture.
) button on the transmitter to take pictures. The transmitter will beep once, and the drone's indicator will flash once. This indicates that the camera has successfully taken a picture.
Record Video: Long press the ( ![]() ) button on the transmitter to record videos. The transmitter will long beep once, which indicates that the camera has started recording video. Long press again to exit the recording. (You will hear two beeps from the transmitter.)
) button on the transmitter to record videos. The transmitter will long beep once, which indicates that the camera has started recording video. Long press again to exit the recording. (You will hear two beeps from the transmitter.)
CAMERA ANGLE ADJUSTMENT

You can adjust the camera's shooting angle by rotating the camera manually. (The camera has a 90° tilt range.)
HIGH-SPEED ROTATION

Short press the (  ) button, the transmitter will beep once, the drone begins to rotate quickly. The drone will exit the High-Speed Rotation function automatically after 10 seconds, or you can also push the right joystick in any direction to stop the rotation.
CIRCLE FLY

Long press the ( ) button, the transmitter will make a long beep, which indicates that the drone has entered the Circle Fly function. The drone will exit the Circle Fly Rotation function automatically after 10 seconds, or you can also push the right joystick in any direction to stop the Circle Fly.
SPEED SWITCH

This drone comes with 3 speed modes (Low/Medium/High). Short press the (  ) button to switch between low, medium, and high speed. The transmitter beeps once to indicate Low Speed, beeps twice to indicate Medium Speed and beeps three times to indicate High Speed. (The Low Speed is the default speed mode.)
EMERGENCY STOP
The Emergency Stop function should only be used in case of emergency during the flight to avoid any damage or injury.

Short press the upper left and upper right buttons of the transmitter at the same time, the motors will stop immediately. Be aware that you risk breakage of the drone if it falls a large distance or hits anything at a high rate of speed.
360 FLIP

When you get familiar with all the functions of the drone, you can try this amazing flip mode. When the drone is at least 10ft from the ground. Press down on the right joystick, then push the right joystick forward/backward or leftward/rightward. The drone will do a flip toward the corresponding direction.
360°Flip functions better when the battery is fully charged.
AlTITUDE-HOLD FUNCTION
The drone is designed with altitude-hold function so the drone can maintain its altitude after you release the left joystick (the left joystick will automatically spring back to the middle).

HEADLESS MODE
The Headless Mode is a great training tool for beginner pilots. It is also useful when the drone is too far from the pilot (which makes it difficult to tell its orientation). It keeps the drone traveling forward, backward, left, or right when you move the right joystick in those directions, regardless of which way the front of the head of the drone points to.

The pilot should stay facing the same direction that the drone's head points to when it takes off.

Entering: Press down on the left joystick on the transmitter. The transmitter will beep continuously, which indicates the drone is in Headless Mode.
Exiting: Press down on the left joystick again, and you will hear two beeps which indicates the drone exits the Headless Mode.
* Why is the orientation of the drone important?
In normal flying mode, the control of the drone movement can sometimes be counter-intuitive for beginners. For instance, when the drone is in the air with its head pointing to your right, if you push the right joystick forward, the drone will fly to your right, instead of flying forward.
With the headless mode, the drone has a fixed "head." In Headless Mode, the drone always remembers the side its head points to during takeoff as the front side. This means that if the drone takes off with its head pointing forward, it doesn't matter how the drone is oriented in the air, when you push the right joystick forward, the drone will fly forward. Or, when its head is pointing to you, if you push the right joystick to the left, the drone will fly to your left.
ATTITUDE ADJUSTMENT
TRIMMER

The Forward Trim
If the drone tends to drift forward:
- Press down the (
![]() ) button and do not release it.
) button and do not release it. - At the same time, push the right joystick backward one time.
- Depending on how the drone drifts, it may take several pushes to balance the drone.
- After each push, wait 2 seconds to watch the drone's movement. If it still drifts, push the joystick backward again.
- Repeat STEP 4 until the drone drifts forward no more.
 ) button and do not release it.
* You can also fix the Backward/Sideward Trim using a similar method, i.e., pushing the right joystick to the direction opposite the drift.
Trim adjustments are designed to counter drifts not caused by airflow.
CALIBRATE THE GYRO

Make sure to place the drone on a level surface before calibrating the gyro. Long press the Gyro Calibration button for 2 Seconds to calibrate the gyro. The transmitter will send out a long beep which indicates the calibration is completed.
ONLY use this function when:
- There is no influence of air flow, AND
- You CANNOT fix the drift using the trimmer function.
SPECIFICATIONS
DRONE
Model: D70
Weight: 94g/3.3oz
Max Flight Time: 11minutes (per battery)
Motor Model: 716
Operating Temperature Range: 14° to 104°F (-10° to 40°C)
Size: 236×200×48mm (Unfolded)
126×79×48mm (Folded)
DRONE BATTERY
Capacity: 800mAh
Voltage: 3.7V
Battery Type: Lithium-ion Polymer Battery
Charging Temperature Range: 41° to 104°F (5° to 40°C)
Charging Time: 70 minutes (depends on charging power and remaining battery power)
TRANSMITTER
Operating Frequency: 2452-2474 MHz
Flight Distance: 328 ft (outdoors and unobstructed)
Operating Temperature Range: 14° to 104°F (-10° to 40°C)
Battery Type: 3*1.5V AAA Battery (Not included)
CAMERA
Operating Frequency: 2417 MHz
Photo Resolution: 1280×720P
Video Resolution: 1280×720P@20fps
Transmission Distance: 197 ft(outdoor and unobstructed)
Photo Formats: JPEG
Video Formats: AVI/MP4
USB CHARGING CABLE
Input: 5V/1A
Rated Power: ≤5 W
SAFETY GUIDELINES
CHECK BEFORE USE
- This product is a high precision drone that integrates various electronic stability and control mechanisms. Please be sure to configure this drone carefully and correctly to ensure safe, accident-free operation.
- Ensure that the batteries of the drone and transmitter are clean, undamaged, and fully charged before every use.
- Ensure that all the propellers are undamaged and are installed in the correct orientation.
- Please perform a thorough check of the product before each use. Inspect the integrity of the parts, any signs of cracks and wear off on the propellers, battery power and effectiveness of the indicator, etc. If there is any problem found after checking the drone, please refrain from using it until the problem is resolved.
FLIGHT ENVIRONMENT

Avoid flying over or near obstacles, crowds, high voltage power lines, trees, airports or bodies of water.
DO NOT fly near strong electromagnetic sources such as power lines and base stations as it may affect the onboard compass.

DO NOT use this drone in adverse weather conditions such as rain, snow, fog, and wind.
OPERATION REQUIREMENTS
- DO NOT use this product to follow any moving vehicles.
- During the flight, turn off the motors only in case of an emergency.
- When the battery runs low, return the drone back to your starting point.
- DO NOT use this product if you feel tired, take medicine or feel unwell and drink alcohol.
- Be aware of the volume of noise that the drone produces. Please ensure to keep your distance to avoid ear damage.
- Stay away from the rotating propellers and motors.
![]()
- DO NOT fly in any spaces where drones are prohibited. Please respect people's right to privacy by not flying your drone close to others.
![]()


USE OF BATTERY
- Please ensure batteries are fitted in the correct orientation as shown in the instruction manual.
![burn hazard]() Avoid short circuits by fitting the batteries correctly, and do not crush or squeeze the batteries as this could cause the risk of a fire or explosion.
Avoid short circuits by fitting the batteries correctly, and do not crush or squeeze the batteries as this could cause the risk of a fire or explosion.- DO NOT mix new and old batteries as this can lead to a poor performance of the product.
- Please dispose of used batteries carefully, do not litter and recycle where ever possible.
- DO NOT expose dead batteries to heat or fire or they may explode.
- If the device is not going to be used for an extended period of time, please remove batteries to prevent potential damage to the drone from battery leakage.
- Only use the USB charging cable that comes with the drone to charge the battery.
- DO NOT connect the battery directly to wall outlets or car cigarette -lighter sockets as this will damage your battery since they have different voltages.
- DO NOT attempt to disassemble or modify the battery in any way
- DO NOT use the battery if it gives off an odor, generates heat, becomes discolored, deformed or appears abnormal in any way. If any of these situations occur while the battery is in use or being charged, remove it from the device or charger immediately and discontinue use.
- DO NOT pierce the battery casing with a nail or any other sharp object, break it open with a hammer, or step on it! Dispose or recycle this battery as it may cause personal injury or damage to your drone.
- Always charge the batteries on a fireproof surface and away from combustible materials. DO NOT charge on surfaces that can catch fire, which includes: wood, cloth, and carpet.
- DO NOT immerse the battery in water or get it wet.
- DO NOT solder the battery terminal in any way.
- Keep batteries out of reach of children or pets.
- DO NOT short-circuit the battery by connecting wires or any other metal object to the positive(+) and negative(-) terminals.
 Avoid short circuits by fitting the batteries correctly, and do not crush or squeeze the batteries as this could cause the risk of a fire or explosion.
CONTACT US
Please do not hesitate to contact us if you need further support.
4:00 PM ~ 7:00 AM (PST)
usa@deerc.com (USA)
eu@deerc.com (EU)
+1(855)777-8866

For online support, please scan this code with Live Chat.
MANUFACTURER INFORMATION
Manufactured by
Xiamen Huoshiquan Import & Export CO.,LTD.
Address: Unit 1, Room 501, Hongxiang Building, No.258 Hubin Nan
Road, Siming District, Xiamen, China
+1(855)777-8866
Documents / Resources
References
Download manual
Here you can download full pdf version of manual, it may contain additional safety instructions, warranty information, FCC rules, etc.
Advertisement


Need help?
Do you have a question about the D70 and is the answer not in the manual?
Questions and answers