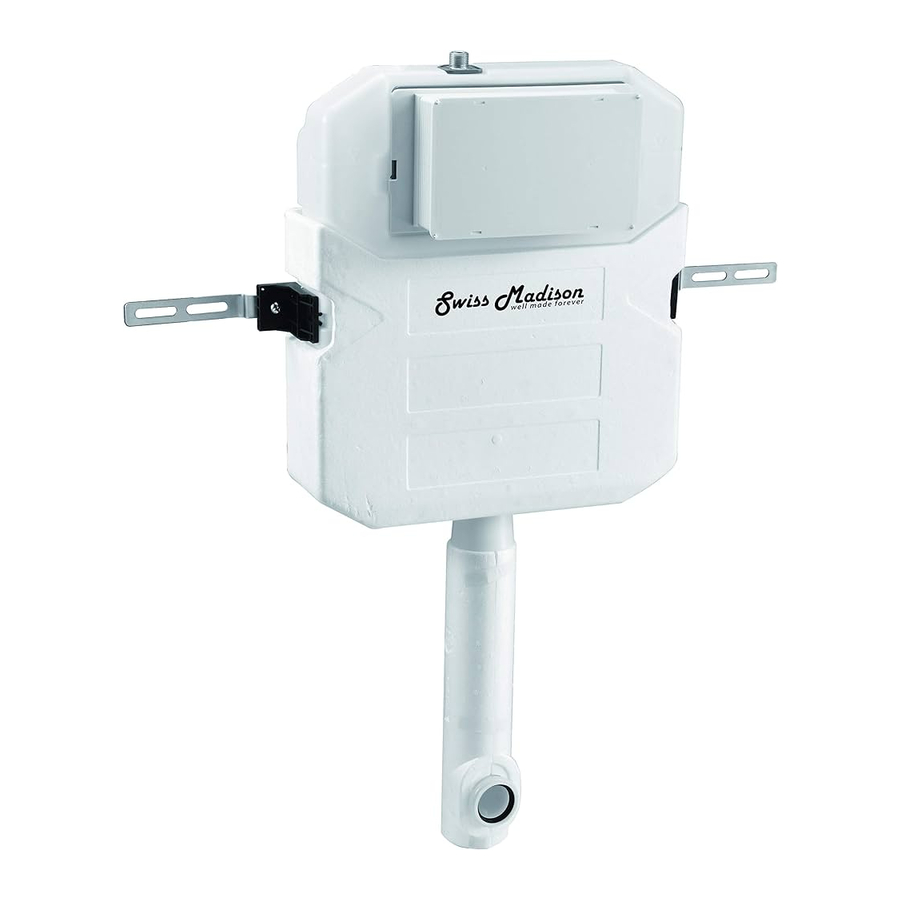
Swiss Madison SM-WC326 - Concealed In-Wall Toilet Manual
- Installation instructions manual (10 pages)
Advertisement

PRIOR TO INSTALLATION

- Inspect carrier to ensure no damages have occurred while in shipping.
- Observe all plumbing and building codes in accordance with your state and local requirements.
- All dimensions are nominal! Be sure to measure your toilet prior to installation.
- The step-by-step guidelines in the installation instructions are a general reference. Should there be any discrepancies, Swiss Madison cannot be held liable. It is recommended to install all Swiss Madison products by hiring a licensed professional.
- Read installation and maintenance instructions thoroughly before installing. Be sure to use proper tools and always wear proper personal safety accessories for your protection.
- Be sure to properly bleed all air from the piping system, trapped air can cause damage to the flushing system and toilet bowl.
- Avoid outside wall installations to avoid possible freezing.
If you have any questions or concerns please contact us:
1-434-623-4766
info@swissmadison.com
SUGGESTED TOOLS & MATERIALS

Parts for Reference

- Click
![Swiss Madison - SM-WC326 - Installation - Step 1 Installation - Step 1]()
- Pay close attention to the 39 3/8" measurement (height from your finished floor).
Unit may be easily installed in wood framing (2" x 6" wall) frame accordingly and fasten securely.
![Swiss Madison - SM-WC326 - Installation - Step 2 Installation - Step 2]()
- 39 3/8" is the center height from the finished floor to the mark indicated.
![Swiss Madison - SM-WC326 - Installation - Step 3 Installation - Step 3]()
- Make sure unit is plumbed vertically and horizontally.
![Swiss Madison - SM-WC326 - Installation - Step 4 Installation - Step 4]()
![]()
- From finished floor to mark indicated.
Refer to bowl being used to measure the correct heights and measurements (see below).
De-burr any particles from pipe after cutting.
![Swiss Madison - SM-WC326 - Installation - Step 6 Installation - Step 6]()
- Lubricate with grease before installing.
Insert dirt cap (3) during construction.
![Swiss Madison - SM-WC326 - Installation - Step 7 Installation - Step 7]()
- Remove cover plate to install water supply valve.
![Swiss Madison - SM-WC326 - Installation - Step 8 Installation - Step 8]()
![Swiss Madison - SM-WC326 - Installation - Step 9 Installation - Step 9]()
- Teflon tape is recommended on valve threads. Attach to waste supply valve and tighten carefully (see below).
![Swiss Madison - SM-WC326 - Installation - Step 10 Installation - Step 10]()
![Swiss Madison - SM-WC326 - Installation - Step 11 Installation - Step 11]()
Install into tank and secure.
![Swiss Madison - SM-WC326 - Installation - Step 12 Installation - Step 12]()
- Flush out water supply line before connecting to tank supply. Connect and tighten.
![Swiss Madison - SM-WC326 - Installation - Step 13 Installation - Step 13]()
![]()
Remember to turn the valve on once the installation is complete.
![]()
- You will hear a "click" when installed properly.
![Swiss Madison - SM-WC326 - Installation - Step 14 Installation - Step 14]()
![Swiss Madison - SM-WC326 - Installation - Step 15 Installation - Step 15]()
![Swiss Madison - SM-WC326 - Installation - Step 16 Installation - Step 16]()
- Carefully cut off excess after complete installation.
![Swiss Madison - SM-WC326 - Installation - Step 17 Installation - Step 17]()
Toilet Installation

Insert tube into wall and mark as shown.

Insert tube into bowl and mark as shown.

Carefully measure between your marks, this distance will be cut off the bald end.
Add 15/64" to measurement before cutting, leaving a small cushion for error.

De-burr any particles after cutting.

Lubricate both ends then install.

Ensure bowl is level and install.
Caulk and seal around bowl.
Contents of your order may contain sharp and possibly other harmful pieces and may cause hazard to children and adults. Swiss Madison® is not responsible in any way for personal damages.

@SwissMadison

#WellMadeForever
www.swissmadison.com ; | 1-434-623-4766 | info@swissmadison.com
Documents / Resources
References
Download manual
Here you can download full pdf version of manual, it may contain additional safety instructions, warranty information, FCC rules, etc.
Download Swiss Madison SM-WC326 - Concealed In-Wall Toilet Manual
Advertisement


Need help?
Do you have a question about the SM-WC326 and is the answer not in the manual?
Questions and answers