
Related Manuals for Swiss Madison SM-WT442


Summary of Contents for Swiss Madison SM-WT442
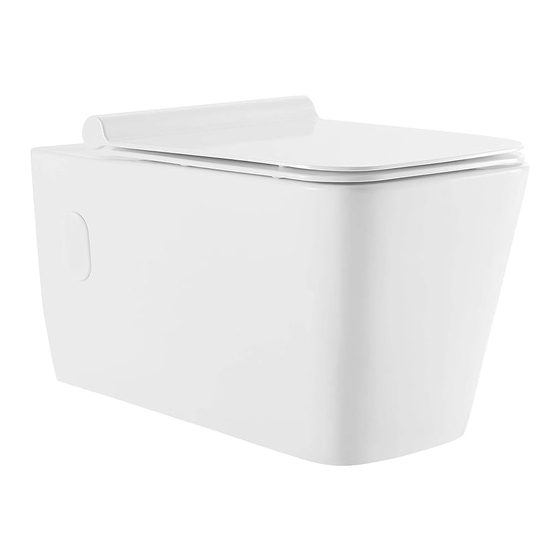
- Page 1 INSTALLATION wiss adison ® ® INSTRUCTIONS Wall-Hung Toilet SM-WT442 Share your pictures for a feature using #SwissMadison www.swissmadison.com | 1-434-623-4766 | info@swissmadison.com...
- Page 2 Prior to Installation: Inspect toilet to ensure no damages have occurred while in shipping. Observe all plumbing and building codes in accordance with your state and local requirements. Remove old toilet. Make sure mounting surface is CLEAN and LEVEL. All dimensions are nominal! Be sure to measure your toilet prior to installation. General Recommendations: Read installation and maintenance instructions thoroughly before installing.
- Page 3 Thank you for your purchase! Thank you for purchasing a Swiss Madison Toilet. We appreciate your business and know you will enjoy your product for many years to come. If you have any questions or require assistance we would be happy to help, please contact us at 1-434-6234766 or info@swissmadison.com.
- Page 4 Flexible Supply Tube Hacksaw Screwdriver Sealant PARTS LIST Wall-Hung Toilet Flange and Inlet Pipe Bolts Side Cover Caps NOTE: Specialized tools may be necessary to install a Swiss Madison Wall-Hung Toilet, plumbing not included. NOTE: All measurements are nominal. — 3 —...
- Page 5 WALL-HUNG TOILET INSTALLATION INSTRUCTIONS The step-by-step guidelines in the installation instructions are a general reference for installing a Swiss Madison Toilet. Should there be any discrepancies, Swiss Madison cannot be held liable. It is recommended to install all Swiss Madison products by hiring a licensed professional 1.
- Page 6 3. Determine Pipe Size Apply lubricant on rubber washers of straight tube and connecting pipe, then insert into ceramic holes. Draw lines on pipes as pictured below. 4. Cut Pipes Using the marked lines, cut the straight tube and connecting pipe as instructed below. After cutting, be sure to chamfer cut edges.
- Page 7 5. Connect Pipes and Mount Toilet Bowl Apply lubricant to the joint surface on straight tube and connecting pipe. Mount the toilet bowl to the wall. 6. Level and Attach Bowl Attach bowl using the washers and bolts, make sure the bowl is level, then cover with included cap. Fill any gaps with cement or sealant.
- Page 8 If you have any questions or concerns, please contact us directly at 1-434-MADISON (623-4766) WARNING: Contents of your order may contain sharp and possibly other harmful pieces and may cause hazard to children and adults. Swiss Madison® is not responsible in any way for personal dam- ages.
Need help?
Do you have a question about the SM-WT442 and is the answer not in the manual?
Questions and answers