Swiss Madison SM-WC324 - Toilet Manual
Also See for SM-WC324:
- Installation instructions manual (13 pages) ,
- Installation instructions manual (12 pages)
Advertisement
Table of Contents
Contents
Swiss Madison SM-WC324 - Toilet Manual
PRIOR TO INSTALLATION

- Inspect carrier to ensure no damages have occurred while in shipping.
- Observe all plumbing and building codes in accordance with your state and local requirements.
- All dimensions are nominal! Be sure to measure your toilet prior to installation.
- The step-by-step guidelines in the installation instructions are a general reference. Should there be any discrepancies, Swiss Madison cannot be held liable. It is recommended to install all Swiss Madison products by hiring a licensed professional.
- Read installation and maintenance instructions thoroughly before installing. Be sure to use proper tools and always wear proper personal safety accessories for your protection.
- Be sure to properly bleed all air from the piping system, trapped air can cause damage to the flushing system and toilet bowl.
- Avoid outside wall installations to avoid possible freezing.
If you have any questions or concerns please contact us:
1-434-623-4766
info@swissmadison.com
SUGGESTED TOOLS & MATERIALS

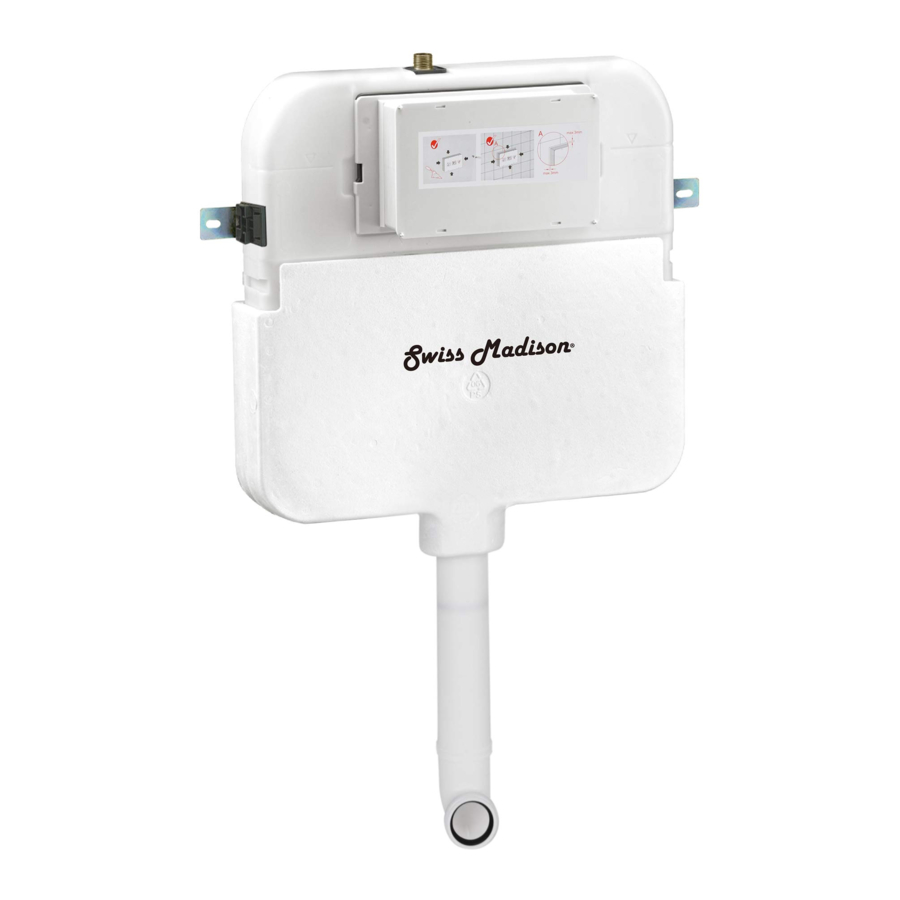
Parts for Reference

- Fasten Mounts (if fastening to studs)
")
- Adjust clips then fasten carrier to studs or wall framing.
- Ensure frame is flush and level before fastening.
")
- Fasten Mounts (if fastening to wall)
")
")
- Adjust clips then fasten carrier to studs or wall framing.
- Ensure frame is flush and level before fastening.
- Cut Pipe


- Measure and cut pipe according to your toilet.
- Make sure to measure the sub floor and finished floor measurements before cutting to have the correct center.
- Once pipe is cut, remove any burrs.
- Attach Pipe

- Apply grease before sliding on pipe.
- Install pipe then put on dust cap to prevent debris from entering the pipe.
- Remove Plate

- Remove plate and attach to water connection.
- Attach Water Connection

- Hold the shut-off valve stationary while tightening water connection.
- Install locking nut as shown.
- Flush Debris

- After attaching water connection to shut-off valve, undo the other side of the hose.
- Turn on valve to flush any debris before installing the actuator.
- Reconnect Water Supply

- After flushing debris, reconnect the water supply hose.
- Reinstall Plate

- Reinstall actuator and cover plate.
- Ensure roughing box is secure to keep debris from entering the tank.
- Trim Roughing Box

- After wall materials are installed, trim roughing box.


Toilet Installation
- Fit Pipe

- Install pipe and make sure it is thoroughly inserted.
- With a ruler, mark a line on the pipe where it meets the finished wall.
- Remove from wall and install pipe in the back of the toilet and make sure it is thoroughly inserted.
- With a ruler, mark a line on the pipe where it meets the back of the bowl.
- Cut Pipe

- Measure the distance between both marked lines on pipe. Take measured distance, deduct from bald end of pipe and cut pipes as shown below. This will allow some tolerance to recut if necessary.
- After cutting, take a file and remove all burrs. Try and bevel pipe edge.
- Install Toilet

- Insert pipe into bowl first, remember to apply grease where necessary.
- Install pipe into wall, make sure toilet is level.


If you have any questions or concerns, please contact us directly at 1-434-MADISON (623-4766)

Contents of your order may contain sharp and possibly other harmful pieces and may cause hazard to children and adults. Swiss Madison® is not responsible in any way for personal damages.

@SwissMadison

#WellMadeForever
www.swissmadison.com ; | 1-434-623-4766 | info@swissmadison.com
Documents / Resources
References
Download manual
Here you can download full pdf version of manual, it may contain additional safety instructions, warranty information, FCC rules, etc.
Advertisement


Need help?
Do you have a question about the SM-WC324 and is the answer not in the manual?
Questions and answers