
Related Manuals for Charlton & Jenrick EF111EN


Summary of Contents for Charlton & Jenrick EF111EN
- Page 1 Charlton & JenricK Best of British fires, fireplaces & stoves LED Electric Fire Wall Mounted Model No.EFlllEN INSTALLATION AND OPERATION INSTRUCTIONS Please read the instructions carefully before installation or use and keep for future reference...
-
Page 6: Parts And Hardware
Auxiliary Electricity Consumption: At nominal heat output (elmax): 12.SW At minimum heat output (elmin): 12W In standby mode (elSB): 0.48 W Type of heat output/ room temperature control Single stage heat output and no room temperature control Two or more manual stages, no room temperature control With mechanic thermostat room temperature control With electronic room temperature control Electronic room temperature control plus day timer... - Page 7 r� 1· Firebox ( 1) Front Glass Panel ( 1 ) ST 4 * 10 Screws( 2 ) Note: The wall mount bracket is attached to the back of the firebox by three screws. Wall Mount Bracket ( 1) Thumb Screws ( 2) STS*40 Wood Screws ( 4) (!)8*40 Drywall Anchors ( 4 ) White Pebble stones ( lset) Clear Faux Stones ( 1 set) Clulton&Jemd<"...
-
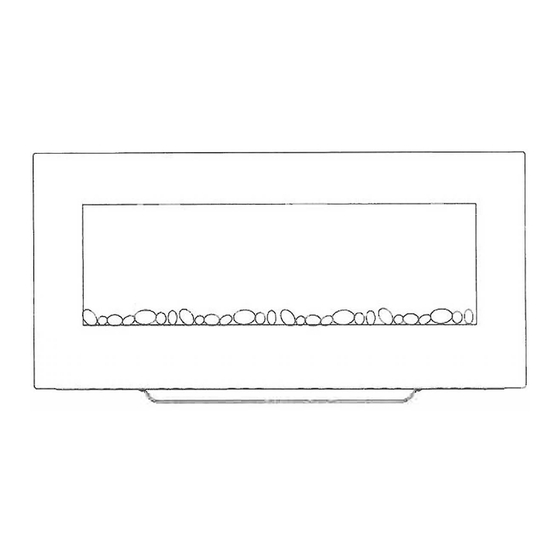
Page 8: Appliance Dimensions
4. APPLIANCE DIMENSIONS Unit: mm � I l'f'I lill,111111111111111,d llllilllllllllll llll!I 5. INSTALLATION INSTRUCTIONS Tools Required A screw driver and a spirit level and drill will be needed. Locating the Appliance Your new electric fireplace may be installed virtually anywhere in your home. However, when choosing a location ensure that the general instructions are followed. - Page 9 Installation Mantle WALL 400mm min Installation into a fireplace opening/insert: 5.4a Find a safe location. Minimum clearance on each side must be at least 100mm; minimum clearance from the floor must be at least 400 mm); minimum clearance from the front must be at least 3 feet (90 cm). Choose a location near an outlet so an extension cord is not required.
- Page 12 6.2 The mains power switch is located on the control panel located on the right hand side of the heater box. 6.3 Switch ON (-) before operating either the remote or manual controls. 6.4 A long beep is heard to indicate the fire is ready for use. Ga.
- Page 13 6b. REMOTE CONTROLS Temperature sensor convection Display Mode Heating/ Advance Flame effect 11-----11----1 Mood light -------Time and week ---Advance Battery power Timer mode 2s·c Actual room temperature COW++ Heating period '-- - ------Temperature set � NOTE: This is thermostatic remote control. The remote should be in the same room as fireplace and placed on a flat surface.
-
Page 14: Then Press
Flame Effect 6b.4 Press� to enter the flame effect adjustment screen. & ➔' 6b.5 Press the and ' button to select the 3 ... 111111uO Kinds of flame effect. 6b.6 Press the '+' and '-' button to select the 5 brightness of flame effect and OFF settings. - Page 15 Count Down Timer NOTE: This setting is only for normal mode. It allows the appliance to go into standby after a set period of time. [fill=) 6b.13 Press (9 to cycle through the settings from Off and 0.5 hours to 9 hours. The timer logo ROOM °...
- Page 20 3. EF. 111. 05. 031 cloth with a good quality household glass cleaner. The front glass panel should always be completely dried with a clean, lint-free cloth or paper towel. CAUTION: Abrasive cleaners should not be used on the glass panel. Liquids should not be sprayed directly onto any surface of the unit.
Need help?
Do you have a question about the EF111EN and is the answer not in the manual?
Questions and answers
Is there an option to use only 1Kw setting?
The Charlton & Jenrick EF111EN has a maximum power consumption of 2KW. However, there is no information in the provided context indicating whether it has a 1KW setting or if it can operate at a lower power level.
This answer is automatically generated
where can I buy a replacement glass panel, thank you