Advertisement
Quick Links
LED Replacement and
Objectives
LED replacement
LED intensity adjustment
Required tools
Hexagonal keys
Flat screwdriver
TOOL,LAMP ADJUSTMENT (1209149302)
Voltmeter
Gauges set
Required products
None
Intervention time
0 h 20
Periodicity
On request
Specific kit or consumables
KIT, LMNEB LED ASSEMBLY (1300099794)
Disposable gloves, eye protections and a lab coat must be
worn by the operator.
Local or national regulations must be applied in all the
operations.
RAS1092A
Adjustment
Advertisement

Subscribe to Our Youtube Channel
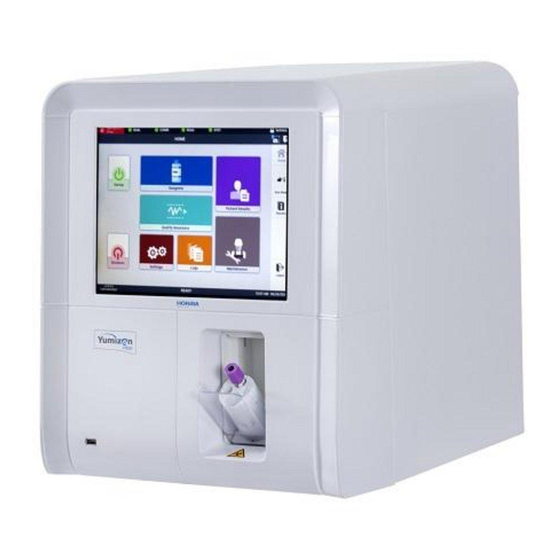
Related Manuals for horiba Yumizen H500 OT


Summary of Contents for horiba Yumizen H500 OT
- Page 1 RAS1092A LED Replacement and Adjustment Objectives LED replacement LED intensity adjustment Required tools Hexagonal keys Flat screwdriver TOOL,LAMP ADJUSTMENT (1209149302) Voltmeter Gauges set Required products None Intervention time 0 h 20 Periodicity On request Specific kit or consumables KIT, LMNEB LED ASSEMBLY (1300099794) Disposable gloves, eye protections and a lab coat must be worn by the operator.
- Page 2 5. Loosen the fixation screw. 6. Put the new LED assembly in place. 7. Connect the LED board connector. Do not tighten the fixation screw yet since some adjustments are necessary. Adjust the LED intensity. RAS1092A - 2 Yumizen H500 OT/CT: Technical Manual RAA074...
-
Page 3: Led Intensity Adjustment
2. Connect a voltmeter between TP55 (ground) and TP53. 3. Reduce the optical gain to the minimum by unscrewing the R414 potentiometer completely: turn anti- clockwise until you hear the "click" sound. Yumizen H500 OT/CT: Technical Manual RAS1092A - 3 RAA074... - Page 4 To Adjust the LED Intensity (Complete Procedure) You need the following elements to perform this procedure: ■ TOOL,LAMP ADJUSTMENT (1209149302) ■ Voltmeter 1. Switch the instrument off. 2. Loosen the fixation screws to remove the metallic plate. RAS1092A - 4 Yumizen H500 OT/CT: Technical Manual RAA074...
- Page 5 6. Separate both parts of the adjustment tool. 7. Take the two large screws out of their location and screw the first part (A) of the adjustment tool on the reception gun. Yumizen H500 OT/CT: Technical Manual RAS1092A - 5 RAA074...
- Page 6 14. Once the LED assembly height is adjusted, slightly tighten the LED assembly fixation screw but do not remove the gauges yet. 15. Switch the instrument off. 16. Remove the adjustment tool. 17. Reinstall and connect the LMNEB amplifier board. 18. Switch the instrument on. RAS1092A - 6 Yumizen H500 OT/CT: Technical Manual RAA074...
- Page 7 24. Adjust the value to 7.5 V +/- 1 using the R414 potentiometer. Check the flowcell position and perform the matrix final adjustment. Refer to the RAS1072 - LMNEB Flowcell Replacement and Adjustment procedure. Yumizen H500 OT/CT: Technical Manual RAS1092A - 7 RAA074...
- Page 8 LED Replacement and Adjustment Yumizen H500 OT/CT RAS1092A - 8 Yumizen H500 OT/CT: Technical Manual RAA074...
Need help?
Do you have a question about the Yumizen H500 OT and is the answer not in the manual?
Questions and answers