Table of Contents
Advertisement
Quick Links
Advertisement
Table of Contents

Related Manuals for Smith & Noble Sheer Shades


Summary of Contents for Smith & Noble Sheer Shades
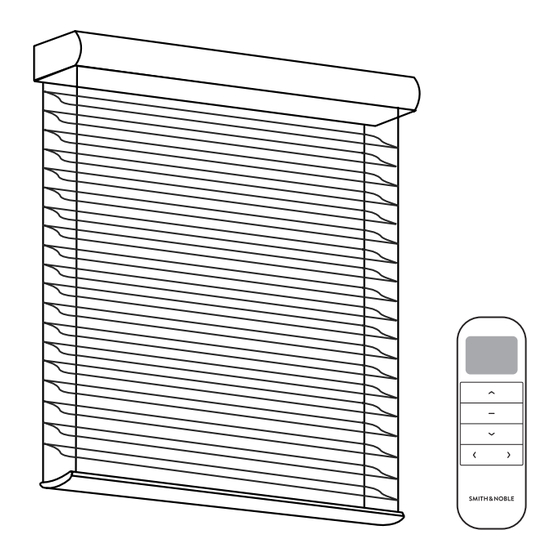
- Page 1 STEP BY STEP INSTALLATION INSTRUCTIONS Sheer Shades Motorization...
-
Page 2: Table Of Contents
Everything Table of Contents Step 1 - Getting Started ......... 3 You Need Overview - Motorization with Remote Control . -
Page 3: Step 1 - Getting Started
STEP 1 - PARTS & TOOLS OVERVIEW Motorization with Remote Control Getting Started First, make sure you have all the parts and tools required to install your shades. ALL THE HARDWARE YOU’LL NEED: CASSETTE Pencil, screw-driver, ¼” nut driver, level, and a drill with a ⁄... -
Page 4: Step 2 - Mounting The Brackets
STEP 2 - MOUNTING BRACKETS STEP 2 - MOUNTING BRACKETS Outside Mount Shades are shipped with the required number of brackets for proper installation. End brackets should be located approximately 3" from either end. Depending on the width Center the shading over the window 1"... -
Page 5: Step 3 - Hanging The Shade
STEP 3 - HANGING THE SHADE STEP 4 - HOLD DOWN BRACKET Hanging the Shade Attaching Hold Down Bracket (Optional) With brackets installed, place the top of Lower the shading, keeping the vanes closed. Bottom the headrail flat against the base of the Rail •... -
Page 6: Step 5 - Skew Adjustment
If these suggestions don’t work, then please give us remote operating & a call or visit our website. programming guide Weight Clip Weight Clip Weight Scan QR code Fabric Roll for Hub & App User Guide. Move Weight Release Sheer Shades Motorized smithandnoble.com 800.248.8888... -
Page 7: Charging Shade
CHARGING SHADE SOLAR PANEL (OPTIONAL) When the shade begins to operate slower than normal and beeps when operated it is time to charge Determine Solar Panel Placement the battery. A typical charge cycle can take between 4-6 hours. The solar panel should be placed where it gets the maximum amount of sunlight per INTERNAL BATTERY CHARGER... - Page 8 INSTALL SOLAR PANEL CONNECT SOLAR PANEL Connect Solar Panel INTERNAL Tape Method SOLAR PANEL RECHARGE UNIT BATTERY MOTOR After the shade is installed, plug the solar Cut the tape to fit inside the white border panel into the charging port. as shown.
-
Page 9: Troubleshooting
TROUBLESHOOTING CARE & CLEANING / SAFETY Care & Cleaning PROBLEM SOLUTION Minimal care and cleaning is needed to maintain the beauty of your shades. To Vacuum: Use a hand-held vacuum with low suction for a more thorough cleaning to keep Shade will not raise or lower. Recharge motor. -
Page 10: Notes
NOTES NOTES smithandnoble.com 800.248.8888... -
Page 11: Warranty
Warranty Service The enjoyment of your window coverings should be everlasting, which is why our products come with a limited lifetime warranty. The warranty applies to the original owner, requires a proof of purchase and covers defects in material or craftsmanship.
Need help?
Do you have a question about the Sheer Shades and is the answer not in the manual?
Questions and answers